
The floor is getting further away every year. There was a time when dropping down for a quick stretch was no big deal, but these days, getting back up requires a hoist, a prayer, and a solid grip on the coffee table. If you have been looking for a senior workout program that doesn’t involve wrestling with a yoga mat on the carpet, you are in the right place. Chair yoga is the ultimate “cheat code” for staying flexible, strong, and mobile without ever worrying about how you’ll get back to a standing position.
Some people think yoga is only for those who can twist into tricky poses, but that’s not true. Yoga is for everyone, especially if you have a few creaks in your knees or back. This 15-minute routine is made for seniors over 60 who want to feel better, move more easily, and maybe even reach that top shelf without a groan.
We’ll focus on simple, effective movements that are gentle on your joints and help lift your mood. You don’t need special clothes—your favorite pajamas or comfy pants are perfect. Grab a sturdy chair and let’s get started!
Setting the Stage: The No-Slip Zone
Before starting, let’s make sure your space is safe. Choose a sturdy, stable chair. Avoid chairs with wheels or ones with soft cushions that make you sink in too much.
- The Chair: A dining room chair or a sturdy office chair without wheels is perfect.
- The Surface: Make sure your chair is on a non-slip surface, such as a rug or yoga mat.
- The Attire: Wear something you can move in. If you are doing this in your bathrobe, I won’t tell anyone.
- The Attitude: Don’t worry about being perfect. If a movement feels uncomfortable, just skip it. The goal is to feel good, not to push through pain.
Phase 1: The “Wake Up the Body” Warm-Up (0 to 4 Minutes)
When beginning any routine, especially an easy-to-follow fitness program for seniors, it’s important not to jump straight into the more challenging movements. Your body needs a few moments to gently wake up, loosen the joints, and get the blood flowing.
Seated Mountain Pose
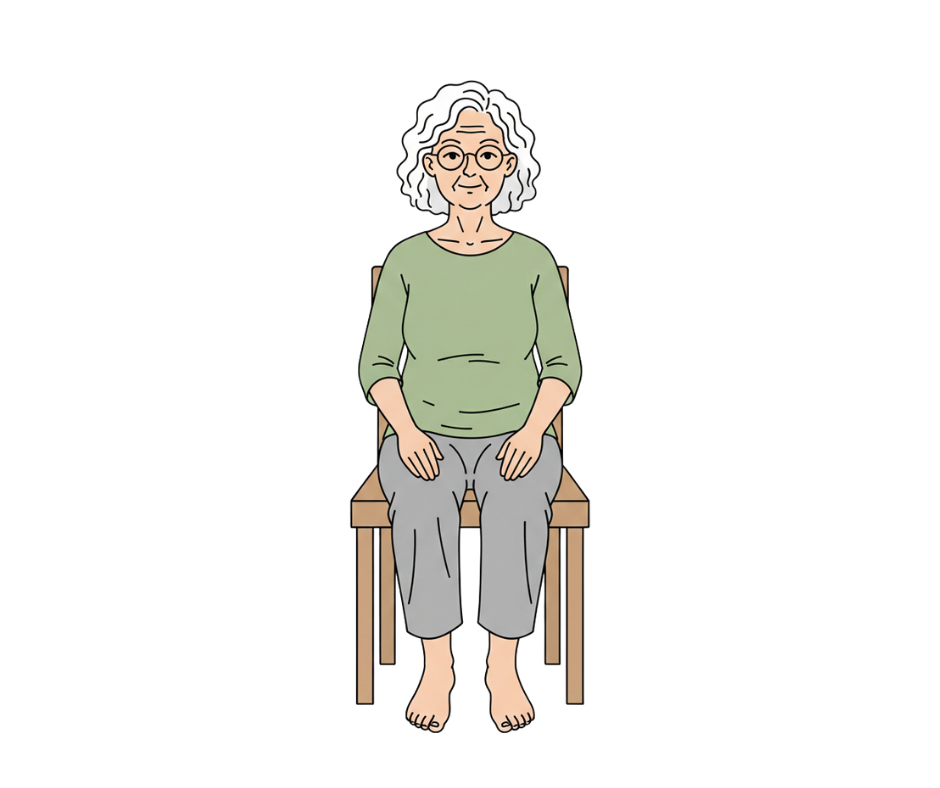
- Sit near the front edge of your chair. Place your feet flat on the floor, about hip-width apart.
- Sit up tall, rest your hands on your thighs, and focus on your breath. You’re already doing yoga!
- Take three deep breaths, letting your belly rise and fall with each one.
The “No” and “Maybe” Neck Stretches
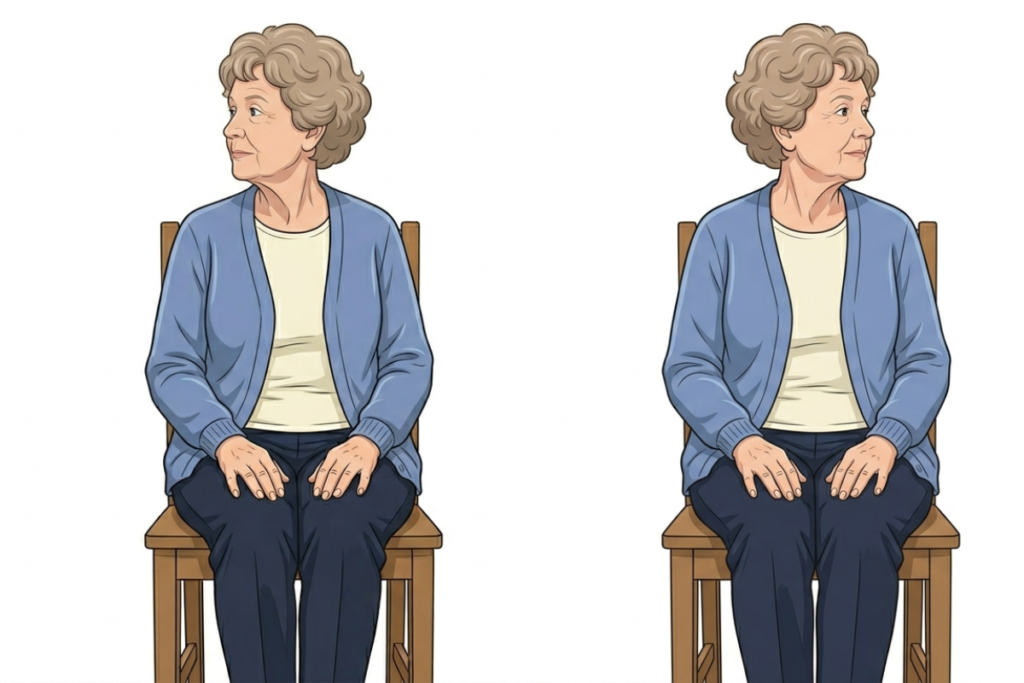
- Slowly turn your head to the right and hold for a moment, then turn to the left.
- Repeat this three times.
- Tilt your right ear toward your right shoulder, keeping your shoulder relaxed.
- Switch sides. This helps release tension from looking at screens.
Shoulder Rolls
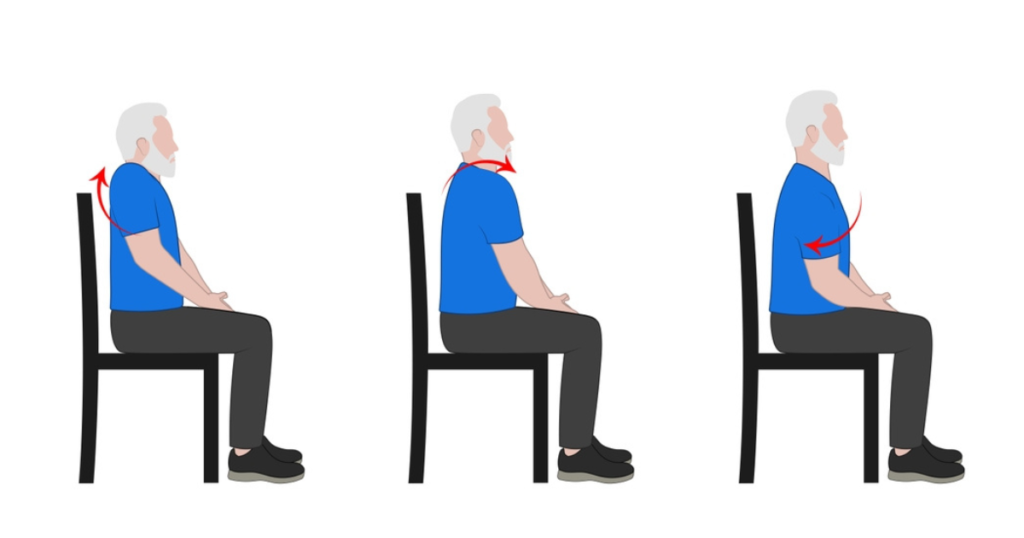
Roll your shoulders up toward your ears, then back and down. If you hear some pops or cracks, that’s normal. It just means your body is moving and loosening up.
Phase 2: Gentle Movement for Flexibility (4 to 10 Minutes)
Now that you’re warmed up, let’s move on to the main part of the routine. These poses focus on your spine and hips, which often feel stiff in the morning.
Seated Cat-Cow
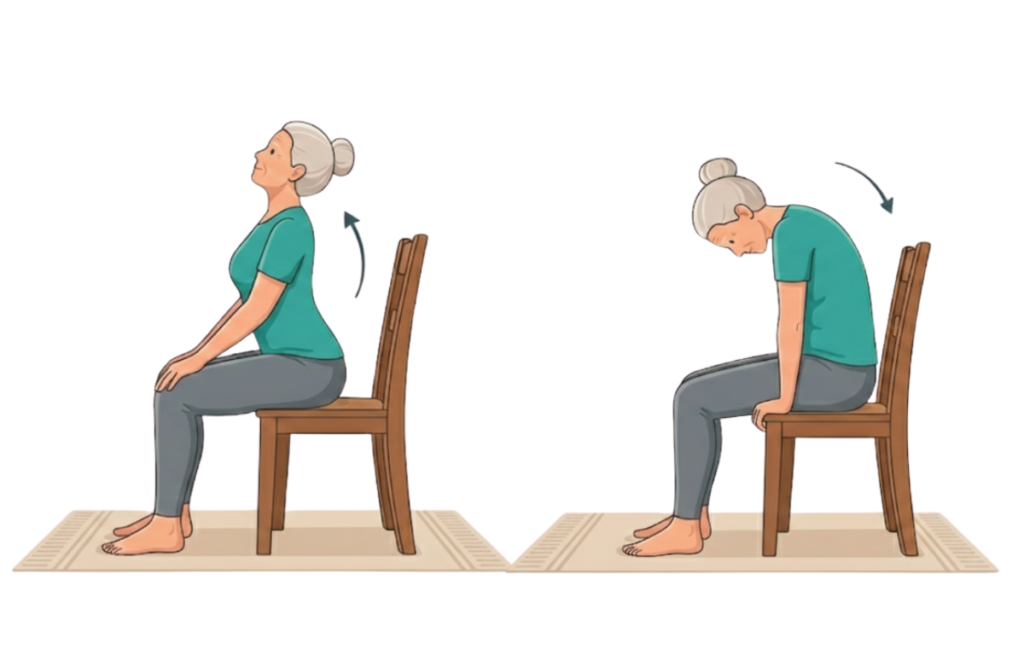
This exercise is great for keeping your back healthy.
- Place your hands on your knees.
- The Cow: Inhale, lift your chest, and look slightly upward. Arch your back just a little bit.
- The Cat: Exhale, round your spine like a grumpy Halloween cat, and tuck your chin toward your chest.
- Repeat this five times. It helps your back feel more flexible.
Seated Forward Fold (Modified)
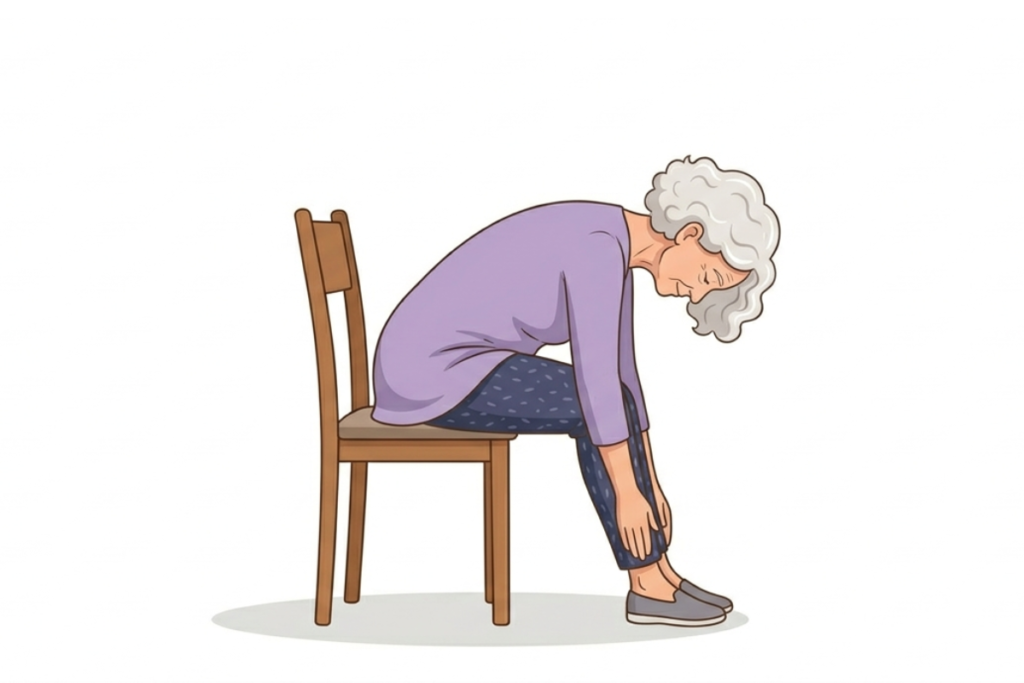
You don’t need to touch your toes; this is just to give your lower back a gentle stretch.
- Keep your feet wide apart.
- Slowly slide your hands down your shins.
- Stop whenever your body says, “That’s enough.”
- Let your head relax for a moment. This helps blood flow to your brain and can help you feel refreshed.
The Seated Twist
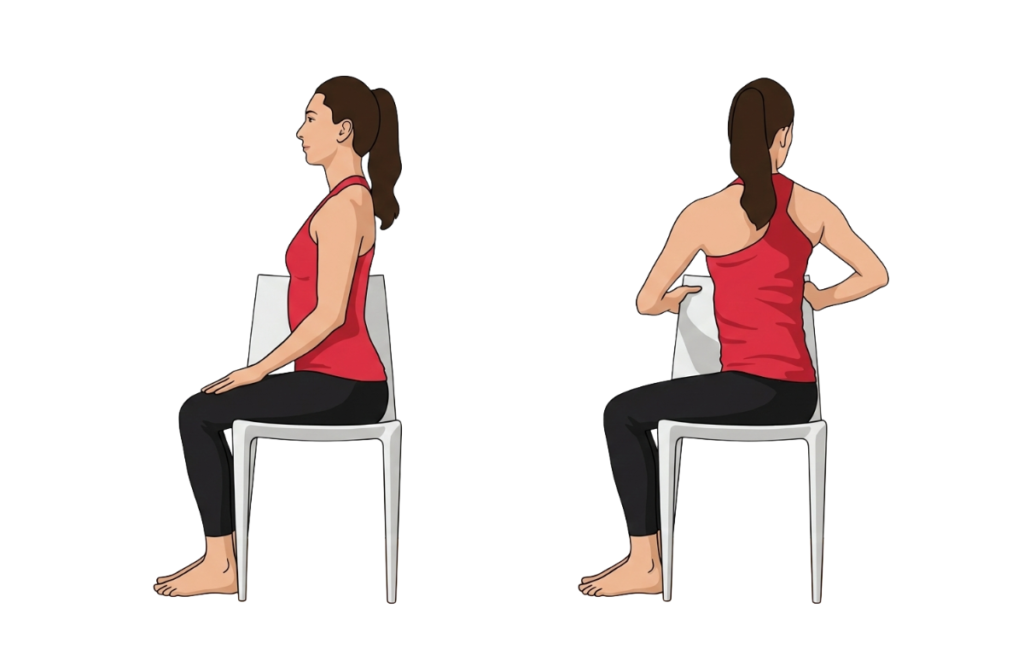
- Sit sideways on your chair.
- Gently twist to look over your right shoulder.
- Grab the back of the chair using both hands.
- Hold for two breaths and switch sides.
Note: Don’t force this movement. Keep the twist gentle and comfortable.
Phase 3: Building a Little Strength (10 to 13 Minutes)
Building strength helps you stay independent. You don’t need heavy weights—your own body weight is enough.
Seated Leg Extensions
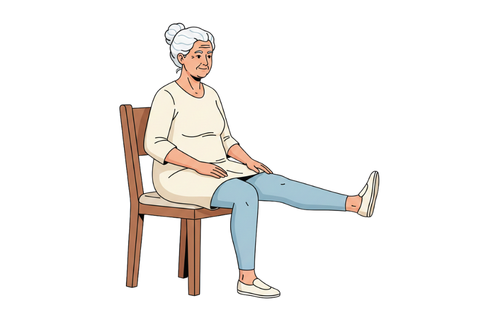
- Sit back a bit in your chair for support.
- Straighten your right leg out in front of you and flex your toes toward your face.
- Hold for three seconds, then lower it slowly.
- Do ten repetitions on each side.
This strengthens the quadriceps (the big muscles on the front of your thighs), which help you get out of a car or climb stairs.
Chair Marching
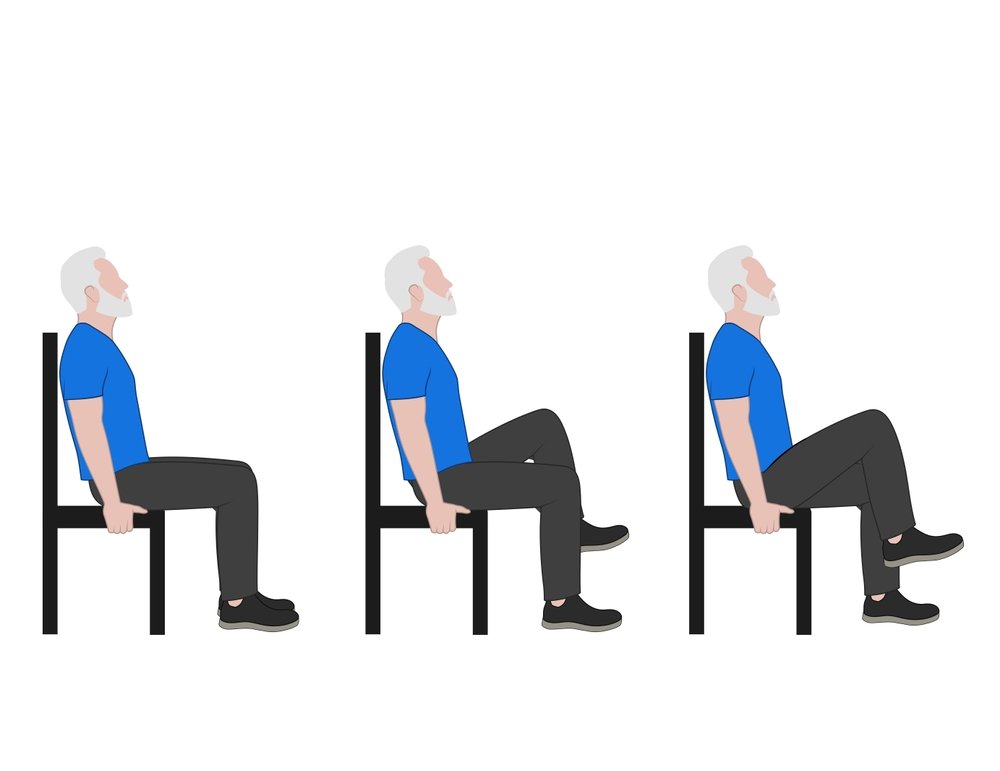
This exercise gently raises your heart rate.
- Sit tall and lift your knees one at a time, as if you are marching slowly.
- If you like, swing your arms too. Do this for 30 seconds.
Phase 4: The Cool Down and “Savasana” (13 to 15 Minutes)
You’ve finished the hard part. Now it’s time to relax and enjoy the benefits of your practice.
Eye Circles and Palming
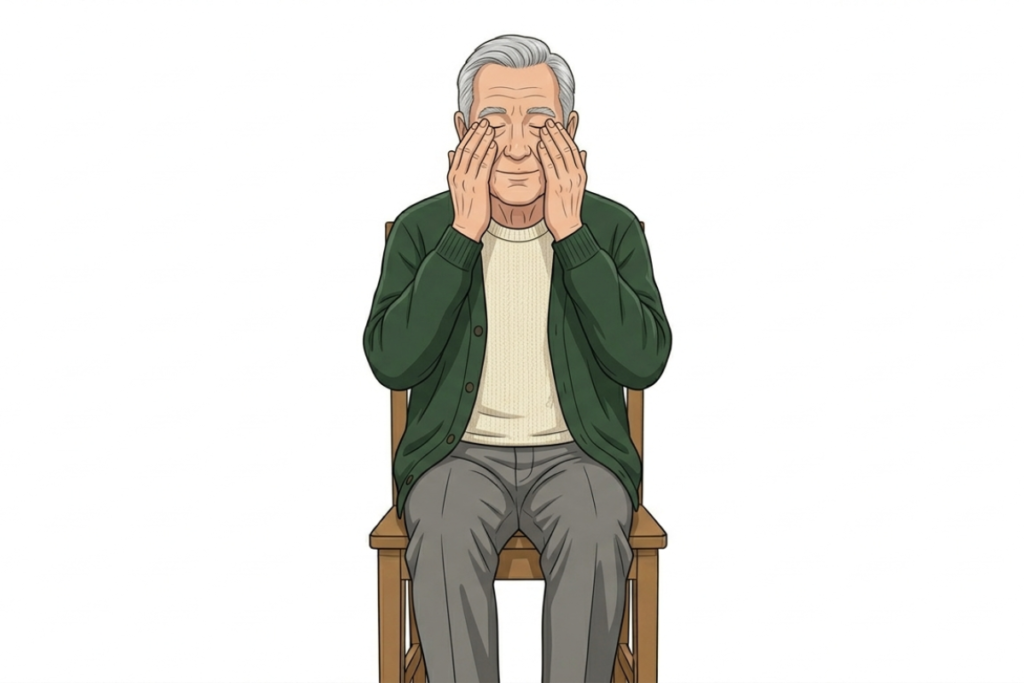
Remember, your eyes have muscles too.
- Look up, right, down, and left.
- Rub your hands together until they feel warm and gently place them over your closed eyes.
- Rest for a few seconds.
Final Seated Relaxation
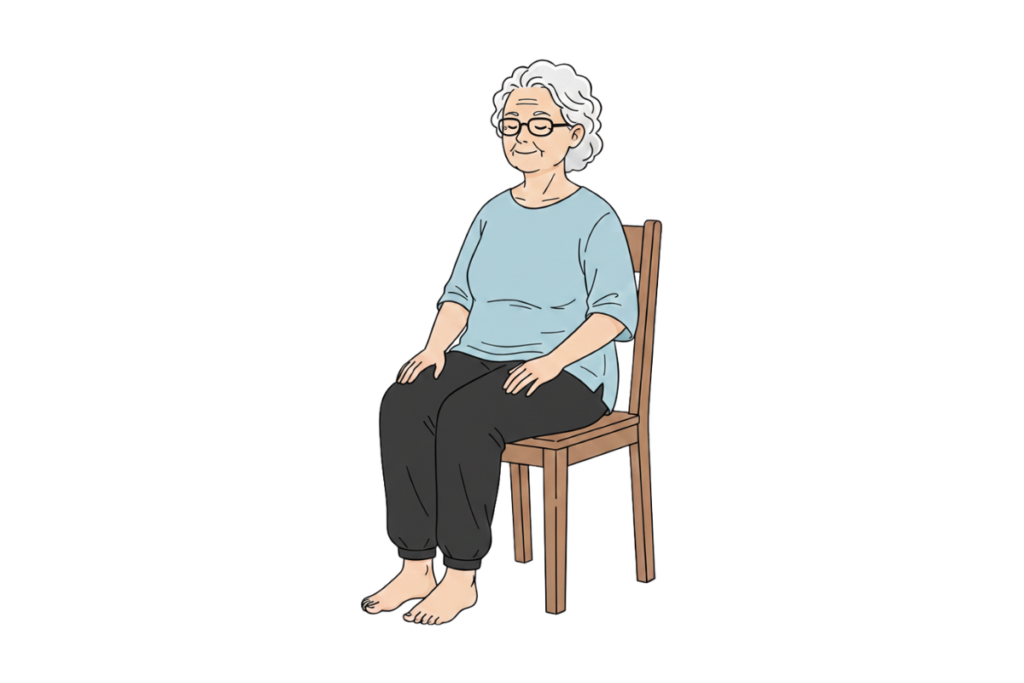
- It’s fine to lean back in your chair now.
- Close your eyes, let your feet rest on the floor, and place your hands in your lap.
- For the next two minutes, simply relax and focus on your breathing.
Consistency Over Perfection
The most important thing is that your routine doesn’t have to look perfect. Some days you’ll feel flexible and energetic, and other days you might feel stiff. Both are completely normal.
The goal isn’t perfection; it’s about taking time for yourself. If you only have five minutes, just do the Cat-Cow and twists. Even doing this twice a week is better than not doing it at all.
This chair yoga routine is a way to take care of your future self. The more you move today, the better you’ll feel in the days and years ahead.
Final Thoughts
You don’t need a gym membership, a personal trainer, or an expensive fitness program for seniors. All you need is a chair and a few minutes.
Why not try a move right now? If you’re sitting while reading this, do a few shoulder rolls or a quick neck stretch. That’s all it takes to get started.
Keep things simple and enjoyable, and remember to breathe. You’re doing great, and your body will appreciate your effort. Now, have a glass of water and enjoy how you feel after your yoga session.
Leave a Reply