Let’s be honest, getting down on the floor gets harder as we age. If your knees creak when you stand up, you’re in good company. That’s why mobility exercises for seniors are so useful. You don’t have to do tricky poses or balance on one foot to feel better. You can even stay in your favorite chair.
Staying active helps us remain independent and makes daily tasks, like reaching for a snack on a high shelf, much easier. Imagine your body as a classic car. It might have a few extra miles and some wear, but with regular care, it can still run smoothly. This guide offers gentle, effective chair yoga you can try today.
Why Mobility Matters
Mobility is the ability to move your joints through their full range of motion without pain. As we age, our muscles can get tight and stiff, making everyday tasks like tying our shoes or checking our blind spot while driving more difficult.
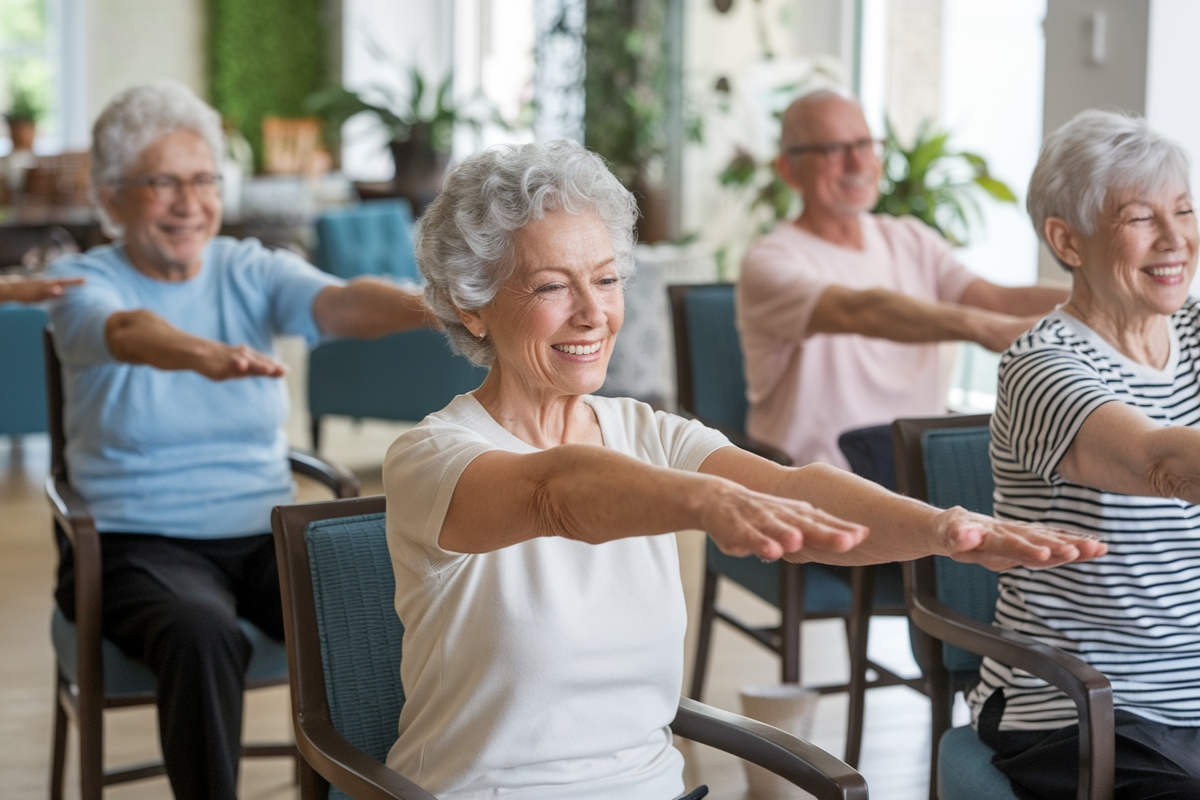
Chair yoga is a great way to stay active. The chair gives you a steady base, so you don’t have to worry about balance and can focus on stretching and building strength. It’s gentle, effective, and perfect for beginners. And if you get tired, you’re already sitting.
Getting Ready for Your “Throne” Workout
Before we start, let’s get ready. You don’t need special clothes or a gym membership. Here’s what you’ll need:
- The Chair: Choose a sturdy chair without wheels. A dining room chair works well. Folding chairs are also fine, as long as they don’t move around.
- The Attire: Wear something comfortable. Pajamas are perfectly fine, and your secret is safe.
- The Vibe: Have some water nearby and play music that makes you feel good.
- The Golden Rule: If anything hurts, stop right away. You should feel a gentle stretch, not pain.
1. The Seated Neck Release

Many people carry stress in their necks. If you’ve spent time looking down at a phone or book, your neck may feel stiff.
How to do it:
- Sit up tall with your feet flat on the floor.
- Picture a string gently lifting the top of your head up toward the ceiling.
- Slowly lower your right ear toward your right shoulder. Keep your shoulder relaxed and let your ear move instead.
- Hold for three deep breaths.
- Slowly bring your head back to the center and repeat on the left side.
Tip: Close your eyes and picture the tension leaving your body.
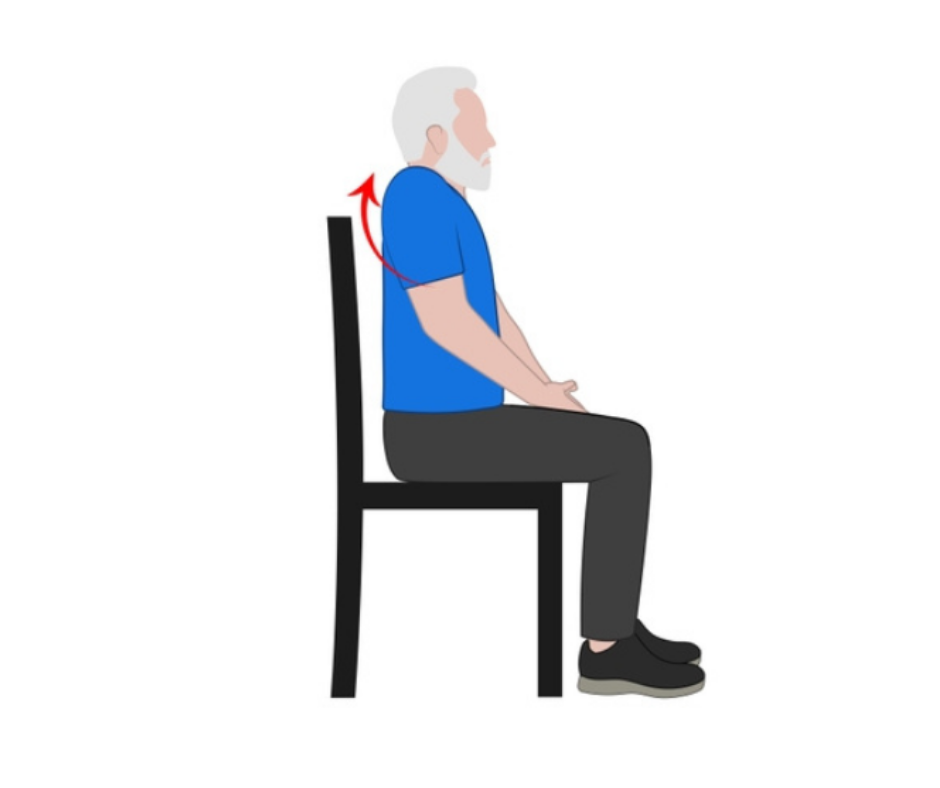
2. Shoulder Rolls and Shrugs
Remember when you were a teenager, and your parents asked you to do chores? That classic “I don’t know” shrug is actually a great exercise.
How to do it:
- Inhale deeply as you lift your shoulders all the way up to your ears.
- Hold for a second, then exhale loudly as you drop them down.
- Next, move into shoulder circles. Roll your shoulders forward, then up, back, and down.
- Do five circles going backward to help open up your chest.
This exercise helps improve your posture and keeps your back straight.
3. Seated Cat-Cow Stretch
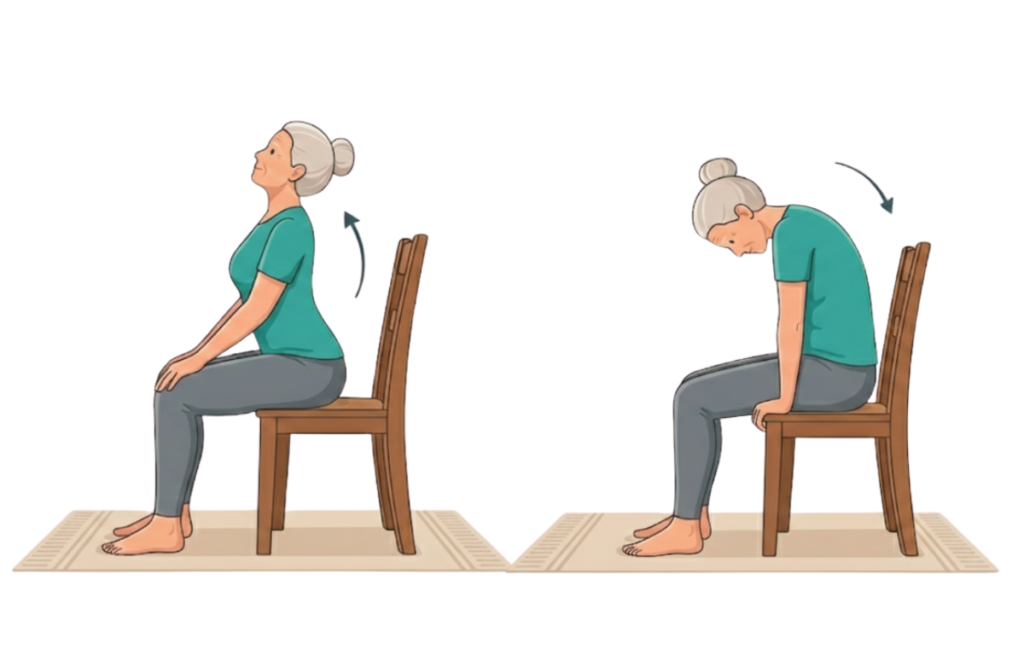
This stretch is important for keeping your spine flexible. It loosens your back and helps your spine move more easily.
How to do it:
- Place your hands on your knees.
- The Cow: As you inhale, lift your chest and look slightly upward. Let your back arch gently.
- The Cat: As you exhale, round your spine like a Halloween cat and tuck your chin toward your chest.
- Move between these two positions five times, matching your movements to your breath.
4. The Seated Twist
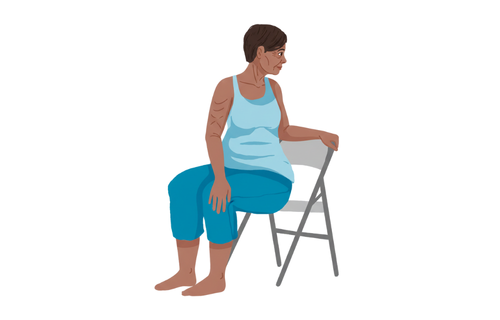
Twisting your spine helps keep your back flexible and comfortable.
How to do it:
- Sit toward the front of your chair, with your feet firmly planted.
- Place your left hand on your right knee.
- Reach your right hand back to grab the side or back of your chair.
- Inhale and sit up tall, then exhale as you gently turn to look over your right shoulder.
- Hold for two breaths and switch sides.
Don’t force the twist. Only turn as far as feels comfortable for your body.
5. Overhead Side Stretch

This stretch works your ribs and the sides of your waist, which can get tight over time.
How to do it:
- Sit up straight and hold the side of the chair with your left hand to stay steady.
- Reach your right arm up toward the ceiling.
- Lean gently to the left, reaching that right arm over your head.
- Take a deep breath and feel the stretch along your right side.
- Return to center and swap arms.
If your shoulder feels uncomfortable, rest your hand on your hip and lean to the side instead.
6. Seated Pigeon Pose (The Hip Opener)
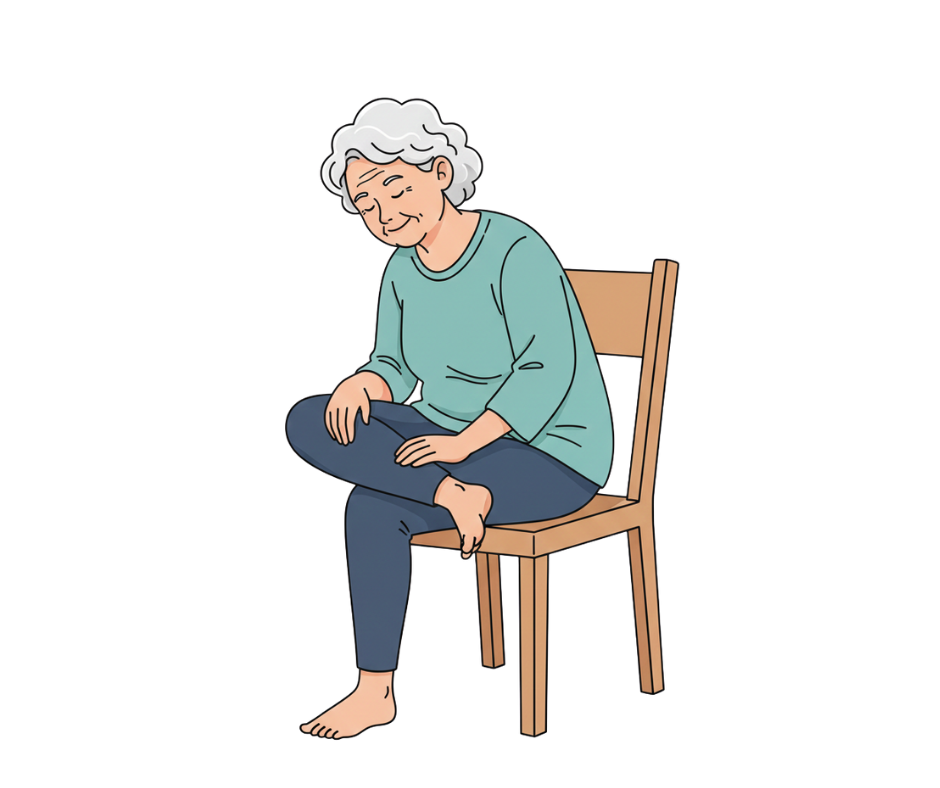
Our hips often hold tension. This stretch can feel strong, so go slowly and notice how your body feels.
How to do it:
- Sit at the edge of your chair.
- Lift your right leg and place your right ankle on top of your left thigh (just above the knee).
- If this feels like enough of a stretch, stay right here.
- If you want a deeper stretch, keep your back flat and lean forward just a little.
- Hold for thirty seconds and breathe through the tightness.
- Repeat with the other leg.
If your ankle doesn’t reach your knee, just cross your ankles and let your knees fall open to the sides. That works too.
7. Ankle Circles and Toe Points
Our feet and ankles do a lot for us, but we often forget about them. Keeping your ankles flexible is important for balance and can help prevent falls.
How to do it:
- Lift one foot off the floor, or keep your heel down if that feels better.
- Point your toes away from you, then flex them back toward your shin.
- Slowly rotate your ankle in a circle five times to the right, then five times to the left.
- Wiggle your toes to help them relax and stay loose.
- Repeat with the other foot.
8. Seated Sun Breath
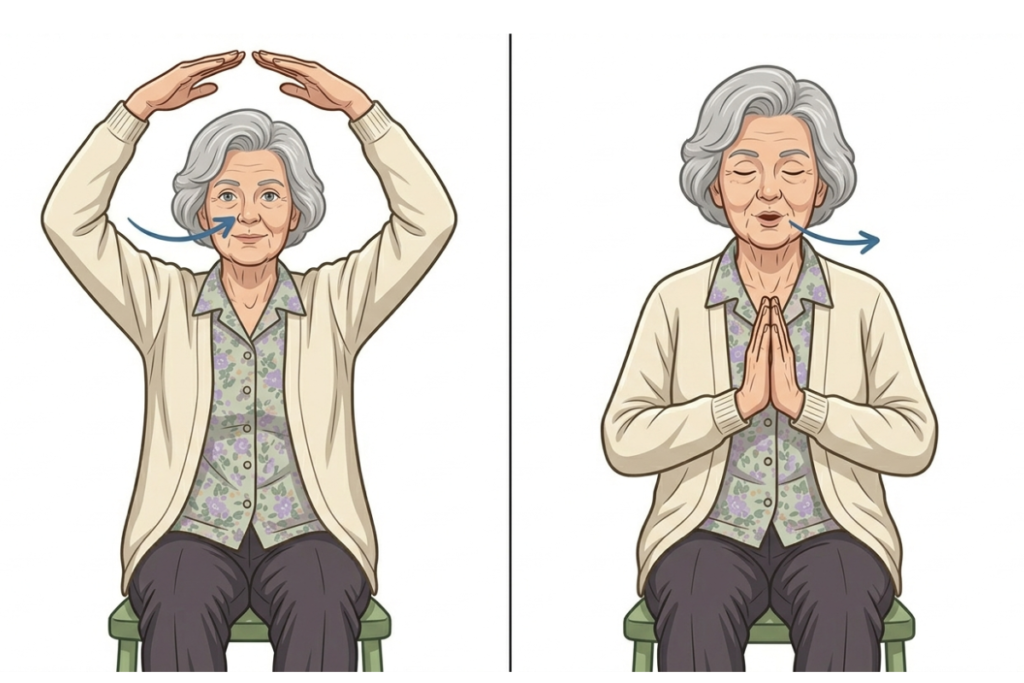
This is a great way to boost your energy and gently raise your heart rate.
How to do it:
- Start with your arms hanging by your sides.
- Take a deep breath and sweep your arms out to the sides and up over your head.
- As you exhale, bring your palms together and lower them to your chest.
- Do this five times.
This simple movement is good for your shoulders and lungs.
9. Leg Extensions for Knee Health

Strong muscles around your knee help protect the joint. This exercise is like a gentle leg press you can do while sitting.
How to do it:
- Sit back in your chair so your thighs are supported.
- Straighten your right leg out in front of you.
- Flex your foot so your toes point up toward the ceiling.
- Hold for three seconds and notice the muscle on the top of your thigh working.
- Lower and repeat ten times per leg.
10. The Seated Forward Fold
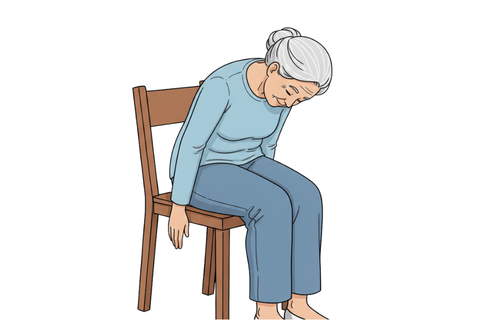
This last stretch is a great way to relax your lower back and hamstrings.
How to do it:
- Sit with your feet slightly wider than hip-width apart.
- Slowly slide your hands down your legs toward your shins or feet, going only as far as is comfortable.
- Let your head relax and take several deep, slow breaths.
- When you’re ready to sit up, move slowly so you don’t feel dizzy.
Consistency Over Perfection
Remember, you don’t have to master all ten exercises right away. It’s not about perfection; it’s about staying consistent and keeping your body moving. If you want practical ways to improve mobility for seniors, starting small is one of the best approaches.
On busy days, just five minutes can make a difference. Try a few gentle neck rolls or a seated cat-cow stretch. When you have more time or energy, you can move through the full routine, even repeating it if it feels good.
A chair yoga book for seniors can also be a helpful guide, offering routines you can adjust to your pace and comfort. In the end, consistency matters most. Doing a little each day will help your body more than one long session every now and then.
Final Thoughts
Improving your mobility doesn’t mean you have to change your whole lifestyle. All you need is a chair and a positive attitude. You deserve to feel comfortable, and these exercises are a way to thank your body for all it has done.
Why not start now? If you’re already sitting, roll your shoulders, take a deep breath, and appreciate that you’re taking care of yourself. Your future self and your knees will thank you.
Leave a Reply