Most of us have reached the age where our bodies make all sorts of noises. There’s the “hnggh” when you stand up, the “ooof” when you sit down, and that “snap, crackle, pop” that sounds more like cereal than your spine. If your lower back is giving you trouble, you’re not alone. Gentle exercises for lower back pain can help you move more easily and feel less stiff. The best part is, you don’t need to be a gymnast or wear flashy workout clothes to feel better.
Chair yoga is a great way to stay fit. You get the benefits of traditional yoga—like flexibility, strength, and stress relief—with the extra support of a sturdy chair. Think of the chair as your steady helper, keeping you safe and balanced so you don’t have to worry about getting stuck on the floor. This guide will show you simple moves you can do at home, even while waiting for the kettle to boil or during a TV break.
Before you start, remember this important rule: if something hurts, stop right away. You want to feel a gentle stretch, not pain. Doing these stretches for five minutes every day is much better for your back than doing them for an hour once in a while. Find a sturdy chair without wheels, and let’s begin.
Getting Ready: Your Simple Checklist
You do not need a fancy home gym. You just need a few basic things to get started:
- A Sturdy Chair: Use a dining chair or a folding chair. Avoid sofas or plush armchairs, as they are too squishy and won’t provide your spine with the support it needs.
- Comfortable Clothes: Anything you can move in. Pajamas are perfectly acceptable. In fact, they are encouraged.
- Flat Ground: Make sure your chair is on a non-slip surface, such as a rug or yoga mat.
- Hydration: Keep a glass of water nearby. Staying hydrated helps you feel your best.
15 Easy Chair Yoga Poses for Lower Back Relief
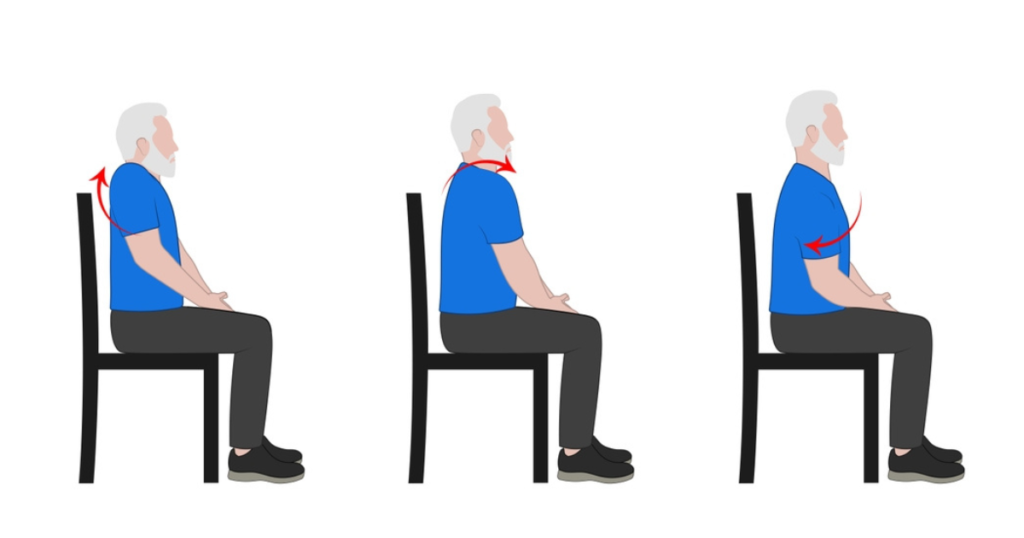
1. Seated Cat-Cow
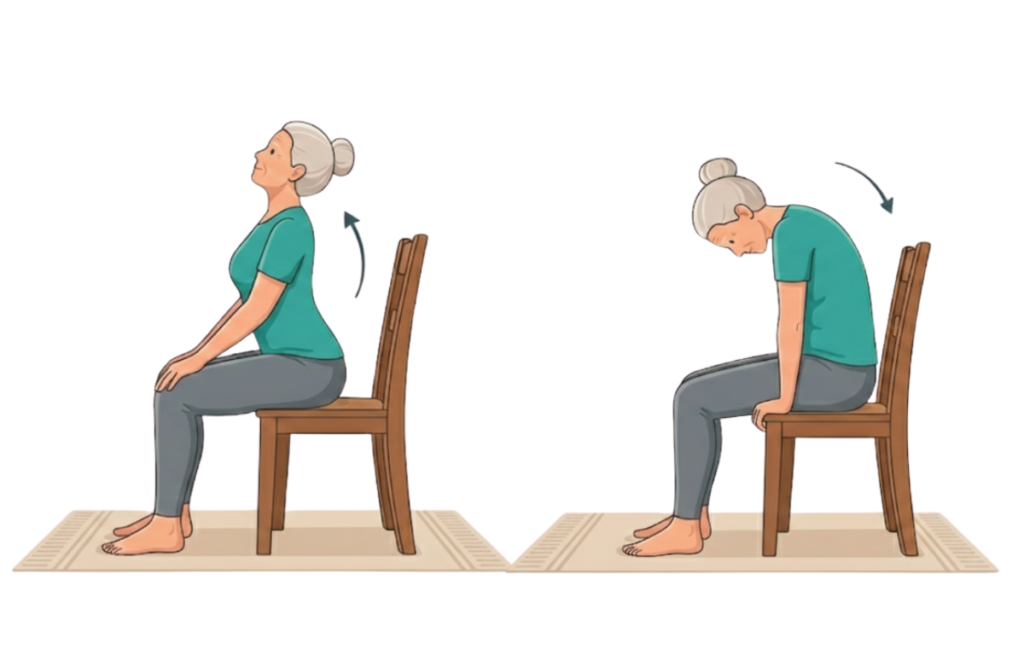
This is the ultimate “oil for the hinges” move. It wakes up the entire spine and helps release tension in the lower back.
- Sit toward the front edge of your chair with your feet flat on the floor.
- Place your hands on your knees.
- The Cow: Inhale, lift your chest, and look slightly upward while gently arching your back.
- The Cat: Exhale, round your spine like a grumpy Halloween cat, and tuck your chin toward your chest.
- Repeat this 5 to 10 times, following your breath.
2. Seated Twist
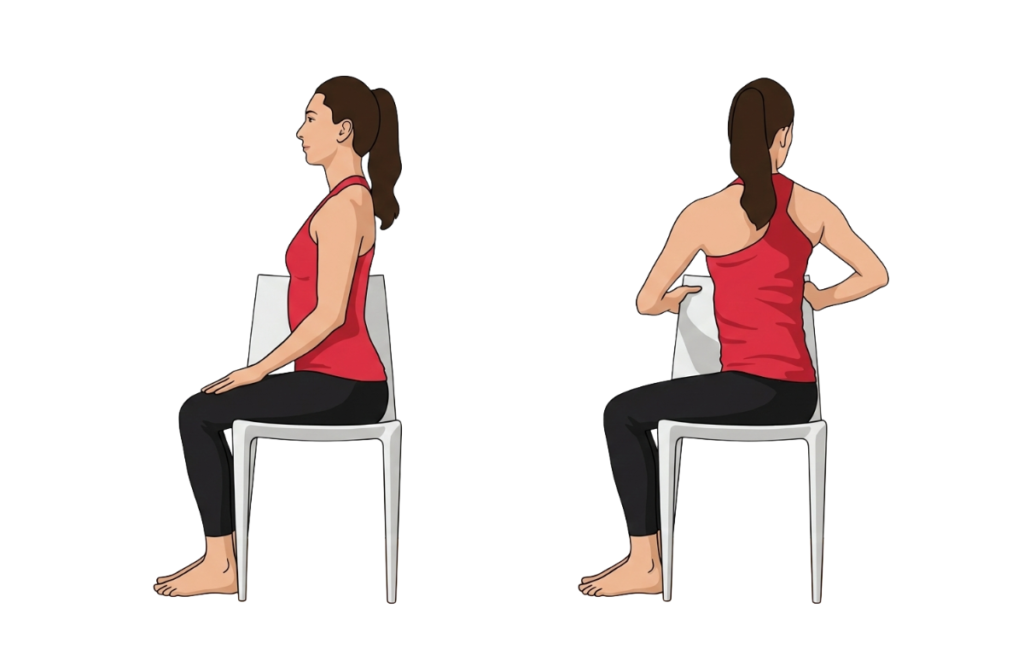
Twisting helps release tension in your back muscles. Be gentle with this movement. Turn as if you are looking over your shoulder.
- Sit tall with your feet planted firmly.
- Place your right hand on the back of the chair or your left hip.
- Slowly turn your torso to the right, looking over your right shoulder.
- Hold for three deep breaths.
- Slowly return to the center and repeat on the left side.
3. The Side Reach
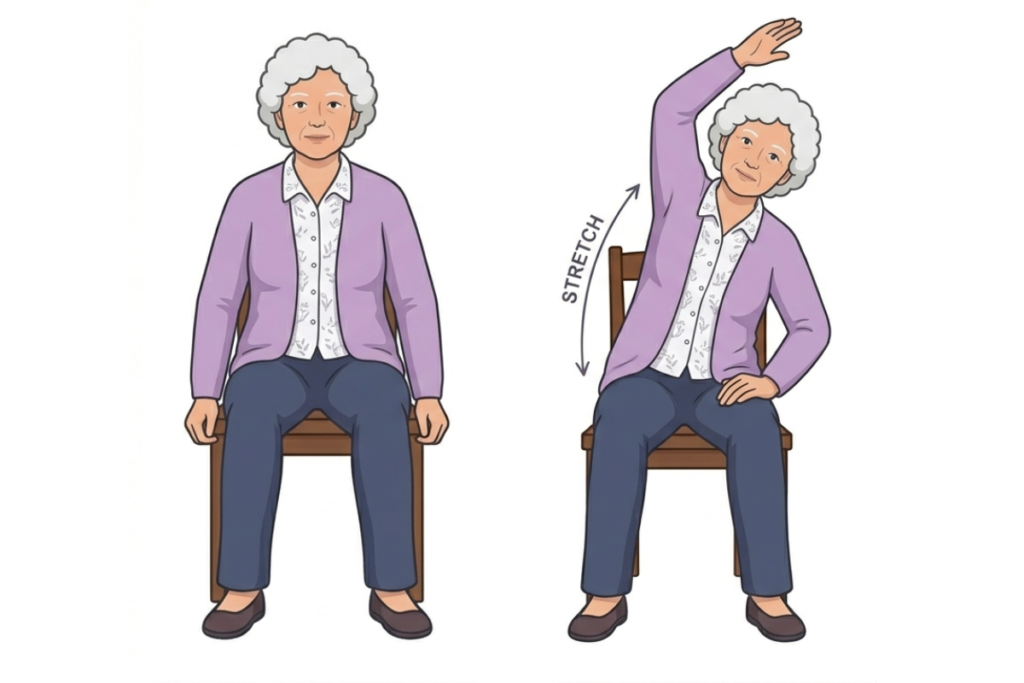
Our backs often feel tight because the muscles on our sides are cramped up. This stretch creates space between your ribs and your hips.
- Sit tall and hold the side of your chair with your left hand for stability.
- Reach your right arm up toward the ceiling.
- Lean gently to the left, feeling a stretch along your right side.
- Keep both sides of your hips firmly on the chair.
- Hold for 20 seconds, then switch sides.
4. Seated Forward Fold (Modified)
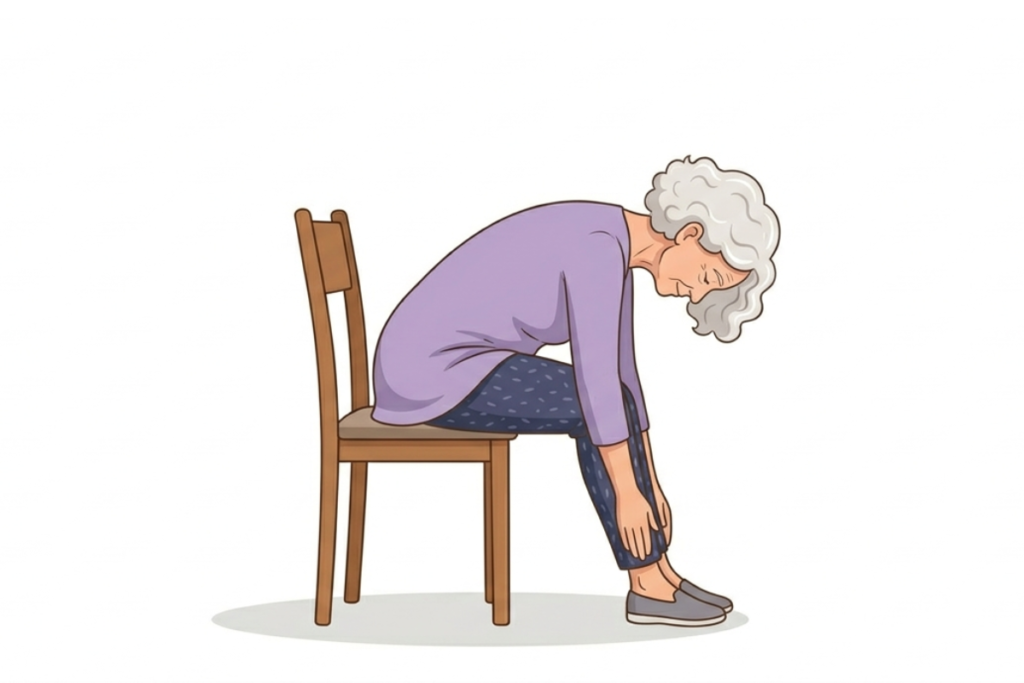
This is a great way to let gravity do the work for you. It stretches the lower back and the hamstrings.
- Sit with your feet wider than your hips.
- Rest your elbows on your knees first to see how your back feels.
- If it feels okay, slowly let your hands slide down your legs toward your ankles.
- Let your head hang heavy and take a few deep breaths.
- To sit back up, use your hands to support yourself as you move up your legs. This helps protect your back.
5. Seated Pigeon Pose
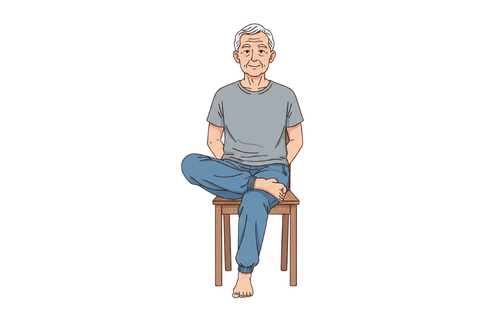
This stretch is especially helpful for people with lower back pain. It targets the hips, which can often cause discomfort in your back.
- Sit tall and cross your right ankle over your left knee. If this is too much, cross your ankles instead.
- Flex your right foot to protect your knee.
- Sit up as straight as you can. You might already feel a big stretch in your hip.
- If you want more, lean forward just a tiny bit with a flat back.
- Hold for 30 seconds and then switch legs.
6. Knee-to-Chest Hug
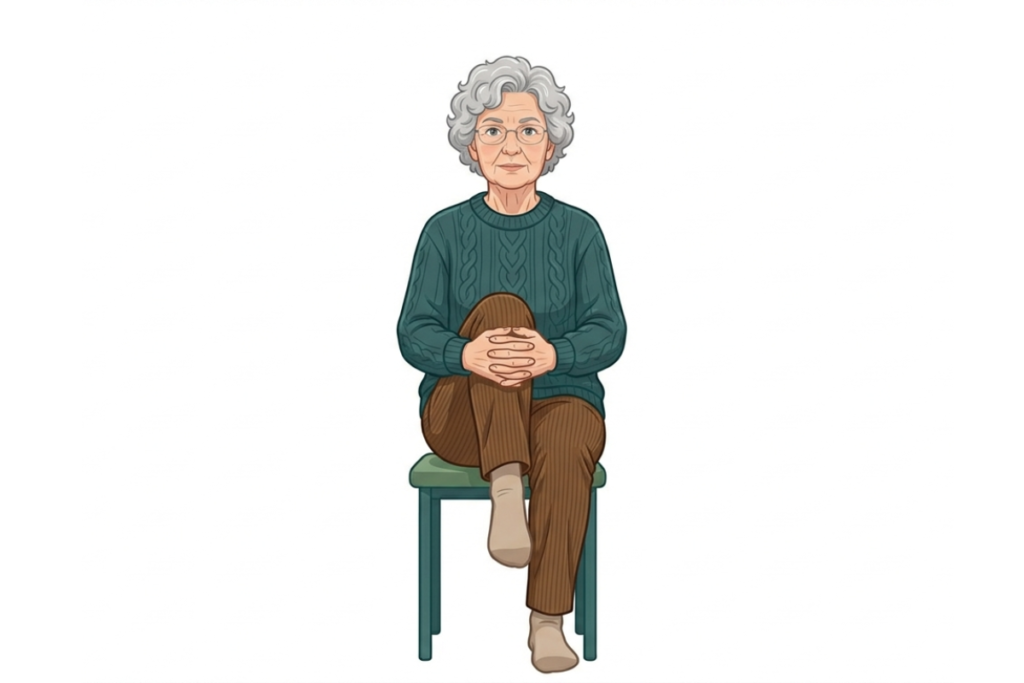
This move provides a very gentle “decompressing” feel for the lower lumbar area.
- Sit back in your chair so your spine is supported.
- Lift your right knee and hug it toward your chest with both hands.
- While holding your knee, gently rotate your ankle to stretch both areas at once.
- Hold for 30 seconds, feeling the lower back flatten against the chair.
- Lower your leg slowly and repeat with the left knee.
7. Seated Crescent Lunge
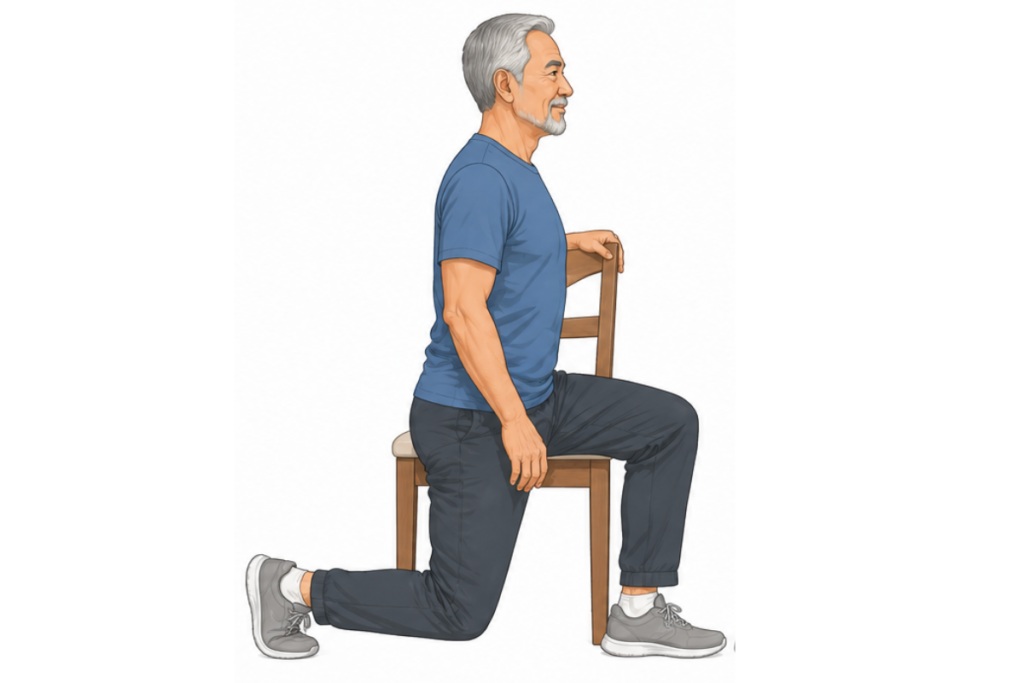
This stretches the hip flexors. When the front of your hips is tight (from sitting), they pull on your lower back.
- Turn your body to the right so you are sitting sideways on the chair.
- Only your right buttock should be on the seat.
- Drop your left knee toward the floor and scoot your left foot back until you feel a stretch in the front of your left thigh.
- Hold onto the back of the chair for balance.
- Hold for 5 breaths and switch sides.
8. Shoulder Rolls
You might wonder how your shoulders affect your lower back. Everything in the body is connected. Poor upper-body posture can lead to discomfort in your lower back.
- Sit up tall.
- Inhale and shrug your shoulders up to your ears.
- Exhale and roll them back and down, squeezing your shoulder blades together.
- Repeat this movement 10 times. It can help your shoulders feel more relaxed.
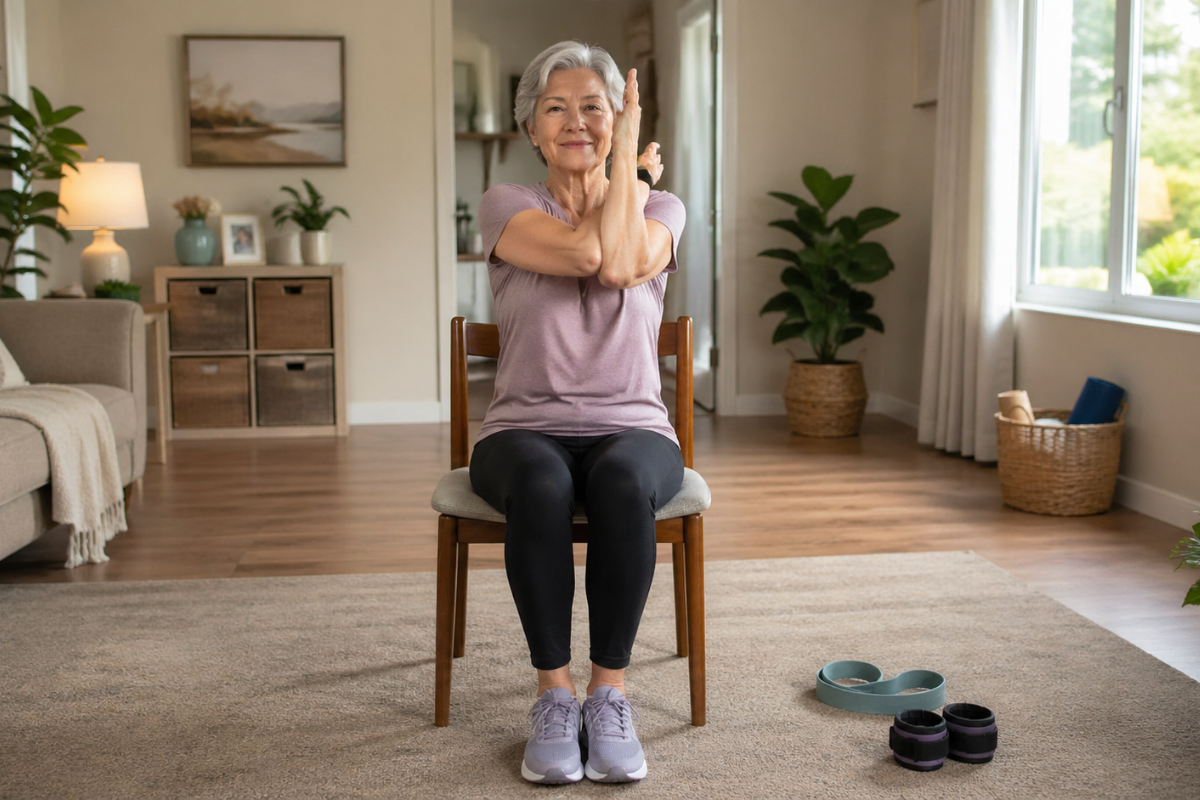
9. Seated Eagle Arms
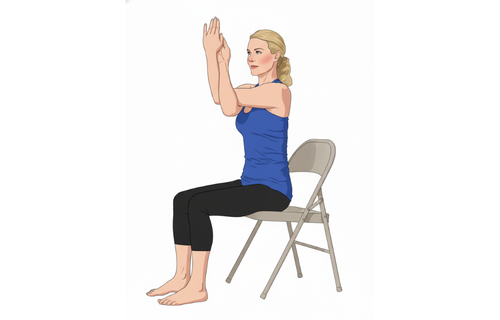
This opens up the space between your shoulder blades and helps keep your posture upright, taking the pressure off your lower spine.
- Extend your arms straight out in front of you.
- Cross your right arm over your left at the elbows.
- Bend your elbows and try to touch your palms together (or just the backs of your hands).
- Lift your elbows slightly and breathe into your upper back.
- Switch arms after 30 seconds.
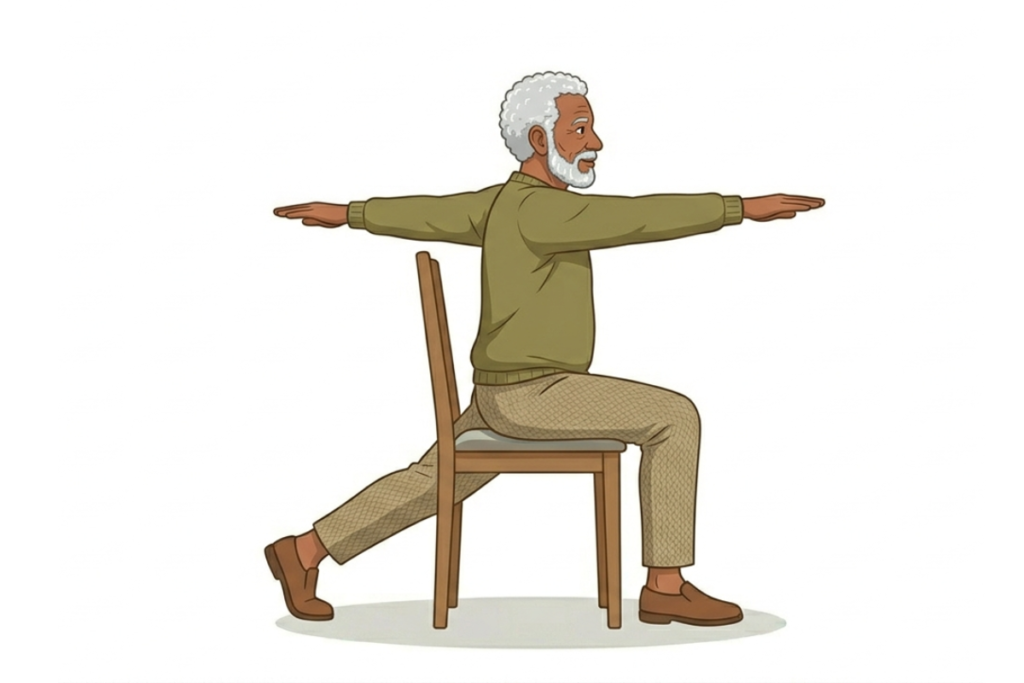
10. The Seated “Airplane”
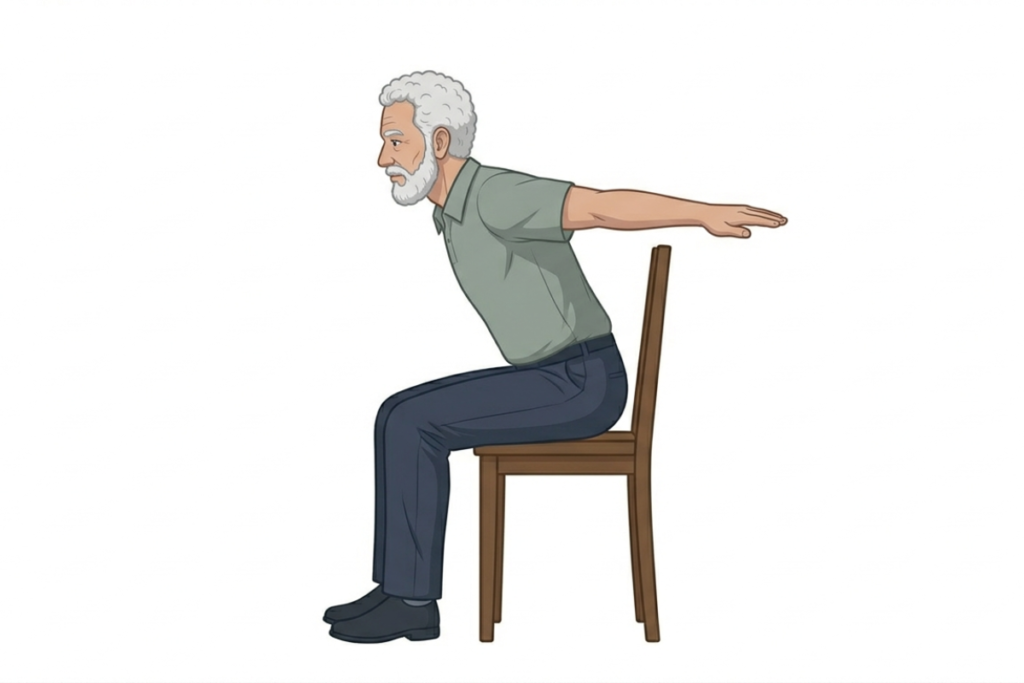
This builds a little bit of strength in the muscles that support your spine.
- Sit toward the edge of your chair with feet flat.
- Lean forward at a 45-degree angle, keeping your back flat.
- Extend your arms out to the sides like airplane wings.
- Squeeze your back muscles to keep your chest lifted.
- Hold for 10 seconds, rest, and repeat 3 times.
11. Ankle Circles and Leg Extensions

Keeping the legs moving helps circulation and prevents the lower back from “locking up” from inactivity.
- Sit tall and straighten your right leg out in front of you.
- Flex your toes back toward your face, then point them away.
- Circle your ankle 5 times in each direction.
- Lower the leg and repeat on the other side.
12. Seated Goddess Pose
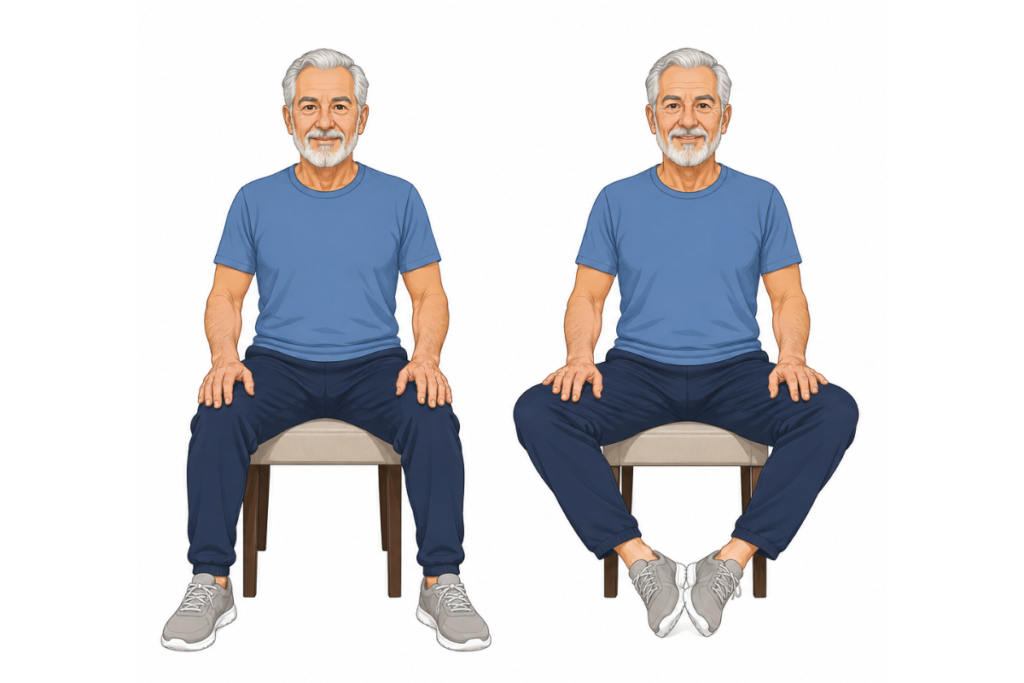
This opens the inner thighs and the groin, which helps the pelvis sit in a more natural position.
- Sit at the edge of your chair.
- Open your knees wide, pointing your toes outward.
- Place your hands on your knees and sit as tall as possible.
- Gently press your knees open with your hands to feel the stretch.
- Take 5 deep breaths here.
13. Seated Warrior II
This pose helps you build strength while safely stretching your hips and legs.
- Open your knees wide like in the Goddess Pose.
- Straighten your left leg out to the side while keeping your right knee bent at a 90-degree angle.
- Reach your arms out to the sides, level with your shoulders.
- Look out over your right hand.
- Hold for three breaths, then repeat on the other side.
14. Seated Thread the Needle
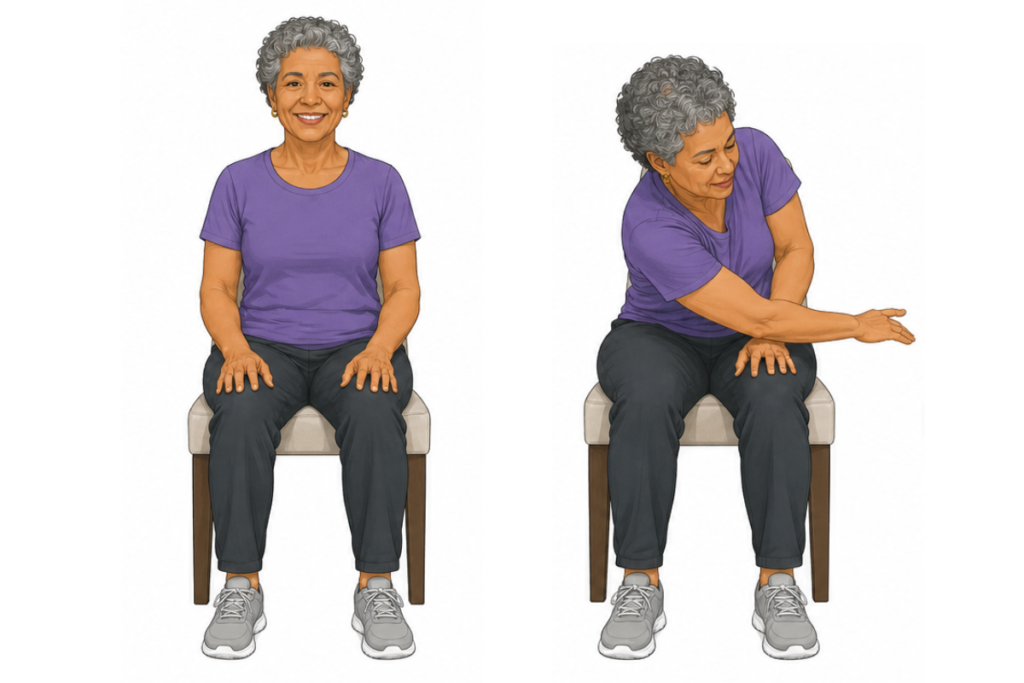
This is a fantastic stretch for the mid and lower back.
- Sit with your feet flat and knees hip-width apart.
- Place your left hand on your left thigh.
- Reach your right arm over your left arm and extend it toward the left side of the room.
- Allow your torso to gently follow the movement.
- Hold for 3 breaths and switch.
15. Final Relaxation (Savasana in a Chair)
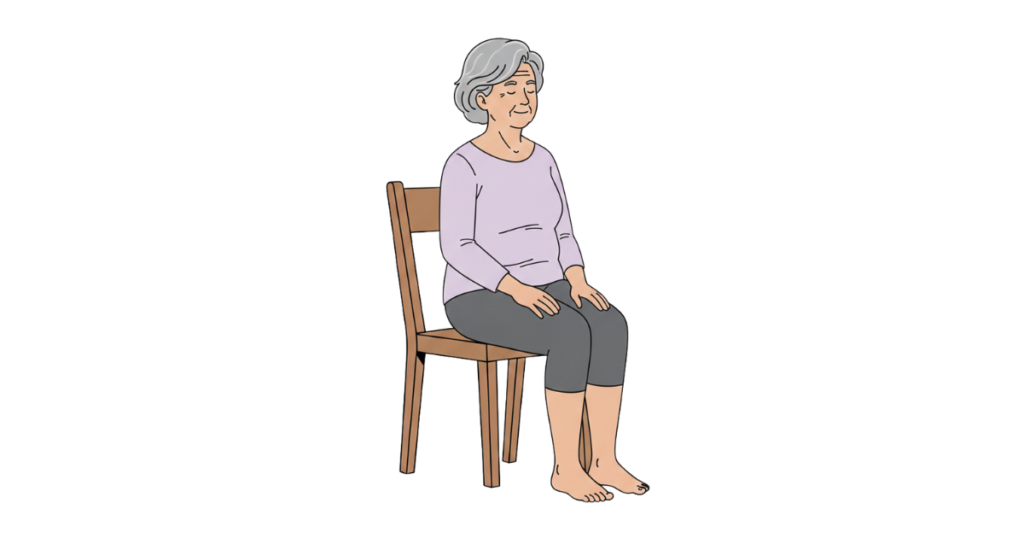
Don’t skip the rest period. This gives your body time to relax and recover from the gentle lower back pain exercises.
- Sit all the way back in your chair.
- Rest your hands in your lap, palms up.
- Close your eyes or look softly at the floor.
- Take 10 slow, deep breaths, letting your shoulders drop away from your ears.
- When you are ready, wiggle your toes and open your eyes.
Why Consistency Beats Perfection
When you begin these stretches, it’s normal to feel a bit stiff. You might only reach your knees instead of your ankles, or your twist may be small. That’s perfectly fine. Your body is always changing and improving.
The key to long-term relief is to keep practicing. Even if you only do one or two poses today, that’s a success. The goal isn’t to become a yoga expert, but to enjoy daily activities like picking up your grandkids, gardening, or walking without back pain.
Final Thoughts
Caring for your back can be simple. Adding these gentle workouts for lower back pain to your daily routine helps your body move more easily. Over time, you’ll notice your movements becoming smoother. Why not start now? Since you’re already sitting, try the Seated Cat-Cow or a gentle side stretch. Your back may feel better, and you might notice fewer aches in the morning. Take it one stretch at a time and stay positive.