You don’t need a gym membership, a yoga mat, or to be super flexible to get moving. If you have a sturdy chair and a few minutes, you’re set. Gentle chair exercises for seniors are a great way to stay active, mobile, and feel good without stressing your joints. Whether you’re recovering from an injury, managing arthritis, or just haven’t exercised in a while, this guide is for you.
Let’s start moving, one gentle step at a time.
Why Chair Exercises Are a Big Deal for Older Adults
Do chair exercises sound too easy to make a difference? They’re actually very effective. Research shows that regular low-impact movement helps seniors:
- Improve balance and reduce fall risk.
- Maintain joint flexibility and reduce stiffness.
- Boost circulation and heart health.
- Lift mood and reduce feelings of anxiety or depression.
- Build core and leg strength for everyday tasks.
The best part is you can do these gentle seated exercises for seniors while watching TV, listening to your favorite podcast, or sitting by a sunny window. You don’t even have to break a sweat—unless you want to.
Before You Begin: A Few Quick Tips
- Choose the right chair. Use a sturdy, armless chair that doesn’t roll. A dining chair works great.
- Wear comfortable clothes and flat-soled shoes (or go barefoot if you prefer).
- Listen to your body. Some muscle fatigue is normal, but pain means you should stop and take a break.
- Remember to breathe. It’s easy to forget when you’re focused, so keep your breathing slow and steady.
- Focus on consistency rather than perfection. Doing a small amount each day is better than doing a lot only once a week.
Ready? Let’s go through all 12 exercises.
The 12 Chair Exercises (With Step-by-Step Instructions)
Warm-Up Exercises (Start Here!)
These first moves gently warm up your body, so don’t skip them. Just like you wouldn’t spread cold butter straight from the fridge, your muscles need a little time to loosen up.
1. Seated Deep Breathing
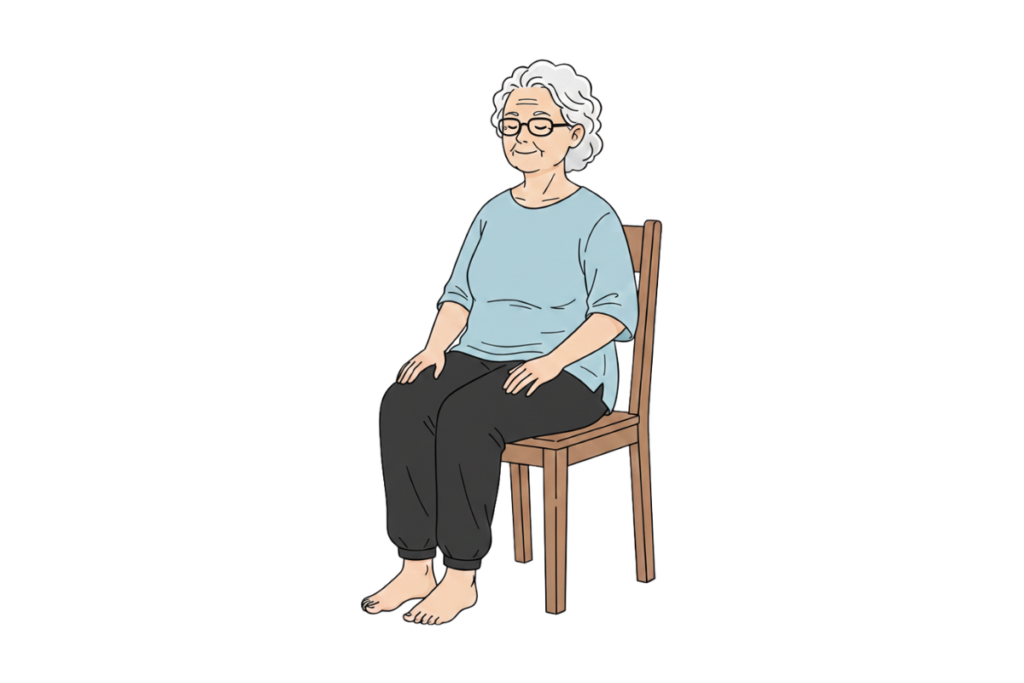
Why it helps: Calms the nervous system, improves lung capacity, and sets a relaxed tone for the rest of your workout.
How to do it:
- Sit up tall with both feet flat on the floor, hip-width apart.
- Place your hands on your thighs.
- Inhale slowly through your nose for a count of 4.
- Hold gently for 2 counts.
- Exhale through your mouth for a count of 6.
- Repeat 5 to 8 times.
Tip: If you feel comfortable, close your eyes. This exercise is good for both your body and your well-being.
2. Neck Rolls
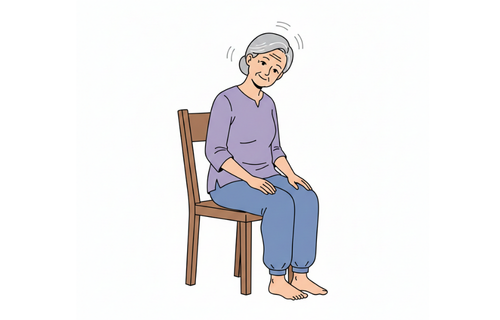
Why it helps: Releases tension in the neck and upper shoulders, which can build up from looking down at phones or screens.
How to do it:
- Sit up straight and relax your shoulders.
- Slowly drop your right ear toward your right shoulder.
- Hold for 3 seconds, then gently roll your chin down toward your chest.
- Continue rolling to the left side, with the ear toward the left shoulder.
- Hold for 3 seconds and return to the center.
- Repeat 3 to 5 times in each direction.
Tip: Move slowly and smoothly. There’s no need to rush.
3. Shoulder Rolls
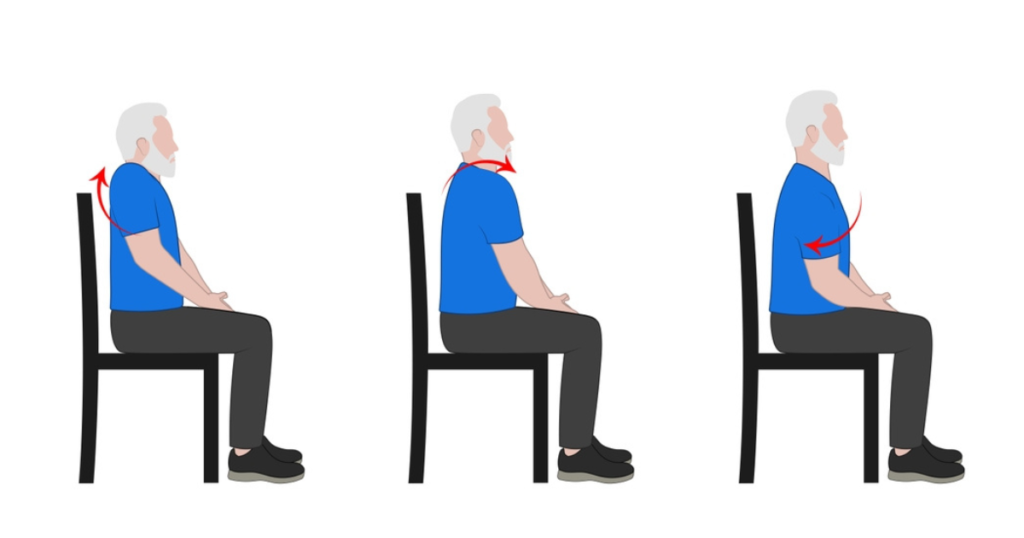
Why it helps: Loosens up the shoulders and upper back, which tend to tighten with age and poor posture.
How to do it:
- Sit with your back straight and arms relaxed at your sides.
- Slowly roll both shoulders forward in a circular motion, making big, easy circles.
- Do 5 forward rolls, then reverse and do 5 backward rolls.
Tip: Pair this with deep breathing for an extra relaxation boost.
Core and Upper Body Exercises
4. Seated Marching
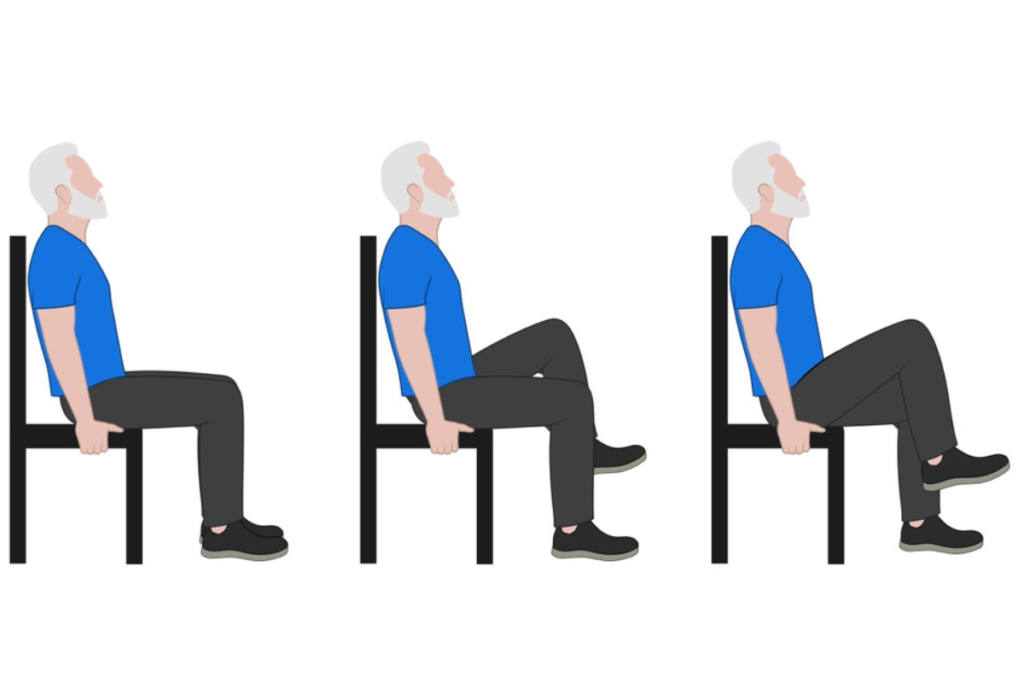
Why it helps: It gets your blood flowing and works the hip flexors and core muscles.
How to do it:
- Sit up tall with feet flat on the floor.
- Lift your right knee up toward your chest, then lower it back down.
- Lift your left knee, then lower it.
- Alternate legs in a marching rhythm.
- Continue for 30 to 60 seconds.
Tip: Pump your arms gently as you march to increase the intensity slightly.
5. Seated Torso Twist
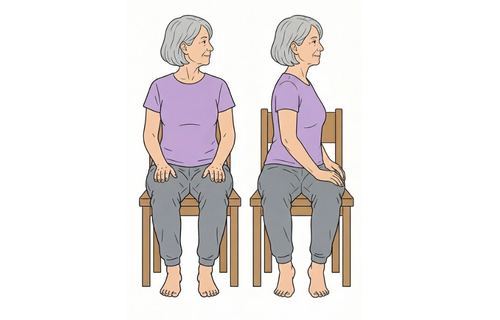
Why it helps: Improves spinal mobility and works the oblique muscles, which are located on the sides of your abdomen.
How to do it:
- Sit up straight with both feet flat on the floor.
- Place your hands on your left thigh.
- Slowly rotate your upper body to the right, leading with your eyes and nose.
- Hold for 2 to 3 seconds.
- Return to the center, then twist to the left.
- Repeat 8 to 10 times per side.
Tip: Keep your hips facing forward. Only your upper body should be turning.
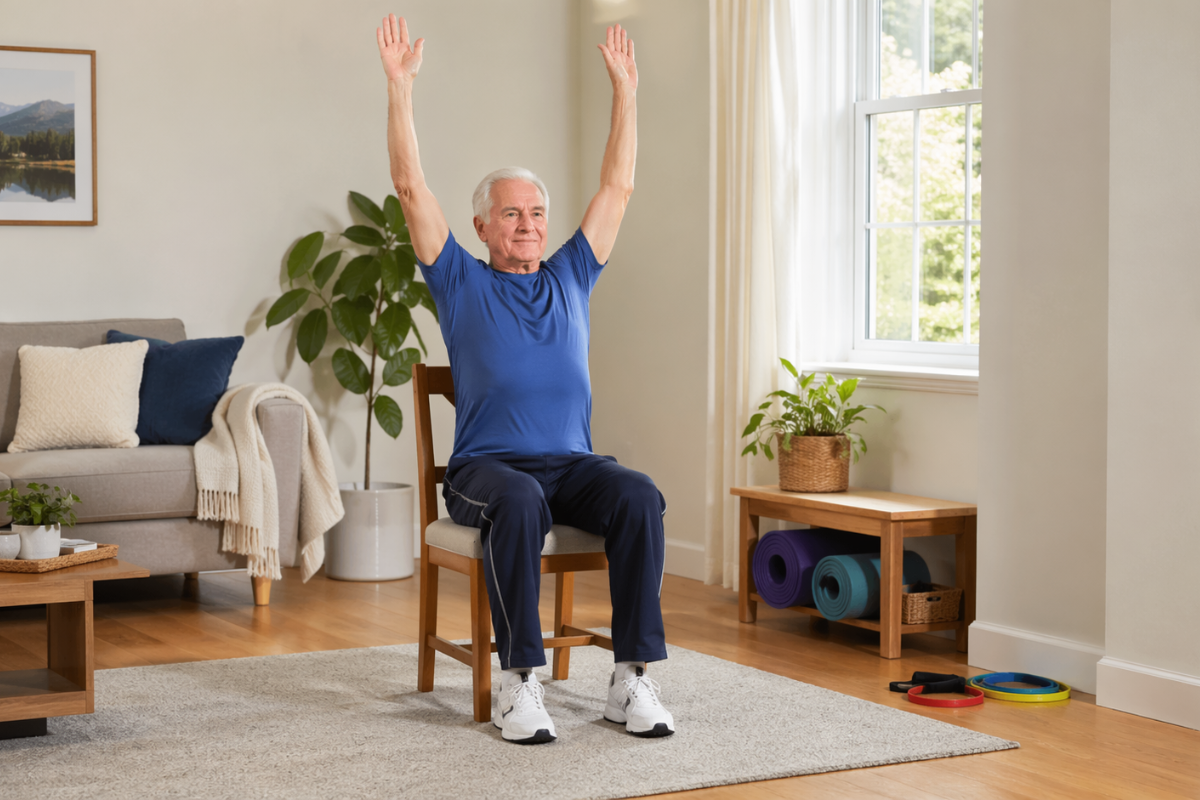
6. Seated Overhead Arm Raise
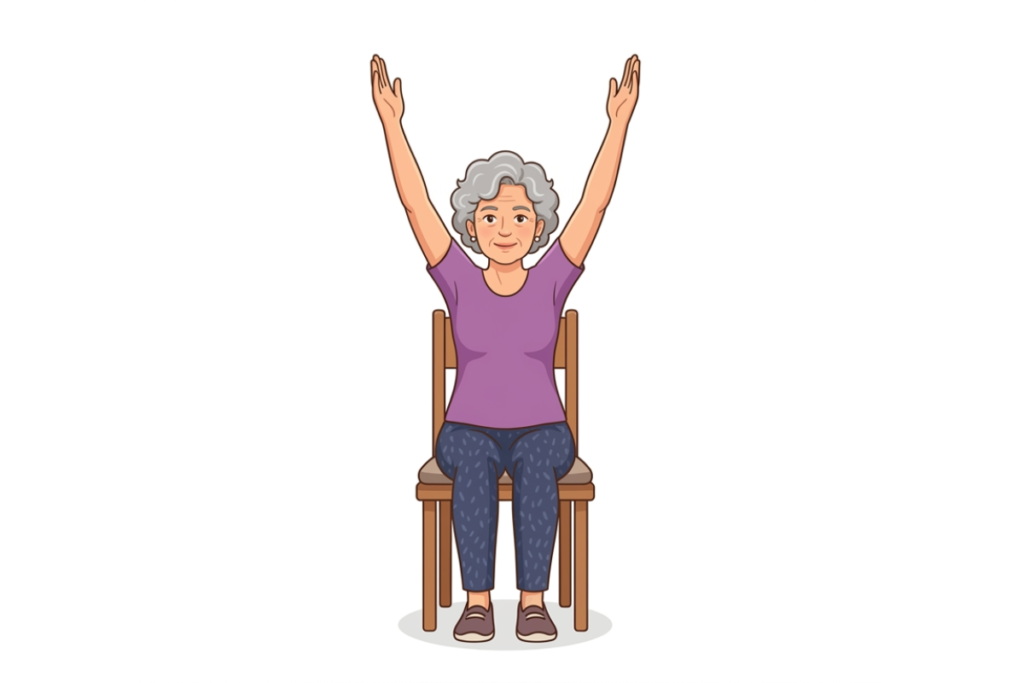
Why it helps: Strengthens the shoulders and upper back, and also works your core muscles.
How to do it:
- Sit tall with your arms resting at your sides.
- Slowly raise both arms out to the side and then up overhead, like you’re making a big letter “Y.”
- Hold for 2 seconds at the top.
- Lower your arms slowly back down.
- Repeat 10 to 12 times.
Tip: If lifting both arms is uncomfortable, try one arm at a time.
7. Seated Row (No Equipment Version)

Why it helps: Strengthens the upper back and helps improve posture, especially if you spend a lot of time sitting.
How to do it:
- Sit near the edge of your chair with feet flat on the floor.
- Extend both arms straight out in front of you, palms facing each other.
- Pull your elbows back like you’re rowing a boat, squeezing your shoulder blades together.
- Hold for 2 seconds, then slowly extend your arms back out.
- Repeat 10 to 15 times.
Tip: Squeeze your shoulder blades together as if you are gently pressing them toward each other.
Lower Body and Balance Exercises
8. Seated Leg Extensions
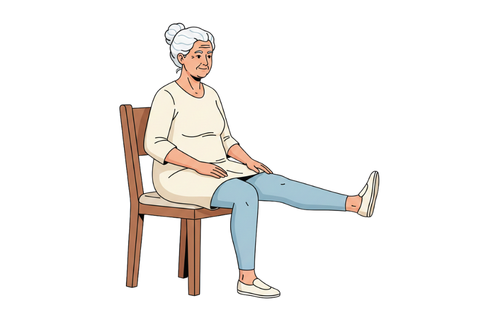
Why it helps: Strengthens the quadriceps (front of thighs), which are crucial for getting up from chairs and climbing stairs.
How to do it:
- Sit up straight and hold the sides of your chair lightly for support.
- Slowly extend your right leg out until it is as straight as comfortable.
- Hold for 3 to 5 seconds, squeezing the thigh muscle.
- Slowly lower the leg back down.
- Repeat 10 times on each side.
Tip: While your leg is extended, try pointing and flexing your foot to stretch your calf.
9. Seated Heel-to-Toe Raises

Why it helps: Strengthens the calves and ankles, which are important for balance and walking stability.
How to do it:
- Sit with both feet flat on the floor.
- Lift both heels off the floor and come up onto your toes.
- Hold for 2 seconds.
- Lower your heels back down, then lift your toes off the floor (keeping your heels down).
- Hold for 2 seconds.
- Alternate 10 to 15 times.
Tip: This movement helps keep your ankles flexible and strong.
10. Seated Hip Marching with Resistance
Why it helps: Builds hip flexor strength and improves leg circulation.
How to do it:
- Sit up tall with feet flat on the floor.
- Place both hands on your right thigh just above the knee.
- Try to lift your right knee while pressing down gently with your hands to create resistance.
- Hold for 3 seconds, then lower.
- Switch to the left side.
- Repeat 8 to 10 times per leg.
Tip: You can decide how much resistance to use. Begin with gentle pressure and increase it as you get stronger.
Cool-Down and Stretches
11. Seated Figure-Four Stretch (Hip Opener)
Why it helps: Stretches the hips, glutes, and lower back. This stretch can feel especially good after sitting for a long time.
How to do it:
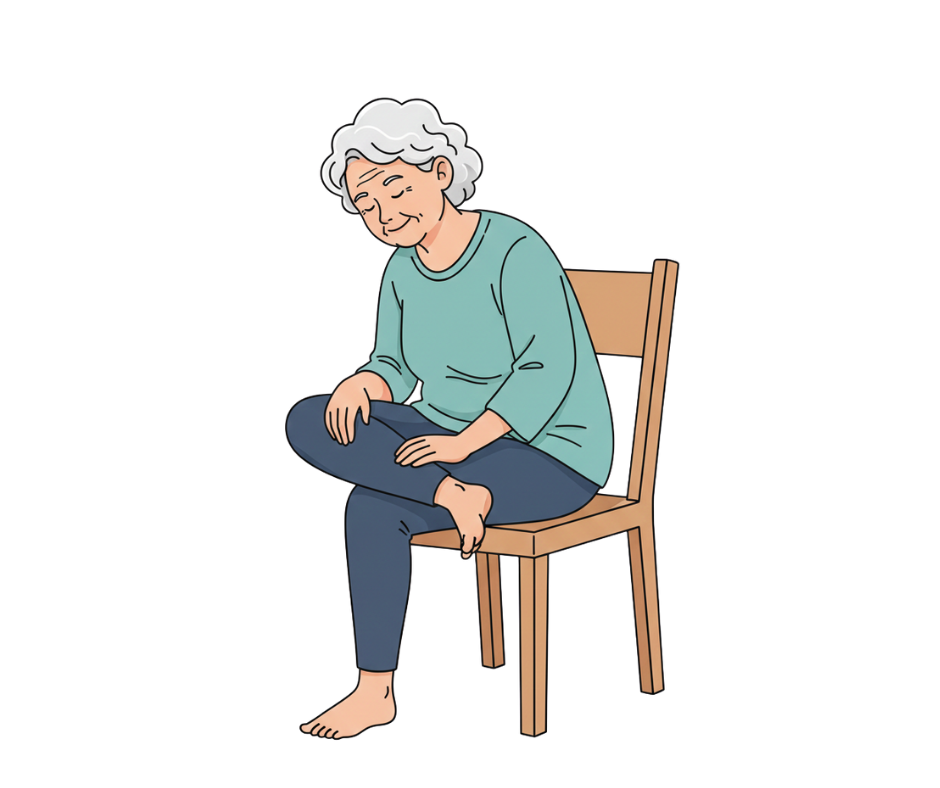
- Sit near the edge of your chair with both feet flat on the floor.
- Lift your right ankle and rest it on your left knee, forming a figure-four shape.
- Sit up tall and gently lean forward from your hips (not your lower back) until you feel a stretch in your right hip and glute.
- Hold for 20 to 30 seconds.
- Switch sides and repeat.
Tip: If your knee feels uncomfortable in this position, skip this stretch and do the heel-to-toe raises instead.
12. Seated Forward Fold
Why it helps: Stretches the lower back and hamstrings and provides a calm way to end your session.
How to do it:
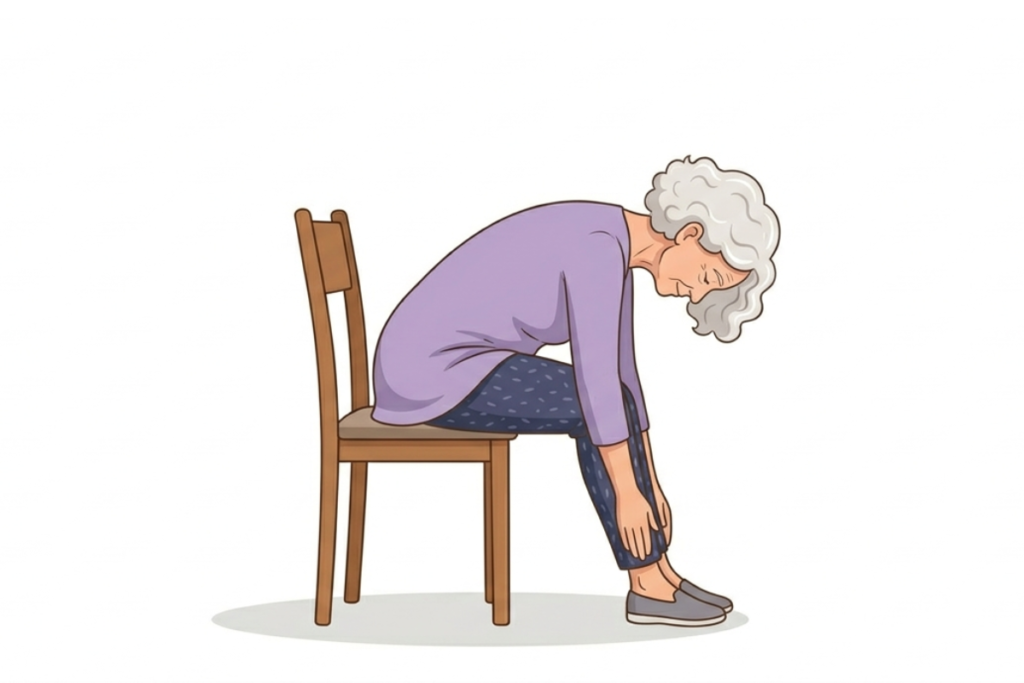
- Sit near the edge of your chair with feet flat on the floor, slightly wider than hip-width apart.
- Take a deep breath in.
- As you exhale, slowly fold forward from your hips, letting your hands drop toward the floor or rest on your shins.
- Let your head hang heavy and relax your neck.
- Hold for 20 to 30 seconds.
- Slowly roll back up to seated, one vertebra at a time.
Tip: You don’t need to touch the floor. Only go as far as is comfortable and remember to breathe deeply.
How Often Should Seniors Do Chair Exercises?
Try to do these exercises 3 to 5 times a week, even if each session is just 10 to 15 minutes. Being consistent is what leads to real progress. A short workout you complete is much better than waiting for the perfect time to start.
Begin with exercises 1-6 during your first week. Add more as you feel stronger and more confident. Go at your own pace—there’s no rush and no one is judging.
Final Thoughts
You’ve just learned 12 easy chair exercises for seniors, so you’re already more prepared than many people who only think about exercising. Give yourself credit for taking this step.
Choose three exercises from this list and try them today. Set a reminder, find a comfortable chair, and spend 10 minutes on yourself. That’s all you need to do.
Movement is good for you, and it doesn’t have to be complicated, painful, or expensive. All you need is a sturdy chair and a willingness to try. You can do this.