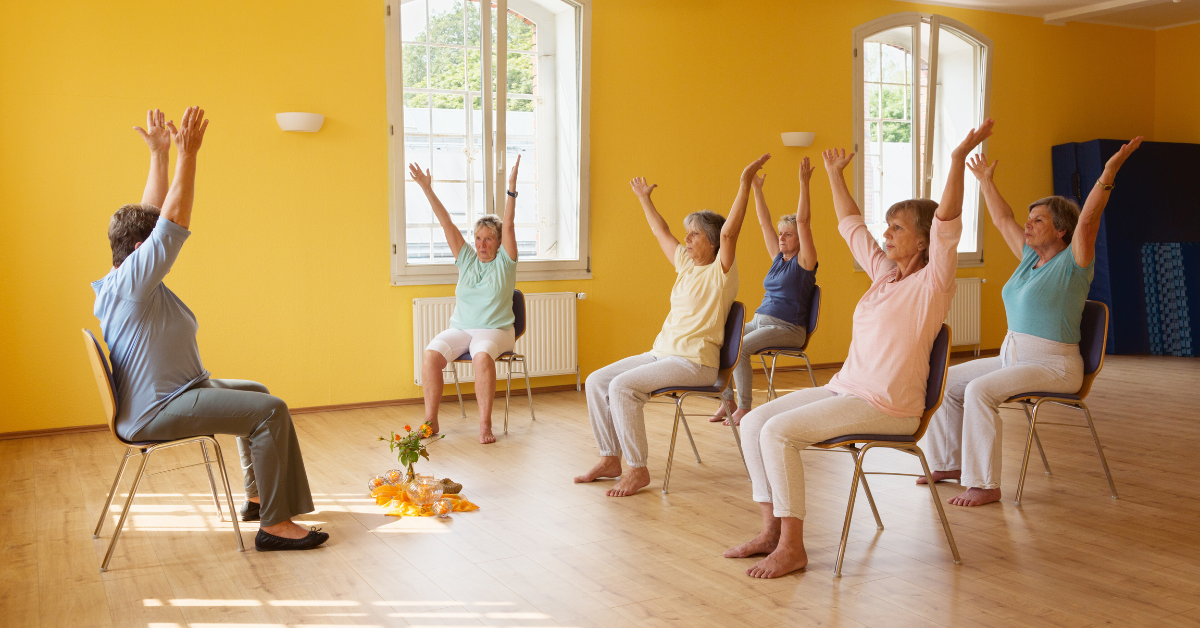
The idea of getting down on a yoga mat and pretzel-ing yourself into warrior pose can feel about as appealing as attempting a backflip at the grocery store. But here’s the beautiful secret that chair yoga images reveal to beginners everywhere: you don’t need to be flexible, young, or able to touch your toes to enjoy yoga’s amazing benefits.
Chair yoga offers all the benefits of traditional yoga—better flexibility, stronger muscles, and a calmer mind—right from your favorite seat. Whether you’re recovering from an injury, have limited mobility, or just like having extra support while you stretch, chair yoga meets you where you are. There’s no judgment or pressure, just gentle movement that feels good.
Ready to give it a try? Here are 12 beginner-friendly poses that can help you feel looser, calmer, and maybe even a bit proud of yourself.
Why Chair Yoga Is Perfect for Beginners
Before we get into the poses, here’s why chair yoga is such a helpful option for beginners:
It’s accessible. You don’t need special equipment. You just need a sturdy chair without wheels. Trust me, the no-wheels part is important.
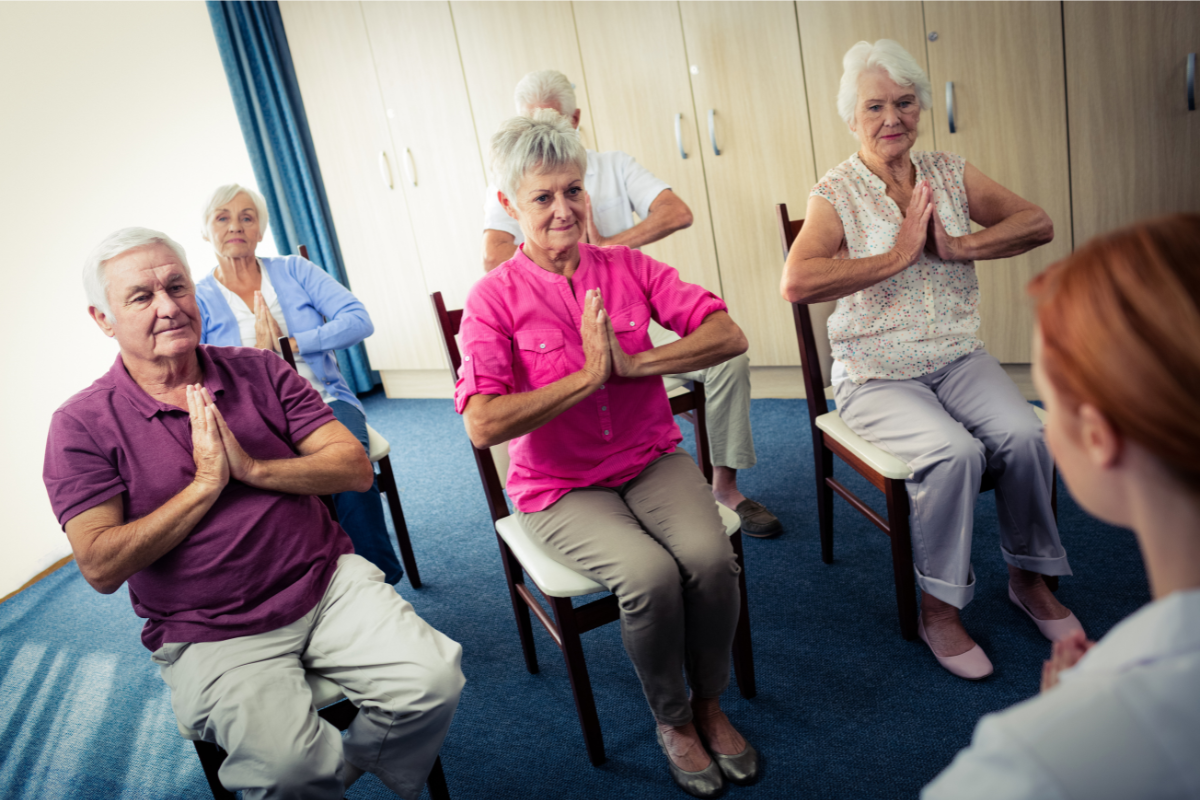
It’s safe. The chair provides stability and support, reducing fall risk and making poses easier to hold.
It’s effective. You’ll still build strength, improve flexibility, and reduce stress, all from a seated position.
It’s adaptable. Every pose can be modified to match your comfort level and ability.
Getting Started: What You Need
Here’s your shopping list (spoiler: it’s short):
- A sturdy chair without wheels
- Comfortable clothing that lets you move
- Optional: a yoga strap or belt for certain stretches
- Your wonderful self and a willingness to try
Many seniors find it helpful to follow along with a chair yoga book for seniors, especially when paired with chair yoga images and illustrations that demonstrate proper form.
12 Beginner Chair Yoga Poses (Step-by-Step)
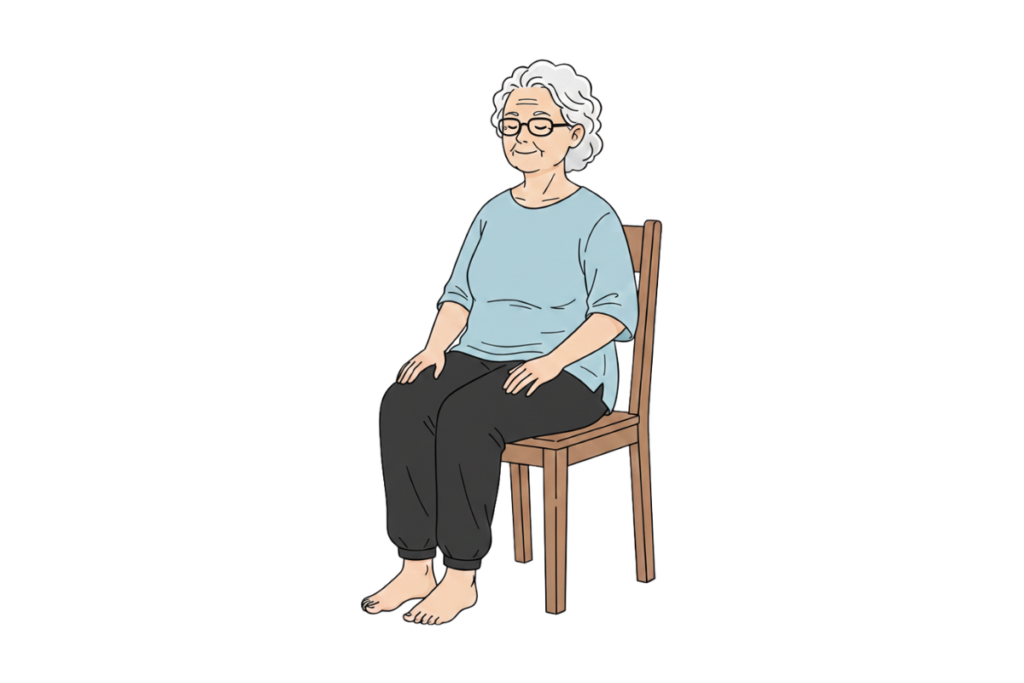
1. Seated Mountain Pose (The Foundation)
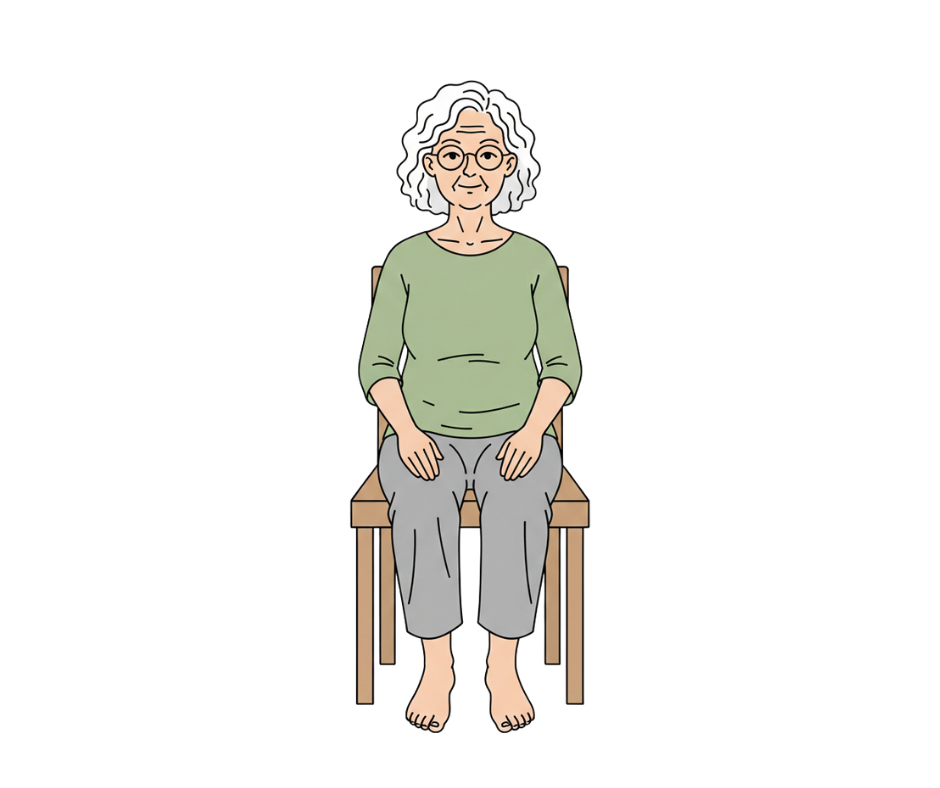
This is your home base. Simple but powerful.
How to do it:
- Sit toward the front of your chair, with your feet flat on the floor and hip-width apart.
- Lengthen your spine like someone’s gently pulling a string from the top of your head.
- Rest your hands on your thighs, palms down.
- Take 5-10 deep breaths, relaxing your shoulders away from your ears.
Tip: This pose focuses on alignment. Aim to feel tall, not tense.
2. Seated Cat-Cow Stretch
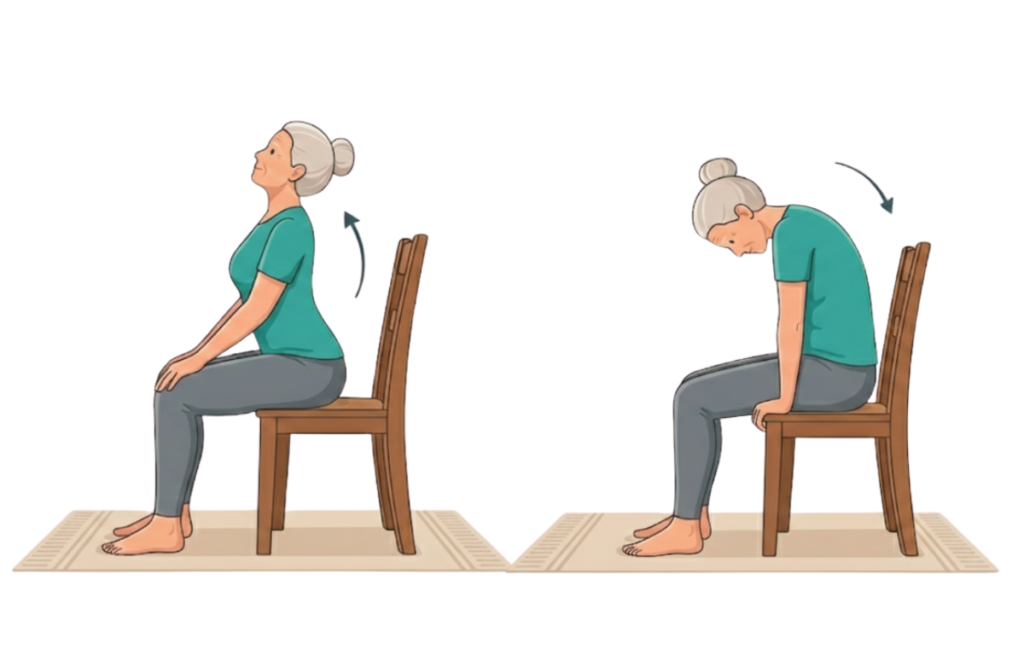
Perfect for warming up that spine of yours.
How to do it:
- Start in seated mountain pose, hands on knees.
- Inhale: arch your back gently, look up, and open your chest (cow).
- Exhale: round your spine, drop your chin to your chest, and draw your belly in (cat).
- Repeat 5-8 times, moving with your breath.
Tip: Move slowly. This is not a race. It’s a gentle way to wake up your back.
3. Seated Forward Fold
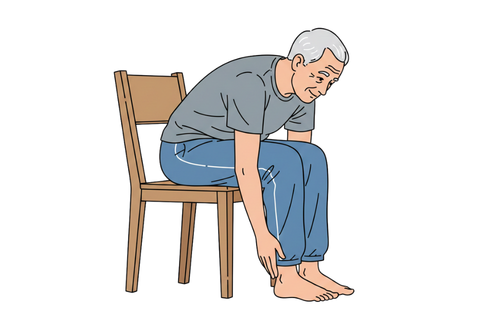
A calming stretch for your back and hamstrings.
How to do it:
- Sit with feet flat, hip-width apart.
- Inhale and lengthen your spine.
- Exhale and slowly hinge forward from your hips (not your waist).
- Let your hands rest on your legs, shins, or toward the floor.
- Hold for 5-10 breaths, then slowly roll back up.
Tip: Don’t force the stretch. If you only bend a little, that’s perfectly fine. Let gravity do the work.
4. Seated Spinal Twist
This pose is great for digestion and spinal mobility. Your back will thank you.
How to do it:
- Sit sideways on your chair, feet flat.
- Hold the back of the chair with both hands.
- Inhale to lengthen your spine.
- Exhale and gently twist toward the back of the chair.
- Hold for 5-8 breaths, then switch sides.
Tip: Twist from your core instead of pulling on the chair. Keep it gentle.
5. Seated Side Stretch
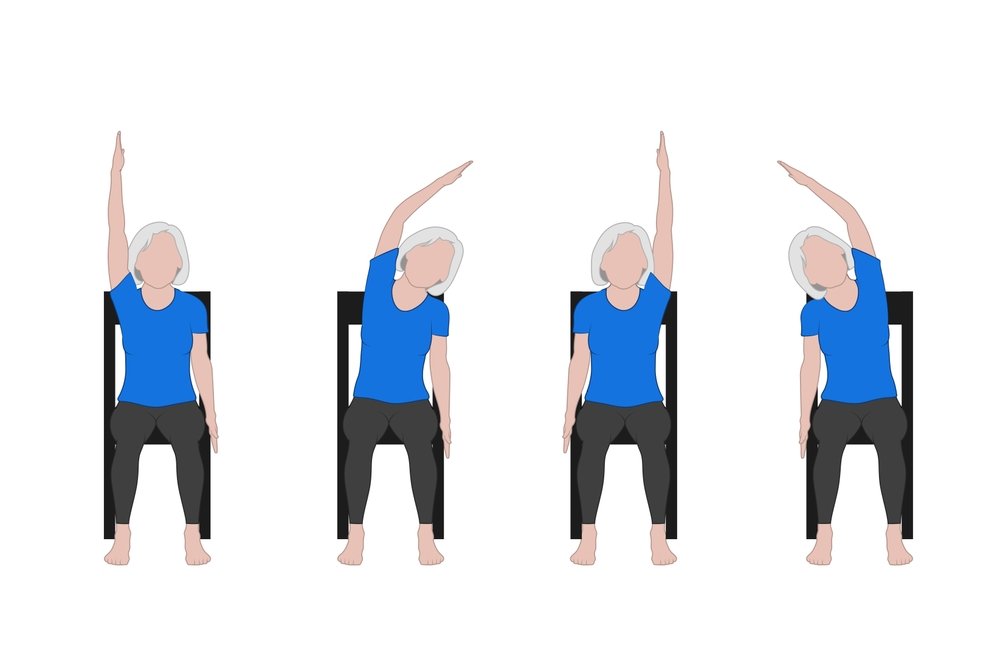
This stretch is great for opening up the muscles along your sides, even the ones you might not notice often.
How to do it:
- Sit in mountain pose.
- Raise your right arm overhead.
- Inhale, then exhale as you lean gently to the left.
- Keep your left hand on the chair for support.
- Hold for 5-8 breaths, then switch sides.
Tip: Picture making space between your ribs as you breathe into your side.
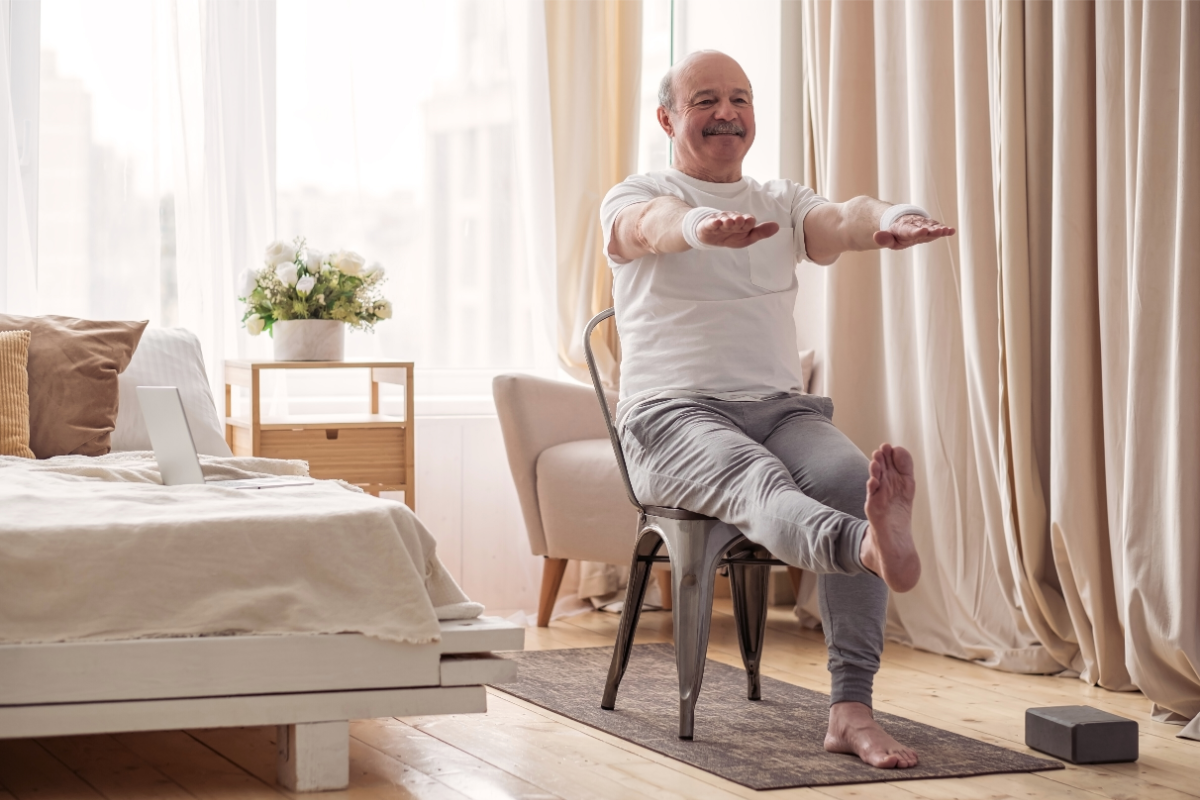
6. Seated Warrior I
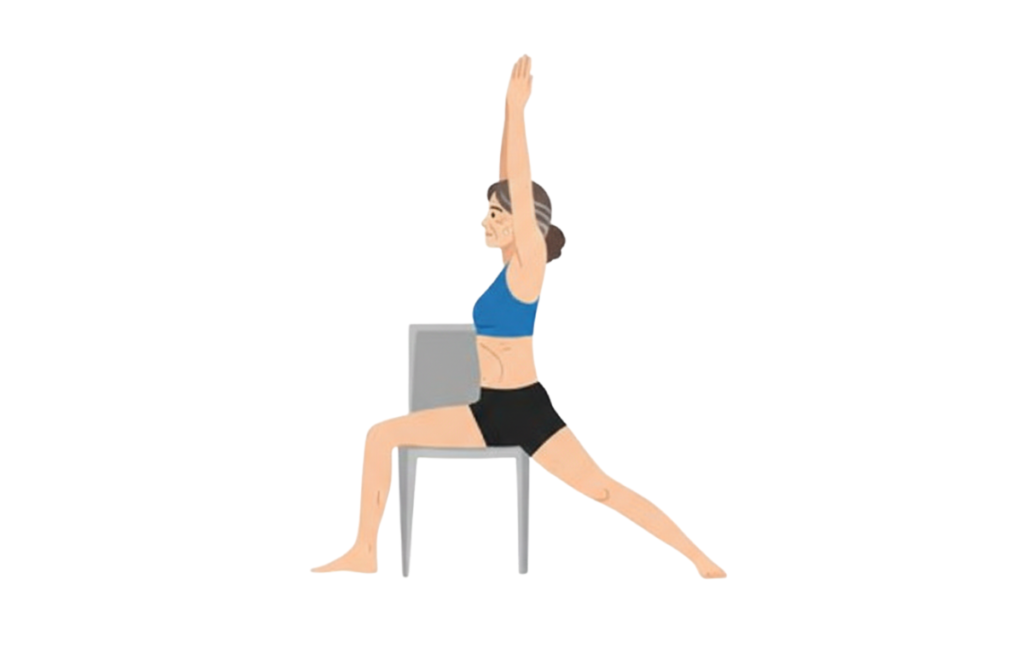
You get all the benefits of the warrior pose without needing to balance.
How to do it:
- Sit sideways on your chair, right leg forward.
- Extend your left leg back, toes on the floor.
- Raise both arms overhead (or as high as comfortable).
- Hold for 5-8 breaths, then switch sides.
Tip: If you feel strong in this pose, that’s exactly the goal.
7. Ankle Circles
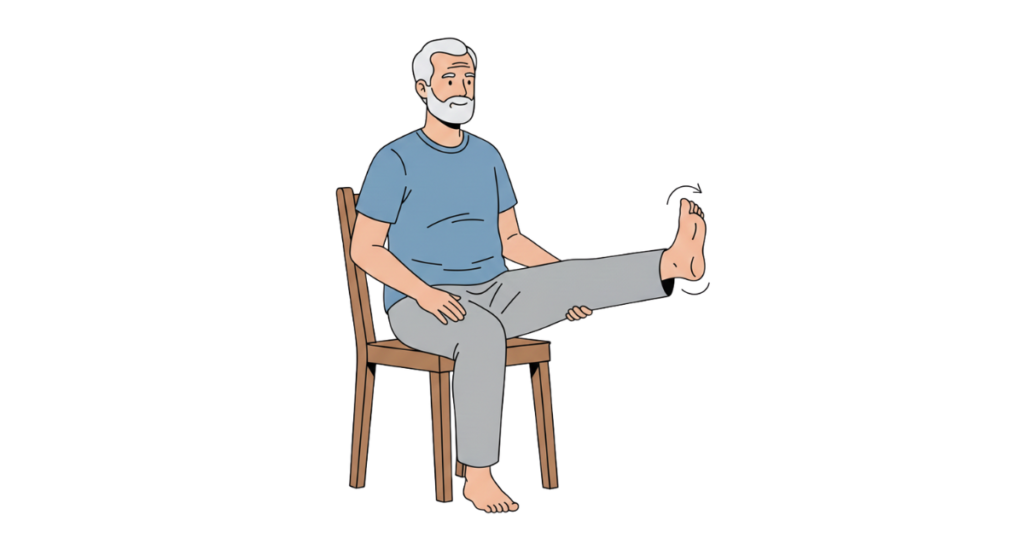
Simple but essential for circulation and ankle mobility.
How to do it:
- Sit comfortably, lift one foot slightly off the floor.
- Rotate your ankle slowly in circles, 5 times in one direction.
- Switch directions, 5 more circles.
- Repeat with the other foot.
Tip: This exercise is easy to do while watching TV, making it a simple way to multitask.
8. Seated Pigeon Pose
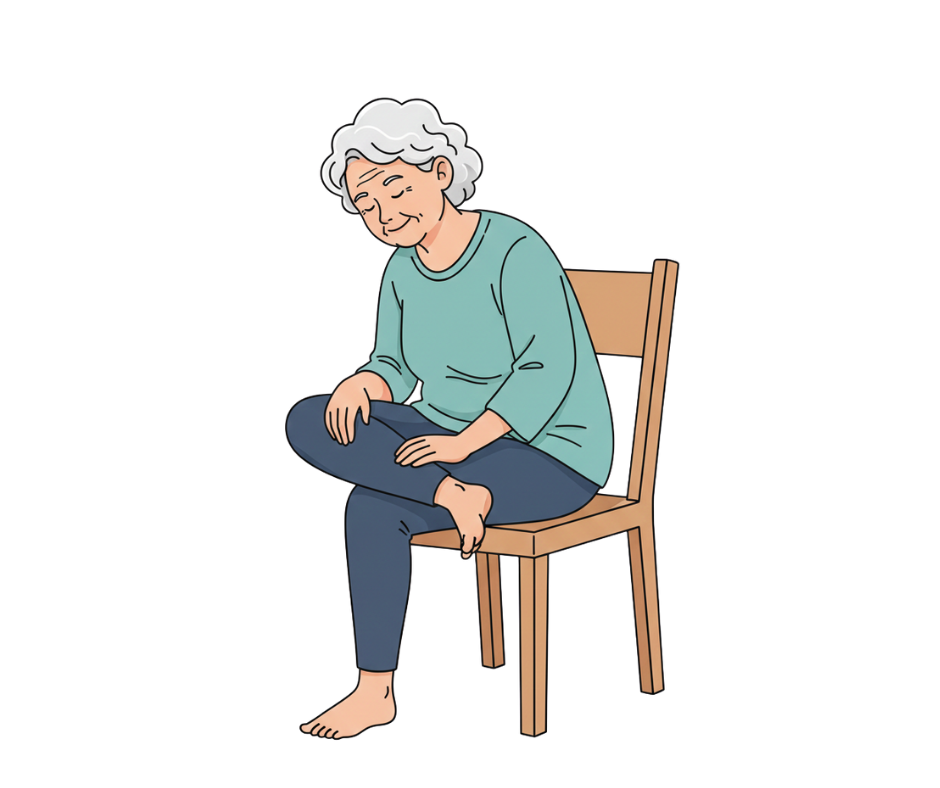
This hip opener lets you stretch without needing to sit on the floor.
How to do it:
- Sit in mountain pose.
- Place your right ankle on your left thigh (like crossing your legs, but higher)
- Flex your right foot to protect your knee.
- For a deeper stretch, gently lean forward.
- Hold for 5-10 breaths, then switch sides.
Tip: If this stretch feels intense, just rest your ankle on your thigh. Hip openers can be surprisingly strong.
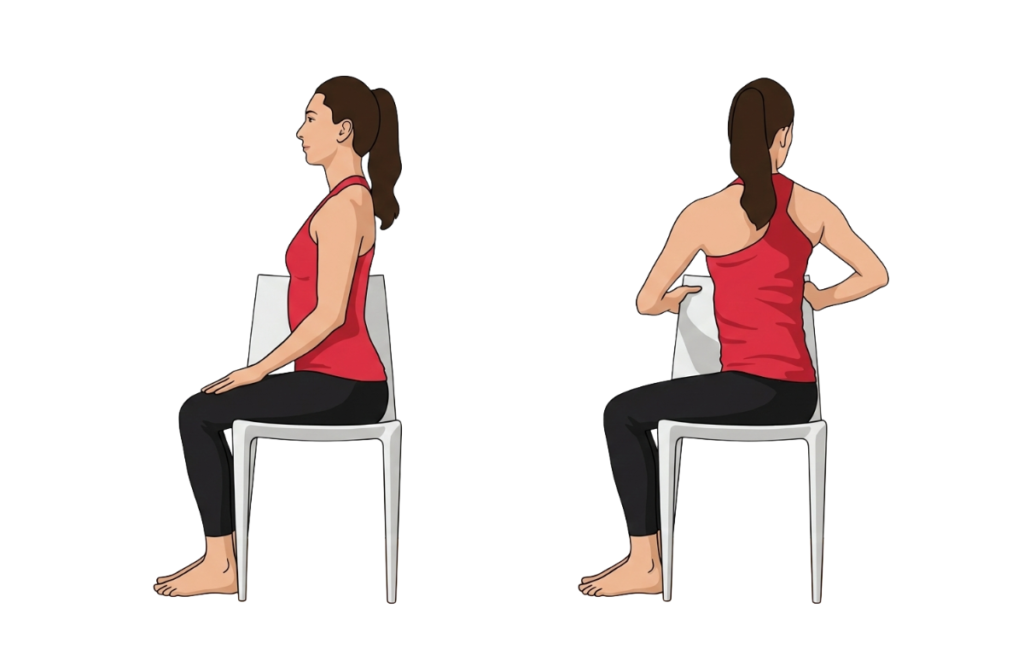
9. Seated Eagle Arms
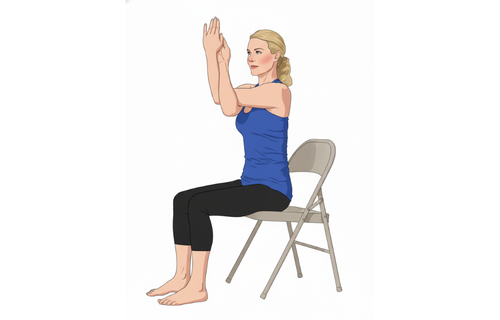
This stretch for your shoulders and upper back can feel as comforting as a hug.
How to do it:
- Extend your arms forward at shoulder height.
- Cross your right arm over your left.
- Bend your elbows and try to bring your palms together (or just touch the backs of your hands).
- Lift your elbows slightly and hold for 5-8 breaths.
- Switch arms and repeat.
Tip: This pose might feel awkward at first, and that’s normal. Think of it as giving yourself a gentle, twisted hug.
10. Seated Neck Rolls
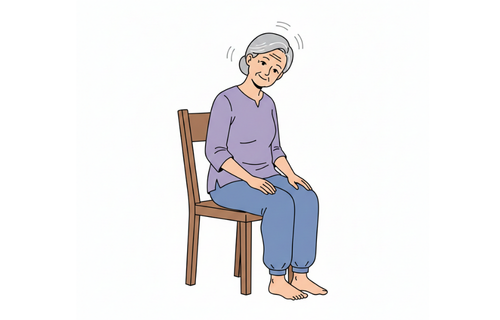
This pose helps release the tension that often builds up in your neck from daily life.
How to do it:
- Sit comfortably with your shoulders relaxed.
- Slowly drop your right ear toward your right shoulder.
- Roll your chin down toward your chest.
- Continue rolling to the left side.
- Complete 3-5 slow circles in each direction.
Tip: Move very slowly. If you go too fast, your neck will let you know.
11. Seated Hip Circles
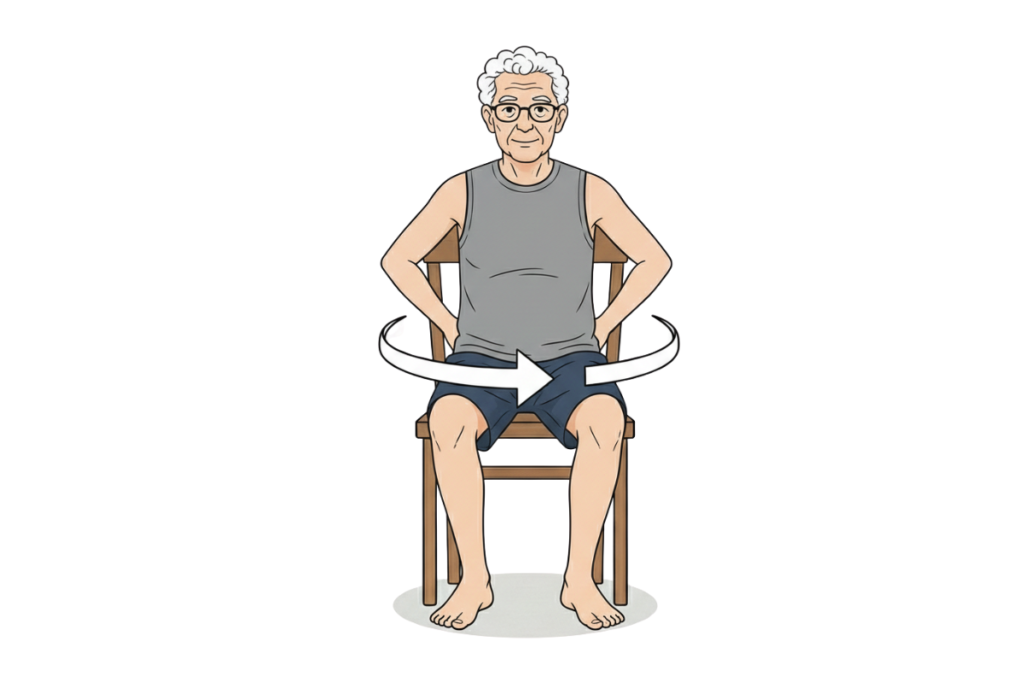
Gently move your hips to help them feel more awake and flexible.
How to do it:
- Sit toward the front of your chair.
- Place your hands on your hips.
- Make slow circles with your hips, 5 times clockwise.
- Switch directions, 5 times counterclockwise.
Tip: Imagine you are stirring a big pot with your hips. It may sound odd, but it’s an effective stretch.
12. Seated Savasana (Final Relaxation)
This is the best part of yoga: simply allowing yourself to relax and just be.
How to do it:
- Sit comfortably with your back supported.
- Rest your hands on your thighs.
- Close your eyes.
- Take slow, deep breaths for 2-5 minutes.
- Notice how your body feels.
Tip: If your mind wanders, gently bring your focus back to your breath. That’s what practicing is all about.
Tips for Success
Start small. Even 5 to 10 minutes of chair yoga is valuable. Being consistent is more important than being perfect.
Listen to your body. If something hurts—not just feels challenging, but truly hurts—stop and ease up. Your body knows best.
Breathe. If you notice you’re holding your breath, you might be pushing too hard. Let your breath guide your movement.
Use modifications. If you can’t reach very far, just go halfway. If you can’t hold a pose for long, that’s fine too. Everyone is different.
Practice regularly. Doing a little each day is better than one long session once a month.
Frequently Asked Questions
Q: How often should I practice chair yoga?
A: Start with 10-15 minutes, 3-4 times per week. As it becomes a habit, you can practice daily if you’d like. Even 5 minutes is beneficial.
Q: Do I need to be flexible to start chair yoga?
A: Absolutely not! Chair yoga actually helps you become more flexible over time. Start where you are, and you’ll be amazed at your progress.
Q: Can chair yoga help with back pain?
A: Many people find gentle chair yoga helps reduce back pain by improving flexibility and strengthening supporting muscles. Always check with your doctor first, especially for chronic pain.
Final Thoughts
The great thing about chair yoga is that you don’t need to be perfect to begin. Just grab a chair, choose one or two poses from this list, and give yourself five minutes today. Every expert started right where you are now. Your body will thank you for taking that first small step.