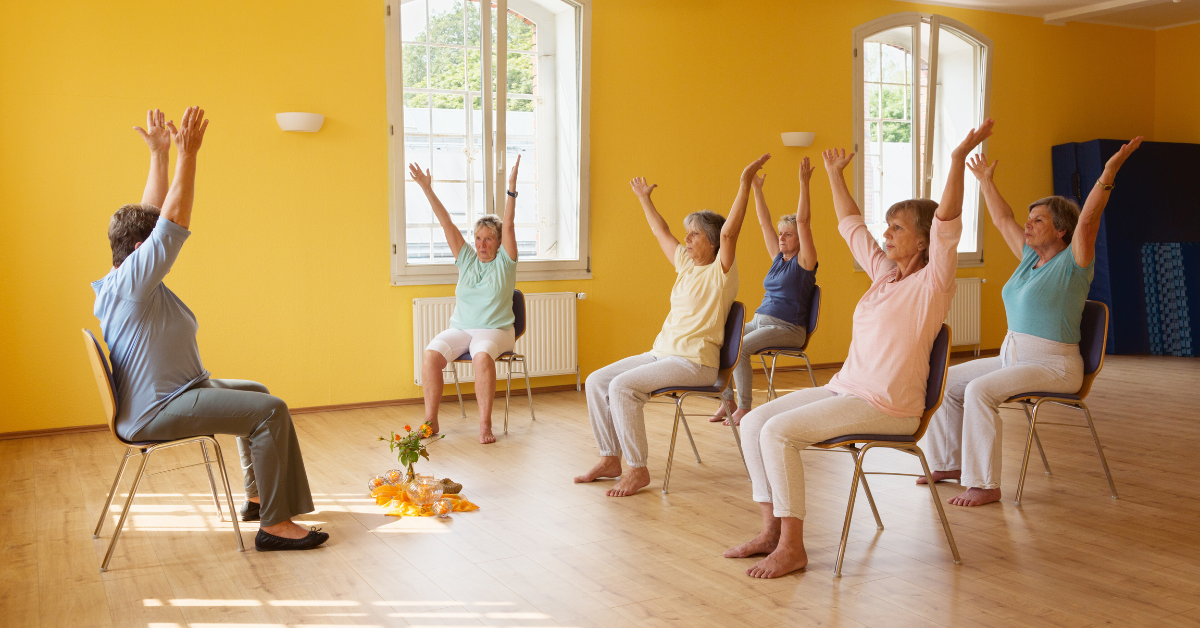
Let's get something straight right off the bat: if you're thinking about trying chair yoga for beginners, you've already made the best decision. Seriously, give yourself a pat on the back.
Small changes in body position make chair yoga more effective. With good form, you'll see benefits. Poor form can limit results or cause strain. Chair yoga is gentle and accessible, but form matters. Most beginner mistakes are easy to fix.
Here are seven common mistakes to avoid, along with tips on how to perform each movement correctly.
Mistake #1: Seated Spinal Twist (Wrong Rotation Point)
The Problem
Many beginners twist from the shoulders rather than from the core. They turn their neck too far, raise their shoulders, and wonder why their back feels the same. Twisting from the wrong spots strains your neck and misses the purpose.
What to Do Instead: The Right Steps
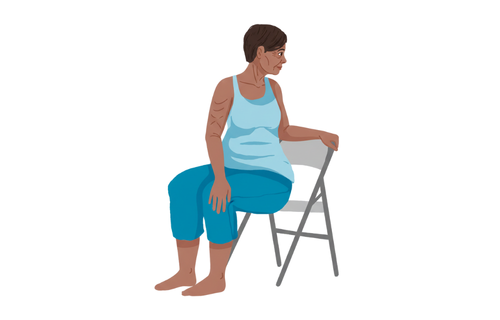
Proper Seated Spinal Twist Technique:
- Sit forward on your chair with feet flat on the floor, hip-width apart.
- Place your right hand on your left knee.
- Put your left hand on the back of the chair or armrest behind you.
- Inhale and lengthen your spine (imagine growing taller).
- Exhale and rotate from your belly and ribcage, not your shoulders.
- Keep your hips facing forward (they shouldn't move).
- Turn your head last, gently looking over your right shoulder.
- Keep both shoulders relaxed and level.
- Hold for 5-8 breaths, maintaining the length in your spine.
- Inhale back to the center, then repeat on the other side.
Key checkpoint: Your belly button should rotate with your ribcage. If your hips are twisting or lifting off the chair, you've gone too far.
Mistake #2: Seated Forward Fold (Rounding the Back Too Much)
The Problem
Beginners often round their backs and drop their heads. This compresses the spine and can strain the lower back. Instead of stretching your hamstrings, you end up with poor posture.
What to Do Instead: The Right Steps
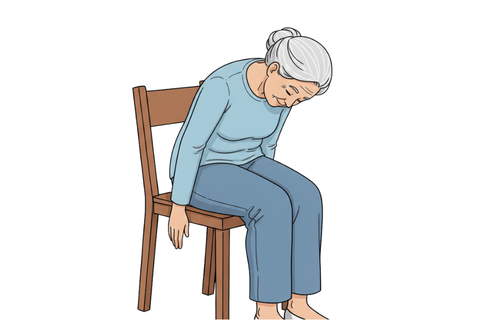
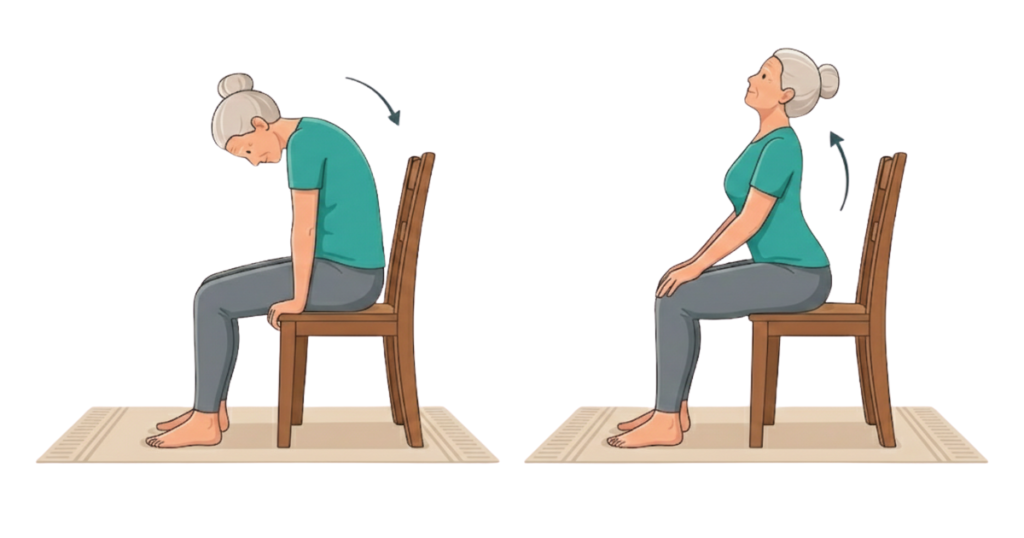
Proper Seated Forward Fold Technique:
- Sit toward the front of your chair, feet flat and hip-width apart.
- Inhale and sit up very tall, lengthening your spine.
- Place your hands on your thighs.
- Exhale and hinge forward from your hip joints (not your waist).
- Keep your back as straight as possible (think of your torso as a plank).
- Let your hands slide down your thighs toward your knees or shins.
- Keep your neck in line with your spine (don't drop your head).
- Only go as far as you can while keeping your back straight.
- You should feel the stretch in the back of your legs, not your lower back.
- Hold for 5-8 breaths, then slowly roll back up.
Key checkpoint: Imagine you're trying to bring your belly to your thighs, not your head to your knees. If you can only lean forward a tiny bit while keeping your back straight, that's perfect.
Mistake #3: Seated Side Stretch (Collapsing Instead of Lengthening)
The Problem
People often lean sideways and let their torso collapse, causing one side to scrunch. The arm may drop without stretching. This reduces the movement's effectiveness.
What to Do Instead: The Right Steps
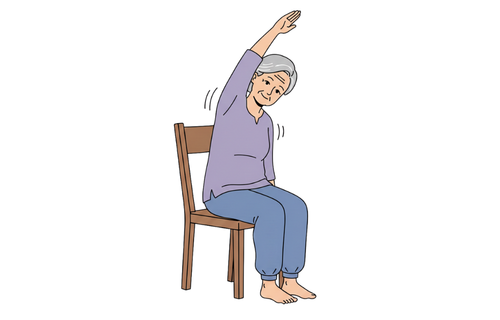
Proper Seated Side Stretch Technique:
- Sit tall with feet flat on the floor, hip-width apart.
- Inhale and raise your right arm straight up toward the ceiling.
- Keep your left hand resting on the chair beside you or on your left thigh.
- Lengthen through your right side as you reach up (grow taller first).
- Exhale and lean to the left from your waist, not your shoulder.
- Keep both sitting bones firmly planted on the chair (don't lift your hip).
- Reach your right arm over your head, creating a curved arc.
- Keep your chest open and facing forward (don't twist or collapse forward).
- You should feel a stretch along your entire right side from hip to fingertips.
- Hold for 5-8 breaths, then inhale back to center and switch sides.
Key checkpoint: Both hips stay on the chair. If one hip lifts up, you've leaned too far. Think “up and over,” not just “over.”
Mistake #4: Seated Cat-Cow (Moving Only the Neck)
The Problem
Beginners sometimes move only their head up and down, keeping the rest of their spine still. Others overdo the movement, straining their necks. The goal of cat-cow is to move your whole spine, not just your neck.
What to Do Instead: The Right Steps
Proper Seated Cat-Cow Technique:
- Sit comfortably with feet flat, hands resting on your thighs or knees.
- Start in a neutral spine position, sitting tall.
- Cow Pose (Inhale): Gently arch your back, pushing your chest forward.
- Pull your shoulder blades together behind you.
- Lift your chin and gaze slightly upward (don't crank your head back).
- Feel the arch move through your entire spine, from tailbone to neck.
- Cat Pose (Exhale): Round your spine, tucking your chin to your chest.
- Push your mid-back backward to create a C-curve.
- Pull your belly button toward your spine.
- Let your shoulders round forward.
- Move slowly through 8-10 rounds, coordinating breath with movement.
Key checkpoint: The movement should ripple through your spine like a wave, not happen all at once. Each vertebra should participate.
Mistake #5: Seated Shoulder Rolls (Hunching and Tensing)
The Problem
Some people roll their shoulders while keeping them tense and raised. The movement becomes tight instead of smooth, which can increase tension rather than relieve it.
What to Do Instead: The Right Steps
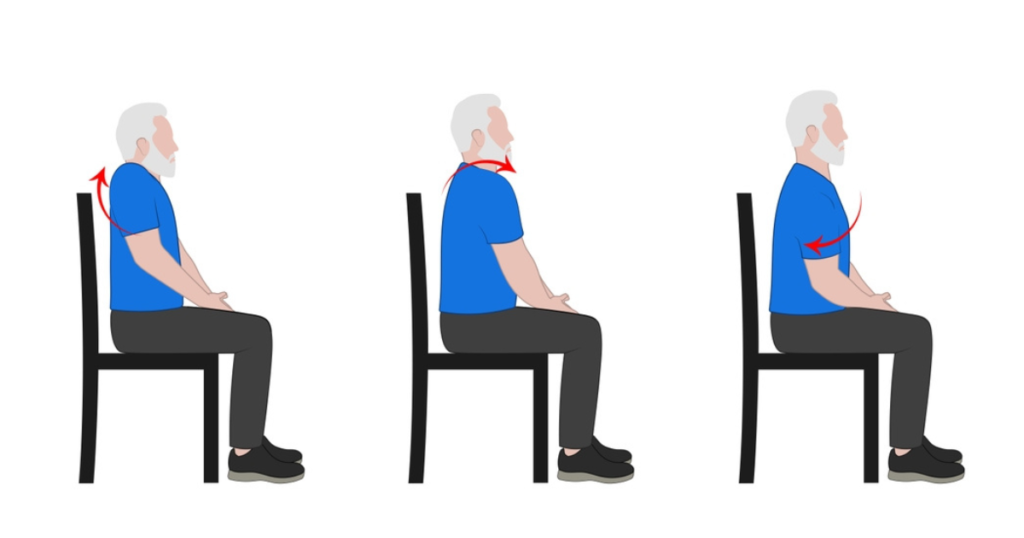
Proper Seated Shoulder Roll Technique:
- Sit tall with feet flat on the floor.
- Let your arms hang loosely by your sides.
- Take a breath and relax your shoulders down (away from your ears).
- Rolling Back: Lift your shoulders straight up toward your ears.
- Pull them back, squeezing your shoulder blades together.
- Drop them down and back to the starting position.
- Make the movement as big and circular as possible.
- Complete 5-8 slow, controlled rolls backward.
- Rolling Forward: Lift your shoulders up toward your ears.
- Roll them forward, rounding your upper back slightly.
- Drop them down and return to the start.
- Complete 5-8 slow rolls forward.
Key checkpoint: Your shoulders should move through the full circle: up, back, down, and release. If you're not feeling your shoulder blades squeeze together (rolling back) or your chest open and close (rolling forward), make the circles bigger.
Mistake #6: Ankle Circles (Keeping Everything Rigid)
The Problem
Beginners often keep the leg stiff and move the ankle minimally, making ineffective small circles. Others swing the whole leg instead of isolating the ankle. Both methods reduce ankle mobility and circulation.
What to Do Instead: The Right Steps
Proper Ankle Circle Technique:
- Sit comfortably with your back supported.
- Lift your right foot a few inches off the floor.
- Keep your right leg as still as possible (thigh and knee don't move).
- Point your toes and flex your ankle to start.
- Begin making slow, controlled circles with just your foot.
- Trace the biggest circle you can with your toes.
- Focus on moving only from the ankle joint.
- Complete 8-10 circles in one direction (clockwise).
- Reverse and complete 8-10 circles the other direction (counterclockwise).
- Place your right foot down and repeat with the left foot.
Key checkpoint: Imagine you're drawing a circle on the ceiling with your big toe. The bigger and slower the circle, the better the stretch and mobility work.
Mistake #7: Seated Arm Raises (Using Momentum Instead of Muscle)
The Problem
Some people lift their arms quickly using momentum instead of muscle. They may also raise their shoulders, tense their neck, and hold their breath, making the exercise less effective and more tense.
What to Do Instead: The Right Steps
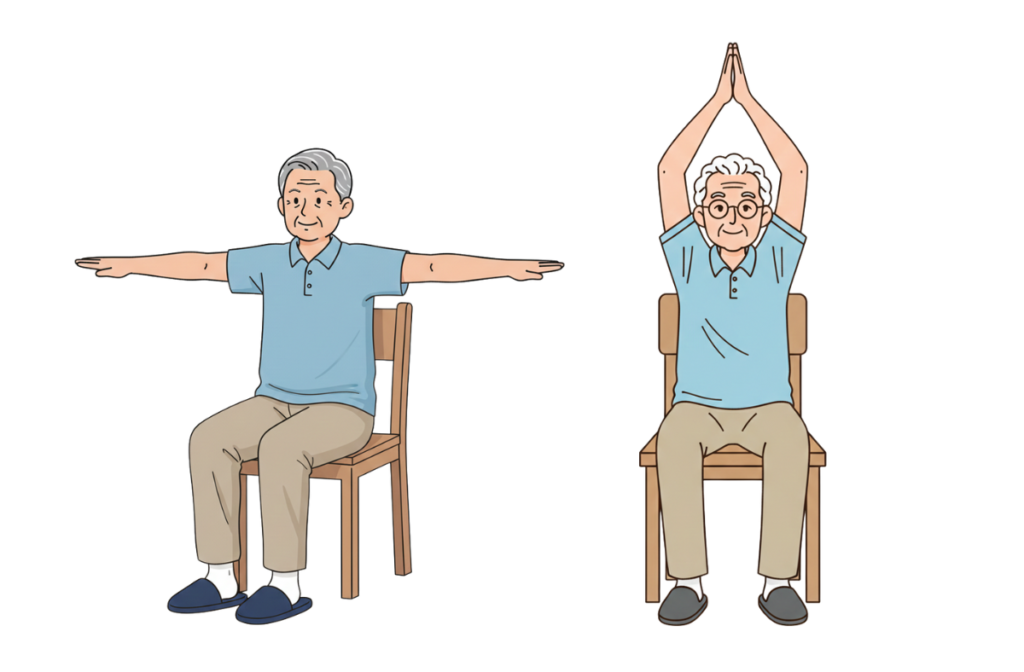
Proper Seated Arm Raise Technique:
- Sit tall with feet flat, arms relaxed at your sides.
- Keep your shoulders down and relaxed throughout the entire movement.
- Inhale and slowly raise both arms out to the sides (like making a T-shape).
- Keep your elbows slightly soft, not locked.
- Continue raising your arms overhead until your palms meet (or come close).
- Keep your shoulders down away from your ears (this is crucial).
- Exhale and slowly lower your arms back down the same path.
- Move at a controlled pace (3-4 seconds up, 3-4 seconds down).
- Repeat 8-12 times, focusing on smooth, controlled movement.
- Keep breathing steadily throughout
Key checkpoint: If your shoulders hunch up toward your ears when your arms go up, you're doing it wrong. Keep those shoulders anchored down. You can also try raising your arms only to shoulder height if overhead is too difficult.
Bonus Tips: Getting Every Exercise Right
Now that you understand proper form for these chair yoga moves, you’re already building a strong foundation for safe, effective practice. Many routines found in a chair yoga book for seniors emphasize beginner-friendly chair yoga because small details make a big difference in comfort, confidence, and long-term joint health.
Set up matters every single time:
- Always use a sturdy chair without wheels.
- Sit toward the front half of the seat.
- Keep feet flat on the floor, hip-width apart.
- Start every pose by sitting tall and lengthening your spine.
Breathing is part of the exercise:
- Inhale during expansion or lifting movements.
- Exhale during contraction or folding movements.
- Never hold your breath.
- If you can't breathe smoothly, you're pushing too hard.
Quality beats quantity:
- One correct repetition is worth more than ten sloppy ones.
- Move slowly and deliberately.
- Focus on what you're feeling in your body.
- Stop if you feel sharp pain (gentle stretching discomfort is normal, pain is not).
Progress gradually:
- Start with 3-5 repetitions of each exercise.
- Build up to 8-12 repetitions over several weeks.
- Increase your range of motion slowly as flexibility improves.
- Add more exercises as you master the basics.
Your First Complete Chair Yoga Routine
Ready to put it all together? Here's a simple 15-minute sequence using the exercises we've covered:
- Shoulder Rolls (1 minute): 8 rolls back, 8 rolls forward
- Seated Cat-Cow (2 minutes): 10 slow rounds
- Seated Arm Raises (2 minutes): 10 controlled repetitions
- Seated Side Stretch (2 minutes): Hold each side for 5 breaths
- Seated Spinal Twist (2 minutes): Hold each side for 5 breaths
- Seated Forward Fold (2 minutes): Hold for 8-10 breaths
- Ankle Circles (2 minutes): 10 circles each direction, both feet
- Deep Breathing (2 minutes): Sit tall and breathe deeply to finish
Try this routine three times this week, and focus on good form instead of speed or how far you can go.
Frequently Asked Questions
Q: How do I know if I'm doing a pose correctly?
You should feel the stretch or effort in the target muscle group, not in your joints or other areas. If a seated twist stretches your torso but not your neck, you are doing it correctly. If you feel any sharp or uncomfortable sensation, stop and adjust.
Q: What if I can't do the full range of motion described?
That is completely normal. Move only as far as feels comfortable for you. Even small, correct movements are helpful. Your range of motion will improve with regular practice.
Q: How long before I see improvements in my flexibility and strength?
Most people notice small improvements after 2-3 weeks of regular practice, about 3-4 times per week. Bigger changes usually appear after 6-8 weeks. The goal is steady progress, not instant results.
Conclusion
Practicing chair yoga with good form truly makes a difference. Even a little, done well, can improve how you feel and move. Now that you know the basics, try one exercise today using a sturdy chair and focus on proper form. Notice the change, and repeat each day. In two weeks, you may be surprised by your progress.