Getting older has its perks (hello, senior discounts!), but stiff joints and wobbly balance aren’t exactly on the highlight reel. If you’ve ever stood up and sounded like a bowl of Rice Krispies, you’re not alone. The good news? You don’t need to be a pretzel-bending yogi to feel better. This 7 minute chair yoga for seniors routine is designed specifically for beginners who want to ease stiffness, improve balance, and feel more confident moving through their day, all without getting down on the floor.
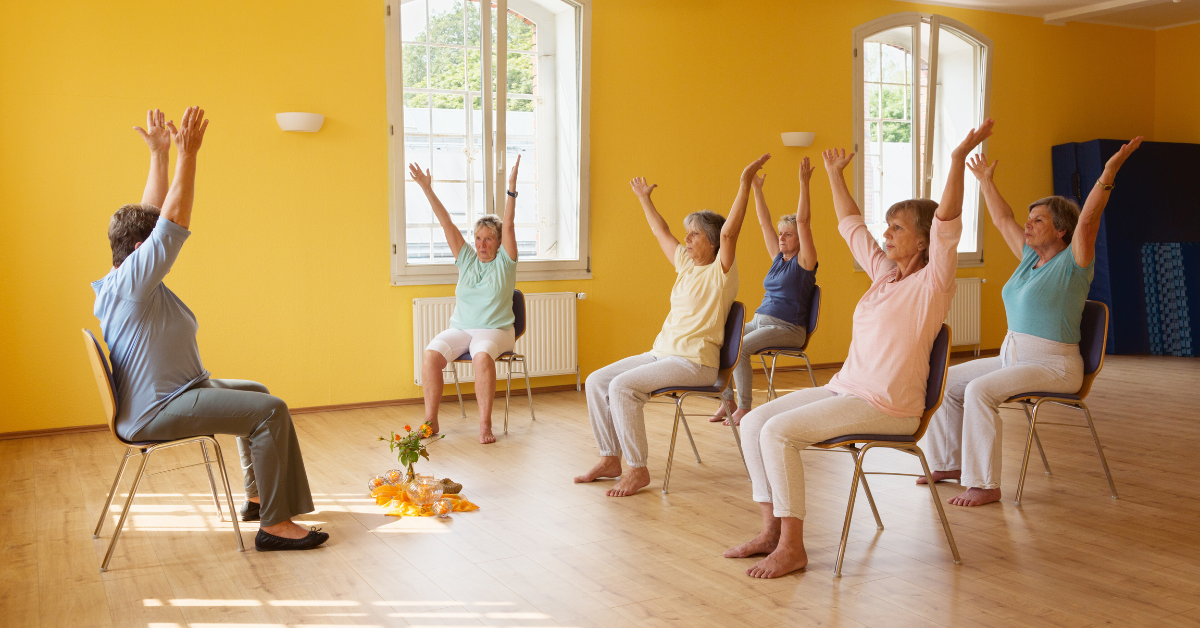
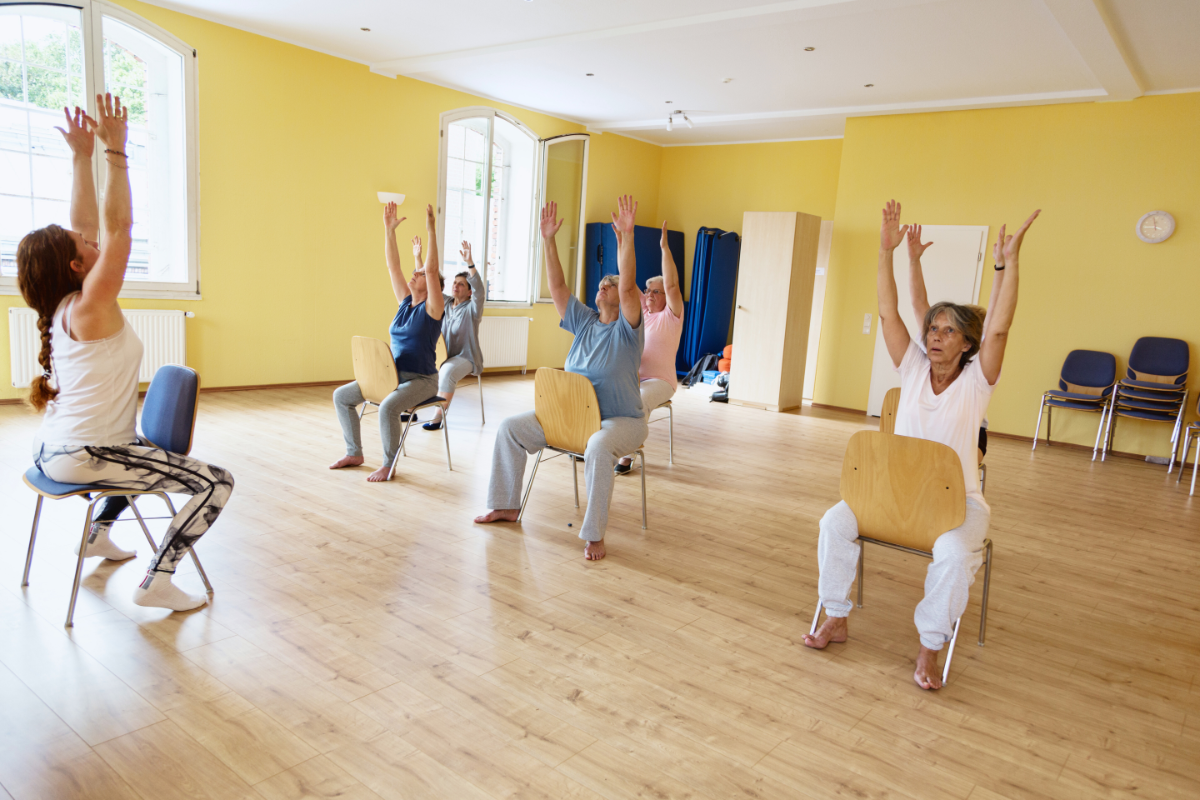
Chair yoga is just what it sounds like—yoga poses you can do while sitting in or using a sturdy chair. You don’t need special equipment, studio classes, or to do any difficult poses. All you need is a chair and seven minutes to help yourself feel better.
Why Chair Yoga Works Wonders for Seniors
Before we get into the poses, let’s look at why chair yoga can make a big difference, especially if you have stiff joints or balance issues.
Gentle on the Joints
Unlike high-impact exercises, chair yoga is low-impact and easy on your knees, hips, and back. You get the benefits of movement without the stress on already cranky joints.
Improves Flexibility Gradually
Stiffness can develop when we don’t move our joints through their full range of motion often. Chair yoga gently encourages movement, helping you regain flexibility with each session.
Builds Better Balance
Many chair yoga poses help strengthen your core and leg muscles, which keep you steady. Improving your balance can give you more confidence when walking, help prevent falls, and let you stay independent doing what you enjoy.
Reduces Stress and Boosts Mood
Yoga’s breathing techniques and gentle movements help calm your nervous system. You may also feel a real sense of accomplishment after finishing a routine.
What You’ll Need
- A sturdy chair without wheels (kitchen chairs work great)
- Comfortable clothing that lets you move
- Optional: a water bottle nearby
- That’s all you need.
Your 7-Minute Chair Yoga Routine for Beginners
This routine combines gentle stretches and balance-focused poses, making it perfect for seniors who are just starting out. Many people like to follow along with a chair yoga book for seniors for extra guidance and support.
Remember, the goal isn’t perfection—it’s about caring for your body and enjoying a quick 7 minute chair yoga session for seniors that helps you move safely and comfortably.
1. Seated Mountain Pose (1 minute)
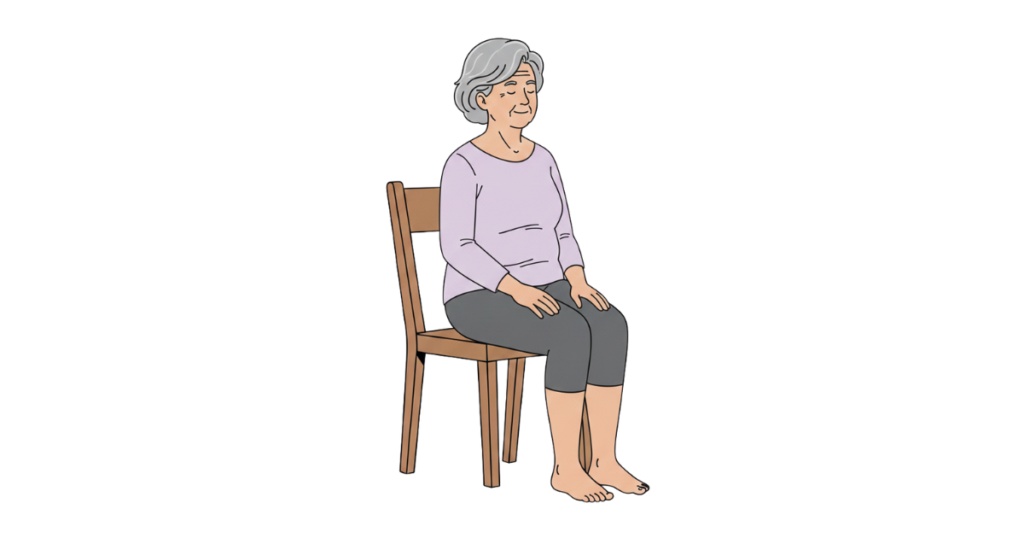
We’ll begin with the foundation of all yoga poses: finding a strong, steady center.
How to do it:
- Sit toward the front half of your chair with your feet flat on the floor, hip-width apart.
- Place your hands on your thighs.
- Sit up tall, imagining a string gently pulling the crown of your head toward the ceiling.
- Roll your shoulders back and down, away from your ears.
- Take 5-10 slow, deep breaths through your nose.
Why it helps: This pose improves posture and helps you focus on your breath, setting a calm tone for your practice.
2. Seated Cat-Cow Stretch (1 minute)
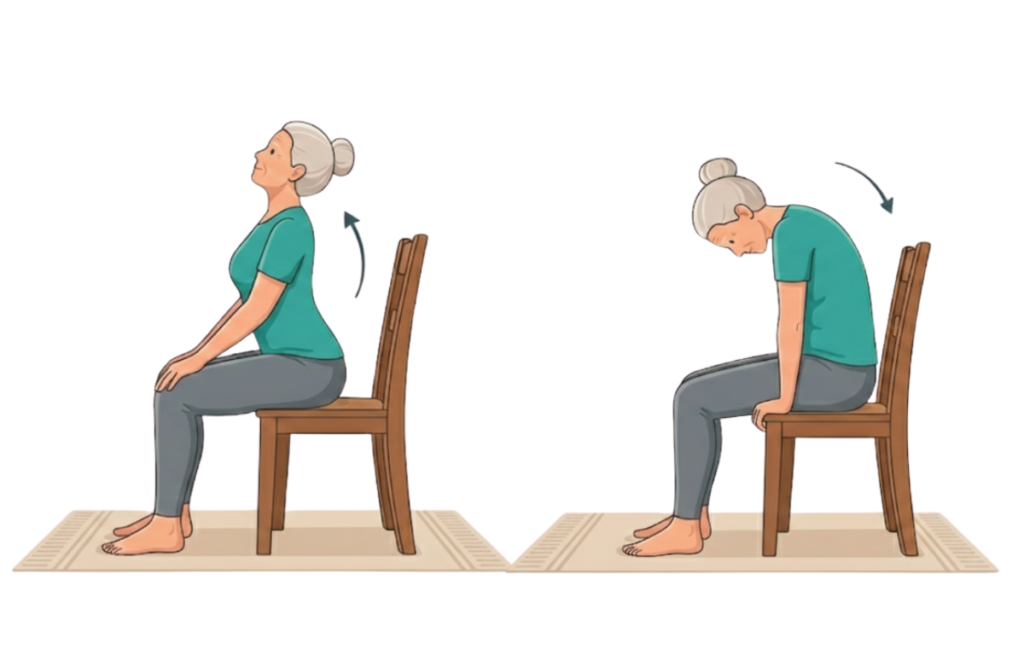
This move is great for easing a stiff back. It gently massages your spine and helps you get moving.
How to do it:
- Stay seated with your feet flat on the floor and your hands on your knees.
- Cow Pose: Breathe in, arch your back slightly, lift your chest, and look up gently.
- Cat Pose: Breathe out, round your back, tuck your chin toward your chest, and pull your belly button toward your spine.
- Keep moving between these two positions for 8 to 10 rounds, matching your movements to your breath.
Why it helps: Loosens up your spine, relieves back tension, and improves flexibility in your neck and shoulders.
3. Seated Spinal Twist (1 minute)
Now it’s time to gently release stiffness from your body.
How to do it:
- Sit up tall with feet flat on the floor.
- Place your left hand on the back of the chair and your right hand on your left knee.
- Breathe in to lengthen your spine.
- Breathe out and gently twist to the left, looking over your left shoulder.
- Hold for 3-5 breaths, then return to center.
- Repeat on the right side.
Why it helps: Twists improve spinal mobility, help with digestion, and release tension in your back and shoulders.
4. Ankle Rolls and Flexes (1 minute)
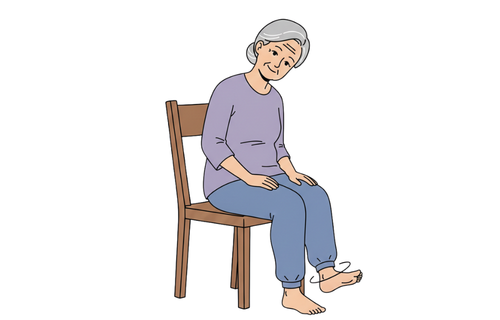
Remember to include your ankles, since they are important for walking and balance.
How to do it:
- Lift your left foot slightly off the floor.
- Slowly rotate your ankle in circles: 5 clockwise, then 5 counterclockwise.
- Point your toes forward, then flex your foot back toward your shin. Repeat 5 times.
- Switch to your right foot and repeat.
Why it helps: Increases ankle mobility, reduces stiffness, and improves circulation in your lower legs.
5. Seated Forward Fold (1 minute)
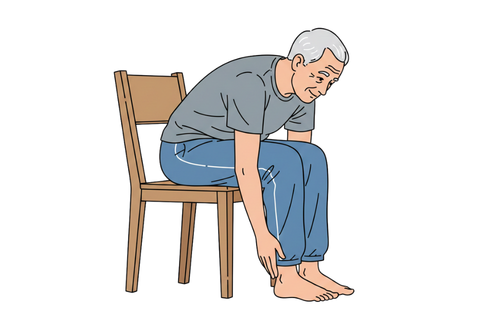
This gentle stretch targets your lower back, hamstrings, and hips.
How to do it:
- Sit toward the front of your chair with feet hip-width apart.
- Breathe in and sit up tall.
- Breathe out and slowly hinge forward from your hips, letting your hands slide down your legs.
- Go only as far as feels comfortable. You might reach your knees, shins, or ankles, and any of these is fine.
- Let your head and neck relax.
- Hold for 5-8 breaths, then slowly roll back up.
Why it helps: Stretches your back and hamstrings, and the forward fold naturally calms your nervous system.
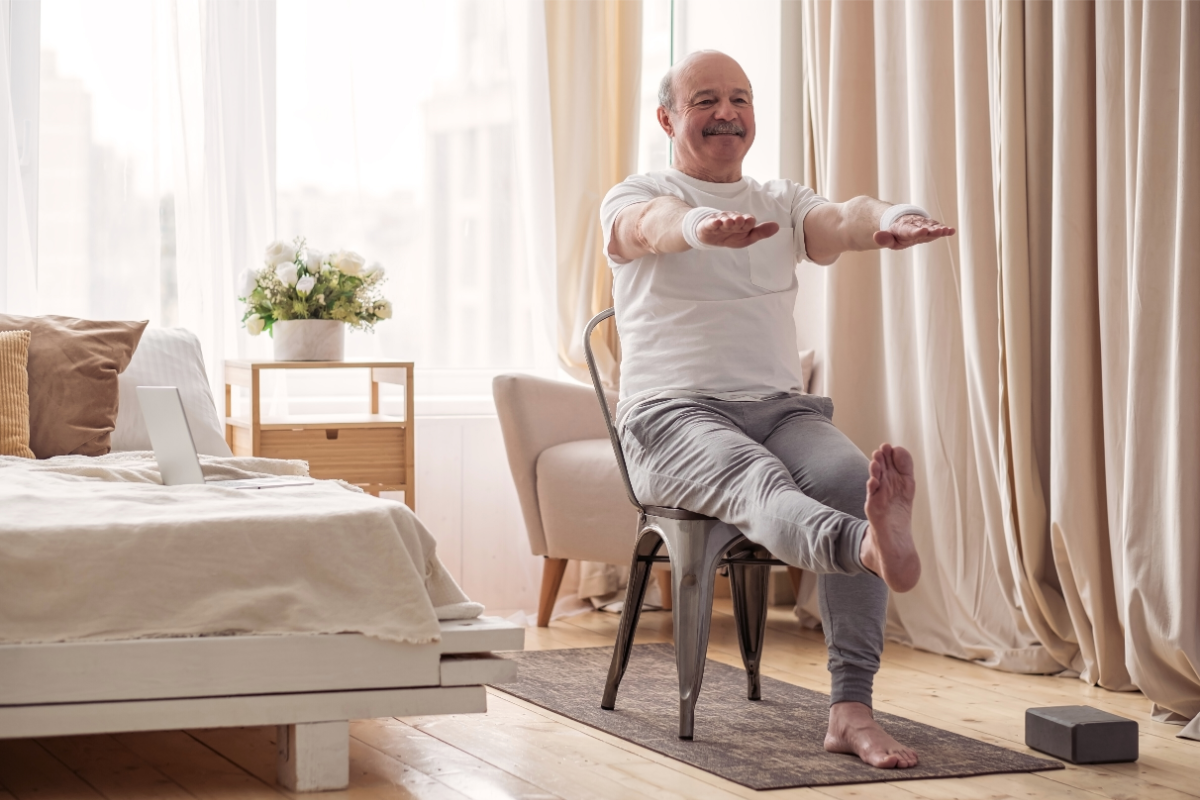
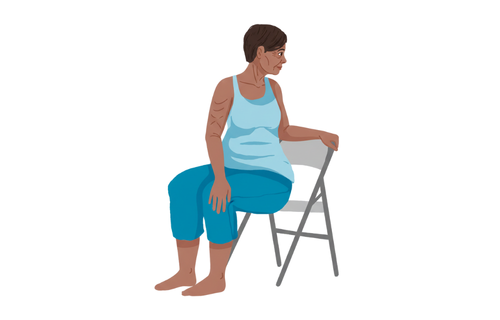
6. Seated Warrior Pose (1 minute)
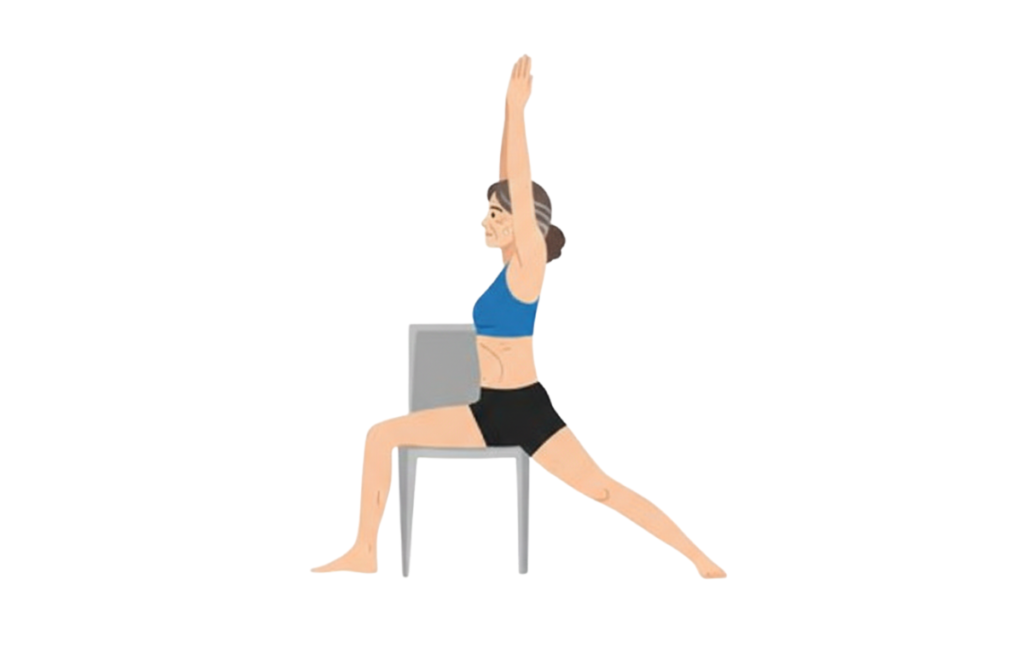
This pose helps you build strength and balance. It can also help you feel more confident.
How to do it:
- Sit sideways on your chair so the back of the chair is to your right.
- Extend your right leg to the side, with your foot flat on the floor.
- Keep your both arms upwards, and keep it straight.
- Hold for 3-5 breaths, then switch sides.
Why it helps: Strengthens your legs, opens your hips, and improves balance and concentration.
7. Seated Side Stretch (1 minute)
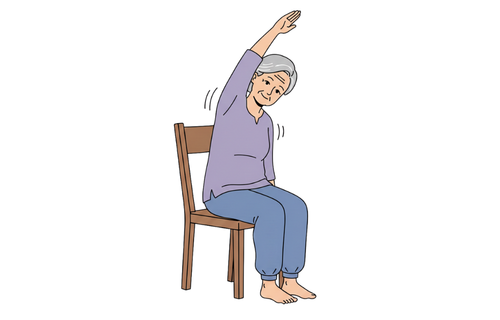
We’ll finish with a gentle stretch that opens up the sides of your body.
How to do it:
- Sit up tall with feet flat on the floor.
- Place your left hand on the seat beside you for support.
- Breathe in and raise your right arm overhead.
- Breathe out and gently lean to the left, feeling a stretch along your right side.
- Hold for 3-5 breaths.
- Return to the center and repeat on the other side.
Why it helps: Stretches the muscles between your ribs, improves breathing capacity, and releases tension in your shoulders and back.
Tips for Success
Start Small, Stay Consistent
Seven minutes is manageable, even on busy days. Try to practice 3 or 4 times a week, and you’ll start to notice improvements in how you feel.
Listen to Your Body
If something causes pain—not just a gentle stretch—stop and ease up. Listen to your body’s signals.
Use Props If Needed
If your feet don’t reach the floor comfortably, use a folded towel or a small stool for support. Yoga is about adapting to what works for you.
Breathe Through It
If you’re unsure, focus on your breath. Slow, steady breathing helps you stay present and benefit more from each pose.
Frequently Asked Questions
Can I do chair yoga every day?
Absolutely! Chair yoga is gentle enough for daily practice. Listen to your body and take rest days when needed.
What if I can’t do a pose exactly as described?
That’s completely normal. Adjust the poses as needed. Go to the level that feels right for you—yoga is not a competition.
How long before I notice results?
Many people feel more relaxed and less stiff after just one session. For lasting improvements in flexibility and balance, give it 2-4 weeks of consistent practice.
Final Thoughts
The truth is, you don’t need to be flexible to start yoga. You practice yoga to become more flexible. You also don’t need perfect balance to begin; you practice to improve your balance.
This 7-minute chair yoga routine invites you to move gently, reduce stiffness, and build confidence, one stretch at a time. There’s no pressure or judgment—just progress.
Take a chair, set a timer for seven minutes, and give yourself the gift of movement today. Your joints and your mood will thank you.