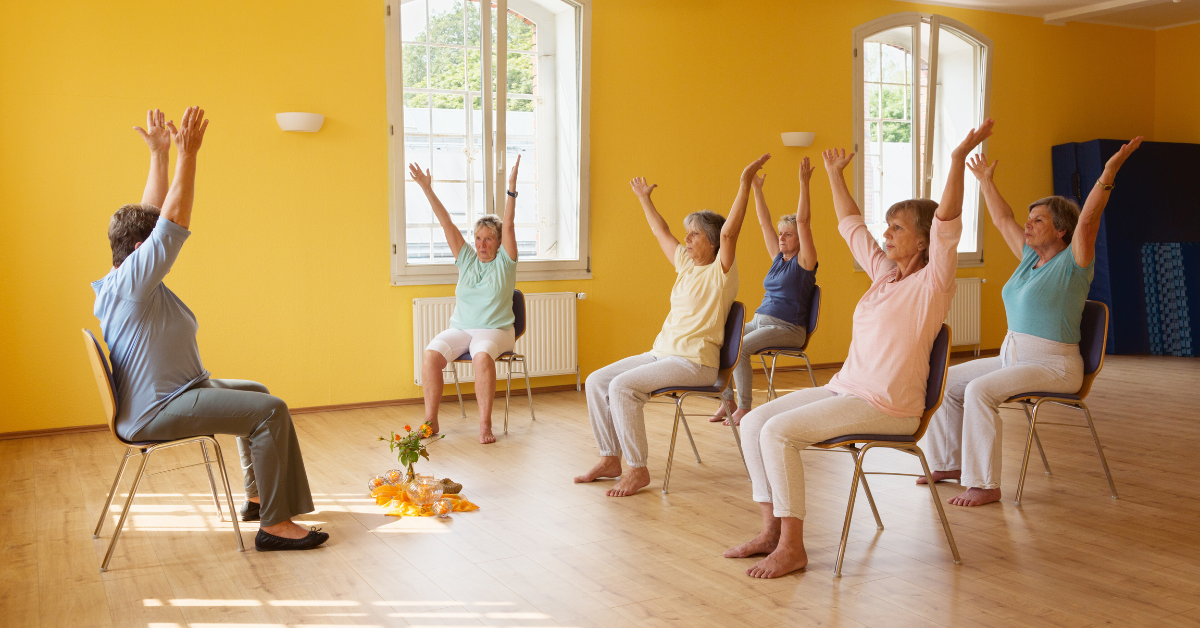
Starting yoga can seem overwhelming, especially if you have balance problems, joint pain, or haven't been active for a while. The good news is that a chair yoga challenge is simply yoga you do while sitting. You don't need special equipment or complicated poses, and there's no risk of falling. All you need is a sturdy chair and a willingness to try 28 days of gentle movement to help you feel stronger, more flexible, and a bit more relaxed.
This challenge is for you if you want to stay active as a senior, are recovering from an injury, or simply like a gentler way to exercise. It gives you the chance to start small, go at your own speed, and enjoy getting moving again.
Your 28-Day Chair Yoga Challenge Plan
This 28-day plan is designed to help you build strength and flexibility at a steady, comfortable pace. Many people like to pair it with a chair yoga book for seniors, which offers clear guidance and structure as you learn new movements. Think of this program as a supportive chair yoga challenge for beginners, where each week introduces a few new exercises while reinforcing what you’ve already learned, so progress never feels overwhelming.
The best part of this challenge is that every exercise is manageable, and you can adjust any movement to fit your fitness level. Are you ready to get started?
Week 1: Foundation and Breathing (Days 1-7)
Goal: Get comfortable with chair yoga basics and establish your daily habit.
This week focuses on learning good posture, breathing, and gentle movements. If it feels easy, that’s okay. Building a strong base now will help you enjoy the practice even more as you go along.
Daily Routine (10-15 minutes):
1. Seated Mountain Pose (2 minutes)
- Sit toward the front edge of your chair, with your feet flat on the floor and hip-width apart.
- Rest your hands on your thighs, palms facing down.
- Roll your shoulders back and down, lengthening your spine.
- Imagine a string pulling the crown of your head toward the ceiling.
- Breathe deeply through your nose, feeling your ribcage expand.
Why this matters: This pose is your starting point. You’ll come back to it between other exercises.
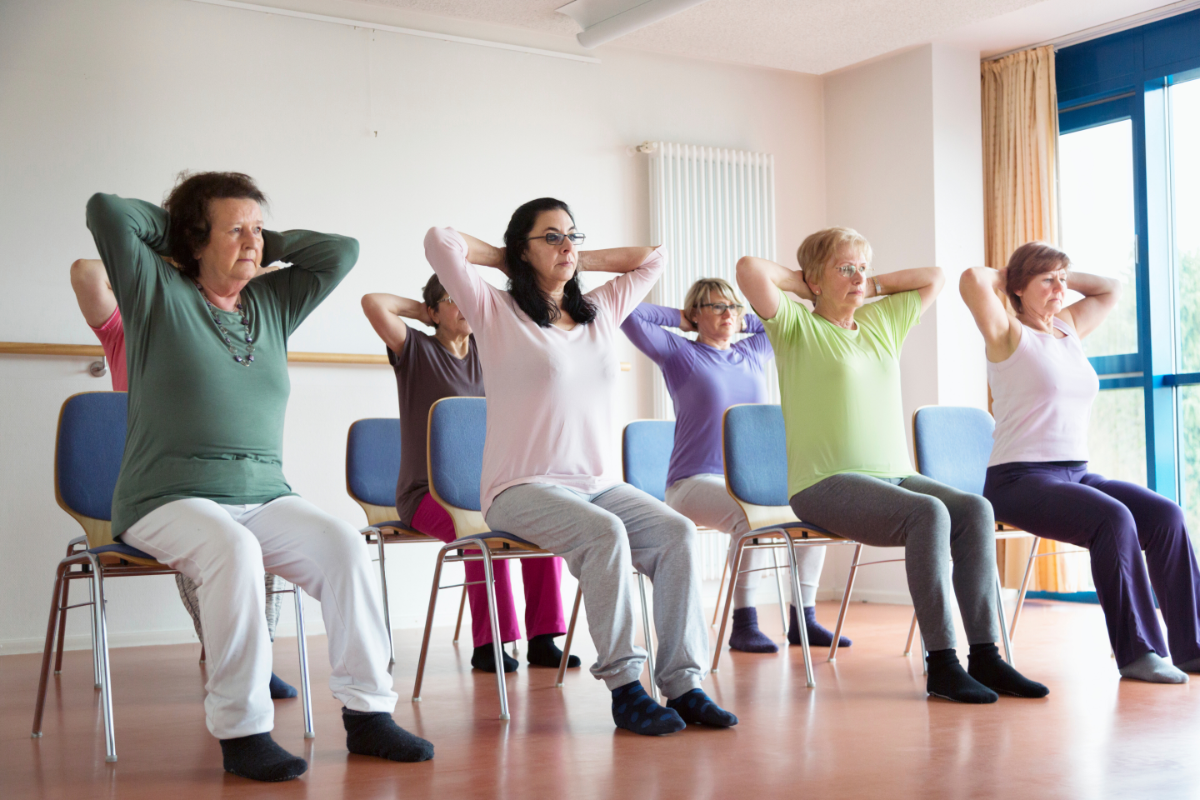
2. Gentle Neck Rolls (5 times each direction)
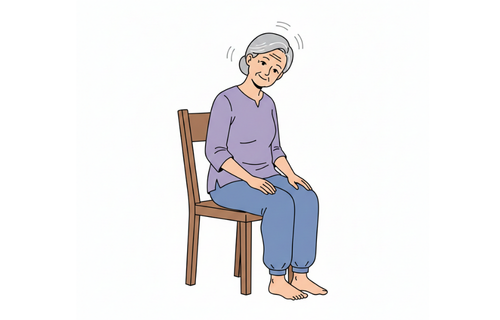
- Start in Seated Mountain Pose.
- Drop your right ear toward your right shoulder.
- Slowly roll your head forward, bringing your chin to your chest.
- Continue rolling to the left side, then back to the center.
- Reverse direction.
Tip: Move slowly, as if you’re moving through thick syrup. Quick neck rolls can make you feel dizzy.
3. Shoulder Shrugs (10 repetitions)
- Inhale and lift both shoulders up toward your ears.
- Hold for 3 seconds (really squeeze them up there!)
- Exhale and release them down with a satisfying “ahhh.”
- Repeat 10 times.
Bonus: This exercise feels great if you often have tension in your shoulders.
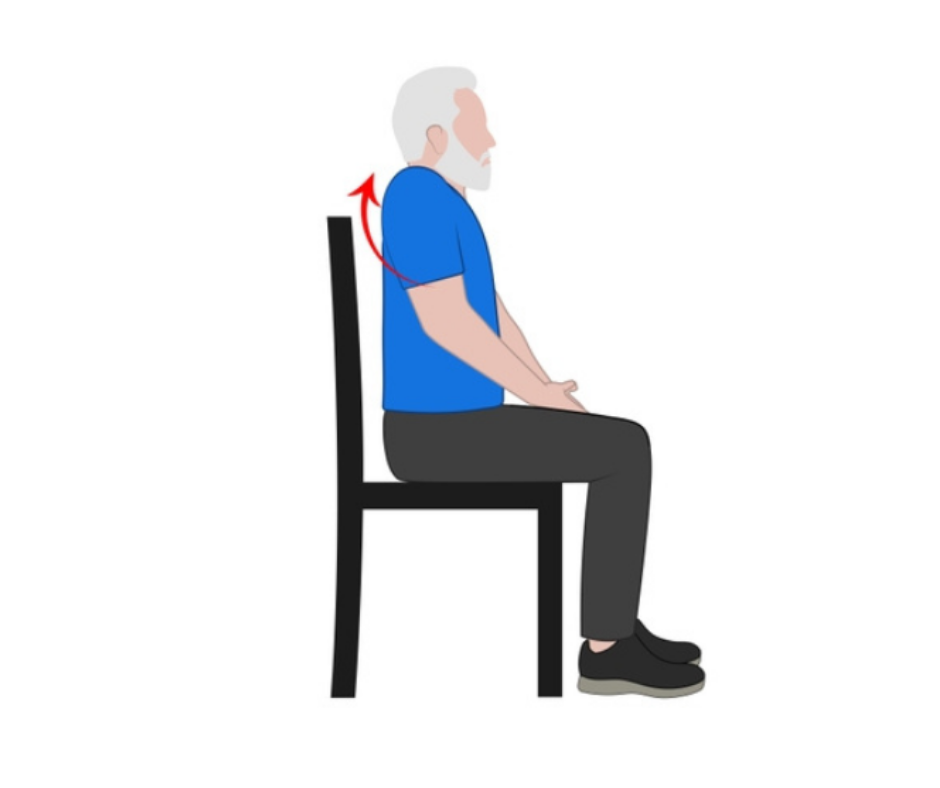
4. Seated Cat-Cow Stretch (8 repetitions)
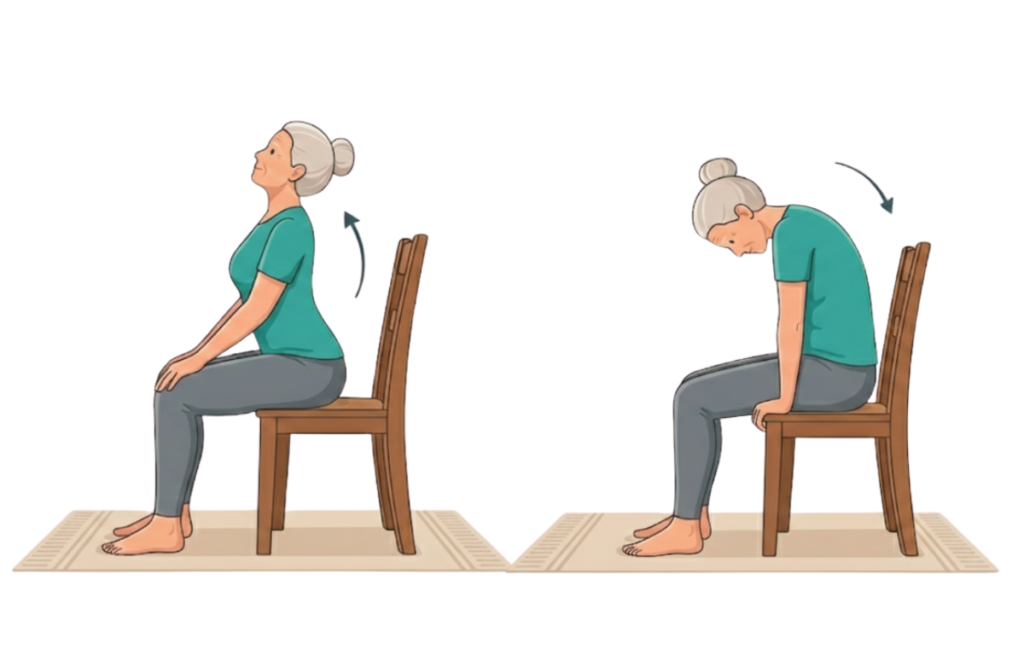
- Place both hands on your knees.
- Inhale: Arch your back, lift your chest, look slightly upward (Cow).
- Exhale: Round your spine, tuck your chin, pull your belly button toward your spine (Cat).
- Flow between these two positions, matching movement to breath.
It’s like giving your spine a gentle massage from within.
5. Ankle Circles (10 circles each direction, both feet)
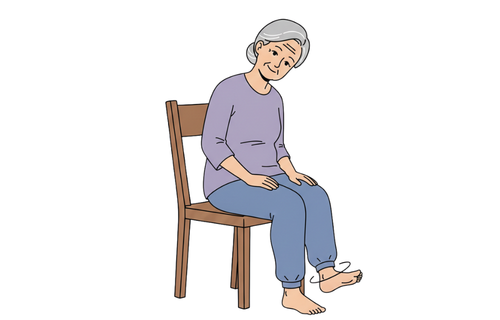
- Lift your right foot slightly off the floor.
- Rotate your ankle slowly in a circular motion (clockwise).
- Complete 10 circles, then switch to counterclockwise.
- Switch to the left foot and repeat.
Why do this? Improving ankle mobility helps you balance better when you walk.
6. Deep Breathing Close (2 minutes)
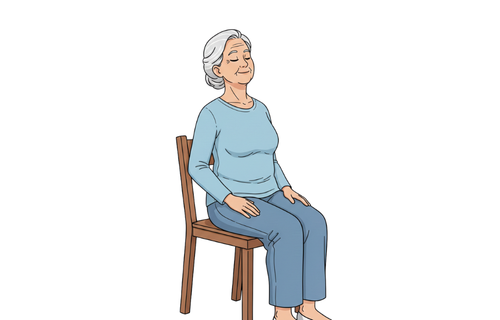
- Return to Seated Mountain Pose.
- Close your eyes if comfortable.
- Inhale slowly through your nose for a count of 4.
- Exhale slowly through your nose for a count of 4.
- Repeat for 2 minutes.
This is your cool-down: You're telling your body, “We're done, time to relax.”
Week 2: Building Strength (Days 8-14)
Goal: Add gentle strength-building movements to your foundation.
Now that you know the basics, you’ll add exercises that activate your muscles. You may feel a bit tired at the end, which means your body is getting stronger.
Daily Routine (15-20 minutes):
Start with your Week 1 favorites (pick 3-4 exercises), then add these:
1. Seated Spinal Twist (Hold 20-30 seconds each side)
- Sit sideways on your chair with your right hip against the back.
- Place both hands on the back of the chair.
- Inhale to sit taller.
- Exhale and gently twist your torso to the right, using the chair back for support.
- Keep your hips facing forward (only your upper body twists).
- Hold and breathe, then switch sides.
Important: This movement should feel like a gentle squeeze, not a difficult twist.
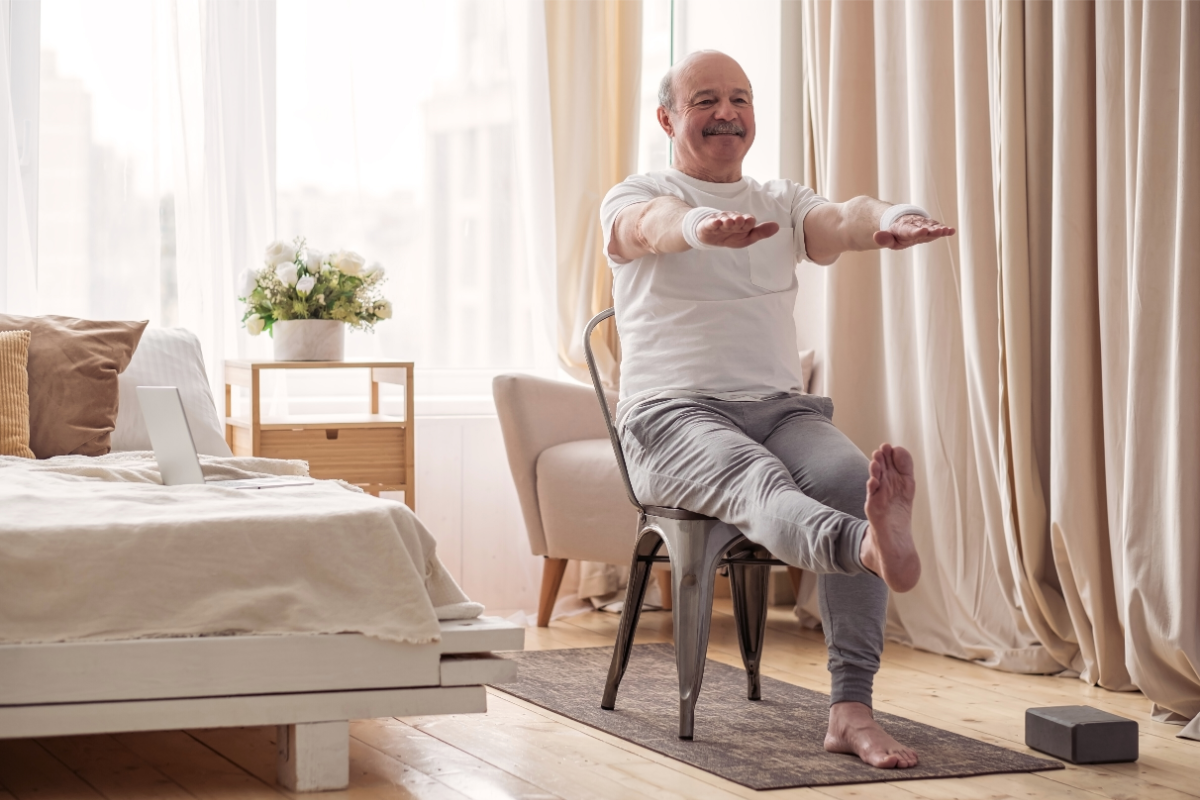
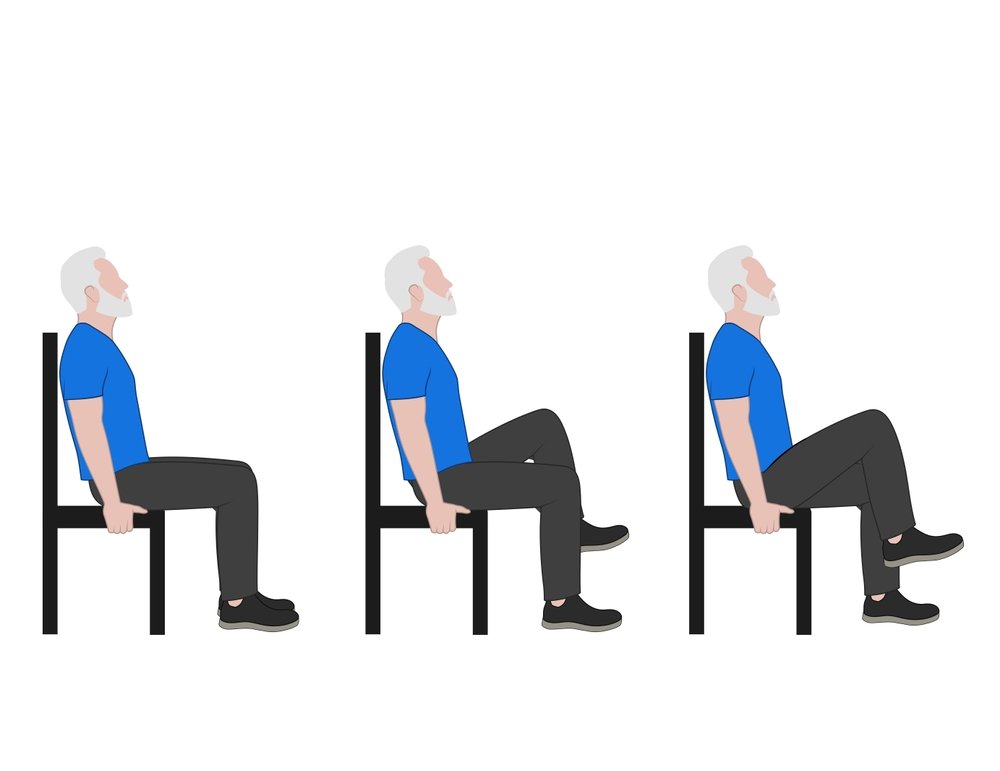
2. Knee Lifts (10 times each leg)
- Sit in Seated Mountain Pose.
- Slowly lift your right knee toward your chest (only as high as comfortable).
- Hold for 2 seconds at the top.
- Lower it back down with control.
- Alternate legs for a total of 10 lifts per leg.
Make it easier: Lift your knee just a few inches. You'll still get benefits.
Make it harder: Hold each lift for 5 seconds instead of 2.
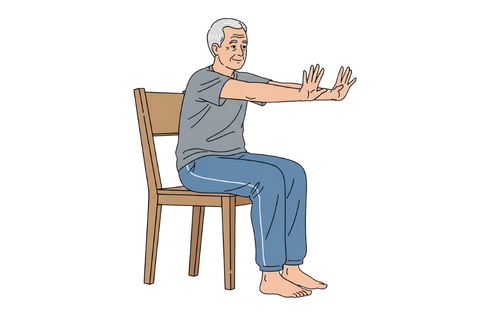
3. Arm Raises (8-10 repetitions)
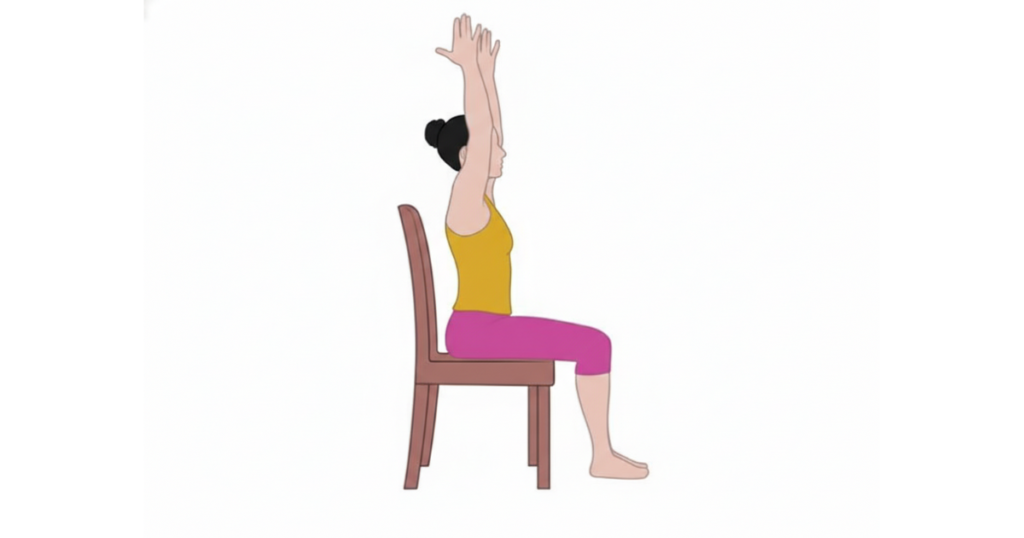
- Start with your arms at your sides.
- Inhale and slowly raise both arms forward to shoulder height.
- Continue lifting them overhead (only as high as comfortable, no pain!).
- Exhale and lower them back down slowly.
Pay attention to your shoulders: If lifting overhead is uncomfortable, just raise your arms to shoulder height.
4. Seated Marching (30-60 seconds)
- Lift your right knee, then left knee, alternating like you're marching in place.
- Pump your arms gently in opposition (right knee up, left arm forward).
- Keep a steady, comfortable rhythm.
- Start with 30 seconds and work up to 60 seconds.
Did you know? This exercise raises your heart rate enough to count as light cardio.
5. Seated Leg Extensions (8 times each leg)
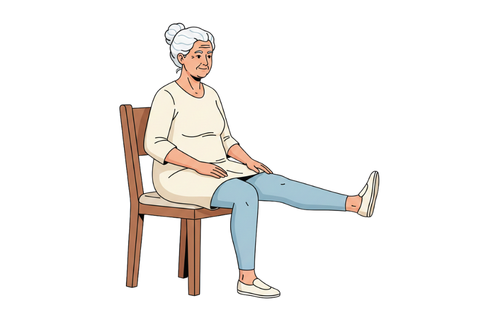
- Sit back in your chair for support.
- Extend your right leg straight out in front of you.
- Flex your foot (toes pointing toward the ceiling).
- Hold for 3 seconds, feeling your thigh muscles work.
- Lower slowly, then repeat with the left leg.
What you're building: Quadriceps strength for easier stair climbing.
6. Wrist Circles and Finger Stretches (1 minute)
- Extend both arms forward.
- Make circles with your wrists, 10 each direction.
- Spread fingers wide, then make tight fists.
- Repeat the spread-and-squeeze 10 times.
Perfect for: Anyone who types, texts, or has hand arthritis.
Week 3: Flexibility Focus (Days 15-21)
Goal: Improve your range of motion and feel more limber in daily activities.
This week focuses on stretching. You’ll hold each pose a little longer and pay attention to breathing into areas that feel tight. Flexibility improves with regular practice, not by forcing it.
Daily Routine (20-25 minutes):
Choose 3-4 exercises from previous weeks as your warm-up, then add:
1. Seated Forward Fold (Hold 20-30 seconds)
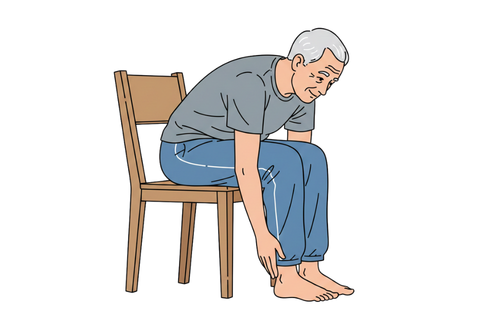
- Sit toward the front of your chair, feet flat on the floor.
- Inhale and sit tall.
- Exhale and slowly hinge forward from your hips (not your waist).
- Let your arms hang down toward the floor, or rest your hands on your shins.
- Let your head and neck relax completely.
- Breathe deeply and hold.
Key point: You don’t have to touch the floor. Even a small forward bend is helpful.
2. Side Stretches (Hold 15-20 seconds each side)
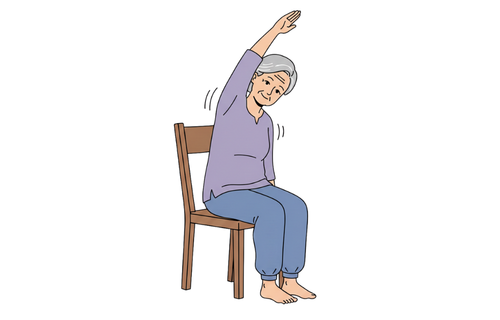
- Sit in Seated Mountain Pose.
- Inhale and raise your right arm straight overhead.
- Exhale and lean gently to the left, creating a crescent shape.
- Keep both hips firmly on the chair (don't twist).
- Hold and breathe, feeling the stretch along your right side.
- Repeat on the other side.
Picture yourself: Making more space between your ribs as you stretch.
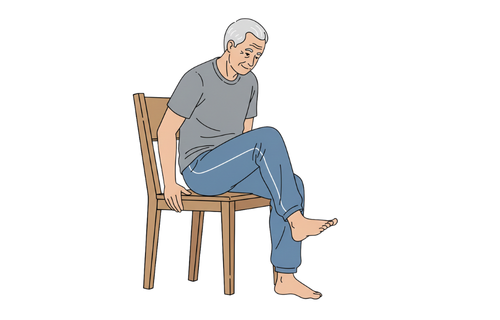
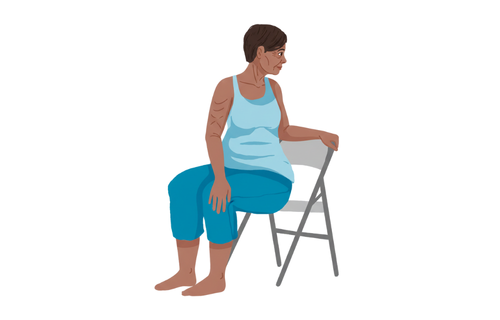
3. Seated Pigeon Pose (Hold 20-30 seconds each side)
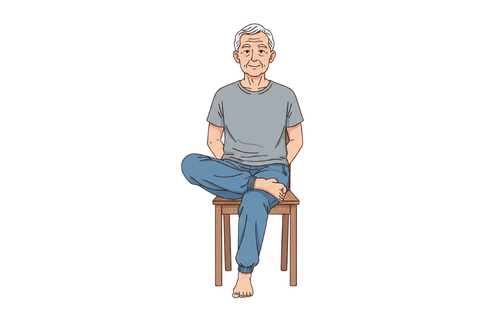
- Sit back in your chair.
- Cross your right ankle over your left knee (making a figure-4 shape).
- Keep your right foot flexed to protect your knee.
- For a deeper stretch, gently press down on your right knee.
- Sit tall and breathe into the hip stretch.
- Switch sides.
This is gold for loosening tight hips from too much sitting.
4. Seated Eagle Arms (Hold 15 seconds each side)
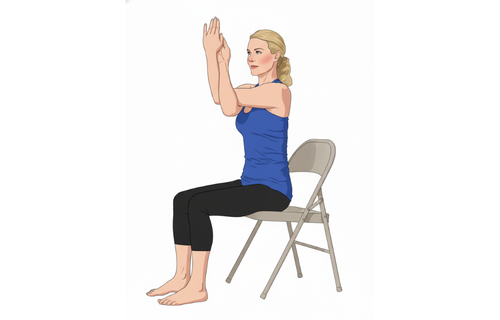
- Extend arms straight in front at shoulder height.
- Cross right arm over left arm at the elbows.
- Bend elbows and try to bring palms together (or get as close as you can).
- Lift your elbows slightly to feel the stretch across your upper back.
- Hold, then switch (left over right).
Don't stress if: Your palms don't touch. Just do what you can.
5. Ankle-to-Knee Stretch (Hold 20 seconds each side)
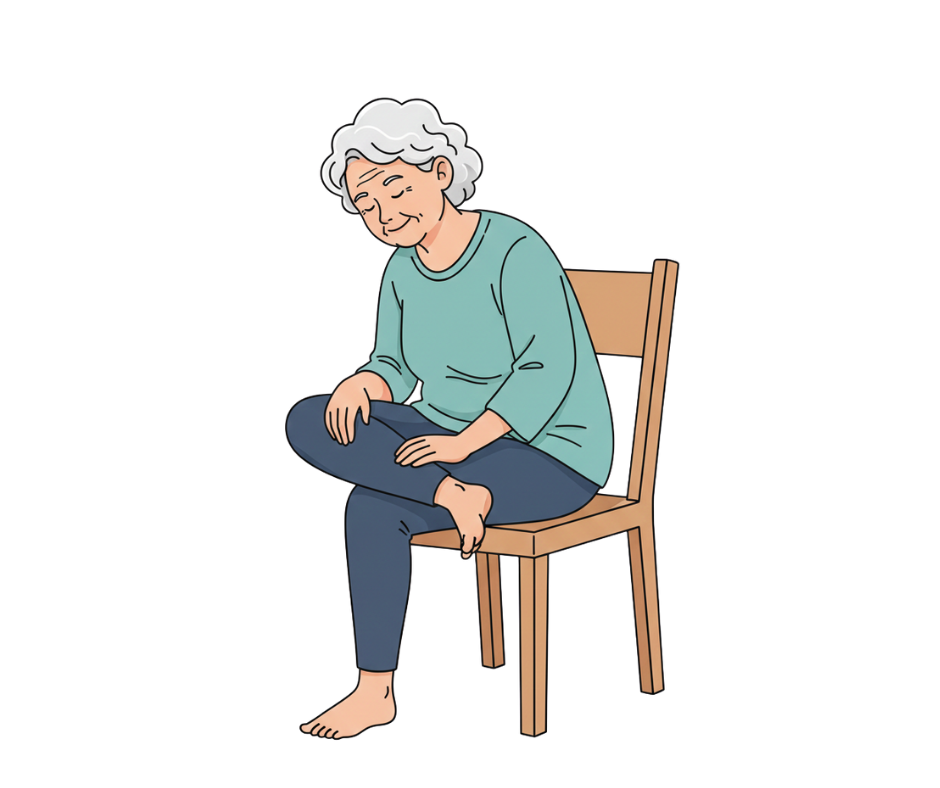
- Similar to Seated Pigeon, but lean forward slightly.
- Place the right ankle on the left knee.
- Gently fold forward from your hips.
- Keep your back straight (no rounding).
- Hold and breathe into the hip and outer glute.
- Switch sides.
Relief for: Lower back pain and sciatica symptoms.
6. Seated Spinal Twist – Extended Version (Hold 30 seconds each side)
- Sit sideways with your right hip against the chair back.
- Inhale to lengthen spine.
- Exhale to twist, bringing the left hand to the right knee and the right hand to the chair back.
- Turn your head to look over your right shoulder.
- Hold and breathe, gently deepening the twist with each exhale.
Tip: Try to twist from your mid-back instead of your lower back.
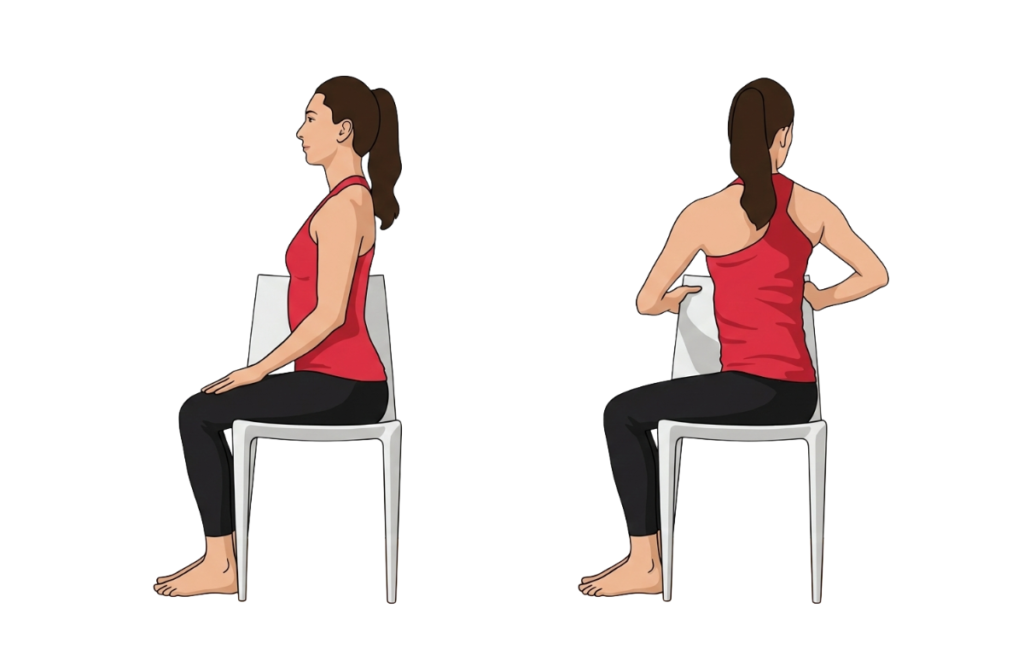
7. Shoulder Opener with Hands Behind Back (Hold 20 seconds)
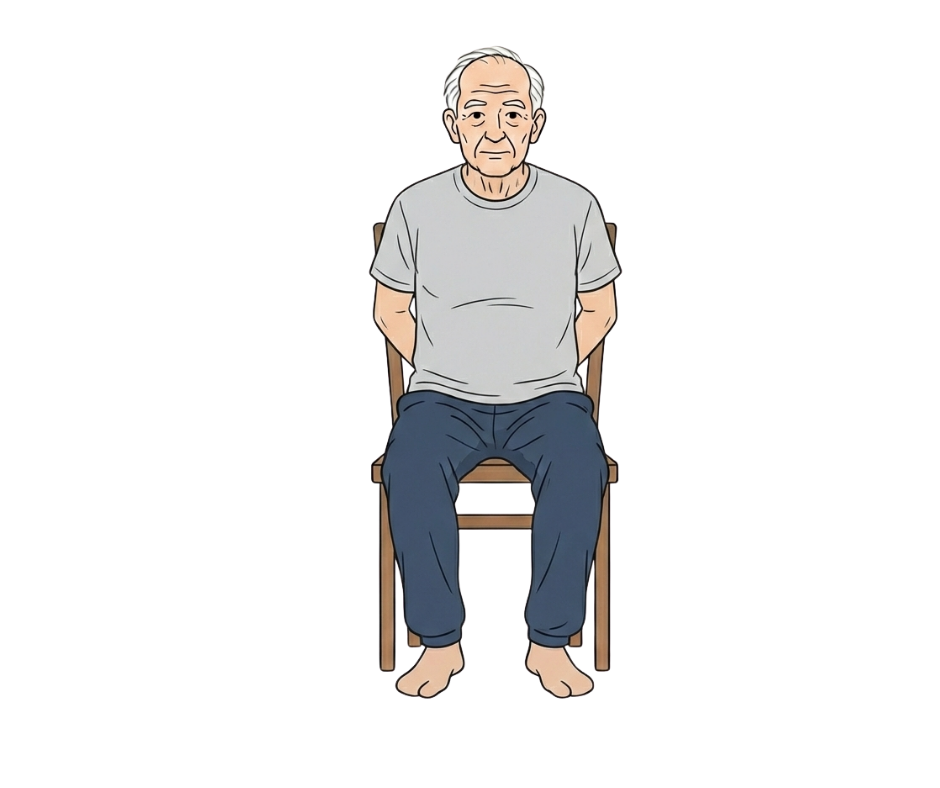
- Interlace fingers behind your back (while sitting).
- Straighten arms as comfortably as possible.
- Lift chest and squeeze shoulder blades together.
- Hold and breathe.
Can't clasp hands? Use a small towel to bridge the gap between hands.
Week 4: Integration and Flow (Days 22-28)
Goal: Create your own personalized practice and develop true body awareness.
Congratulations on reaching the final week! Now you can combine everything you’ve learned and create a routine that suits you. This week, focus on moving smoothly from one exercise to the next.
Final Thoughts
The great thing about this 28-day chair yoga challenge is that you don’t need to be flexible, strong, or coordinated to start. All you need is the willingness to show up for yourself each day. Your future self—the one who can tie shoes easily or sleep without stiffness—will be glad you began today.
So grab a sturdy chair, take a deep breath, and get started. Day 1 is ready for you, and it will likely be more enjoyable than you expect. The hardest part is beginning. After that, just keep showing up and let your body do the rest.