
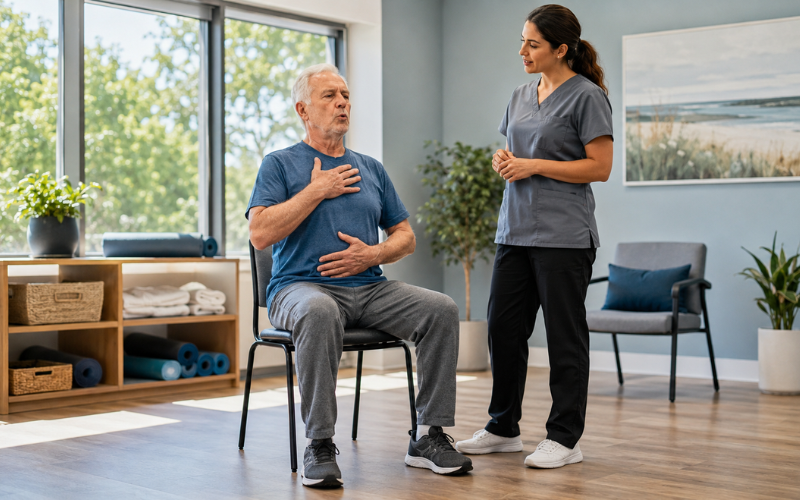
If you’ve ever felt like your lungs just won’t cooperate, you’re in the right place. Getting older brings its own challenges, and for many, emphysema is one of them. Even a short walk can feel exhausting. The good news is, you don’t need to be an athlete or super flexible to feel better. Learning about pursed lip breathing for emphysema can feel like discovering a helpful guide for your lungs.
Today, we’ll look at how this simple breathing technique, along with chair yoga, can help you breathe easier and feel more energetic. Forget about complicated poses or intense workouts. We’ll focus on slow, steady movements you can do from a sturdy chair. You don’t need any special clothes—just a comfortable spot at home.
What Exactly is Pursed-Lip Breathing?
Before we talk about yoga, let’s focus on pursed-lip breathing. It sounds complicated, but it’s actually simple. Picture blowing out a birthday candle slowly so the flame flickers but doesn’t go out. That’s what pursed-lip breathing is like.
With emphysema, your airways may partly collapse when you breathe out. This traps old air in your lungs, leaving less space for fresh air. Pursed-lip breathing creates gentle pressure in your airways, helping keep them open longer so you can exhale more of the trapped air.
This means you can get more stale air out and make room for fresh air. Pursed-lip breathing is a helpful way to manage shortness of breath, and you can use it anywhere—whether you’re out shopping or relaxing at home.
Why Chair Yoga is a Senior’s Best Friend
When you hear “yoga,” you might picture difficult poses, but chair yoga is different. It uses a chair for support, making it a great option for seniors because it helps you feel steady and safe.
For people with emphysema, regular exercise can feel overwhelming because it can make you short of breath quickly. Chair yoga is different. It focuses on:
- Chest Opening: We often slouch when we are tired or short of breath. Yoga helps us sit tall, giving the lungs more physical space to expand.
- Stress Reduction: Anxiety and shortness of breath go hand in hand. When we relax the body, the lungs often follow suit.
- Gentle Movement: It keeps your joints lubricated and your muscles active without making you feel like you just ran a marathon.
Step-by-Step: Master the Pursed-Lip Technique
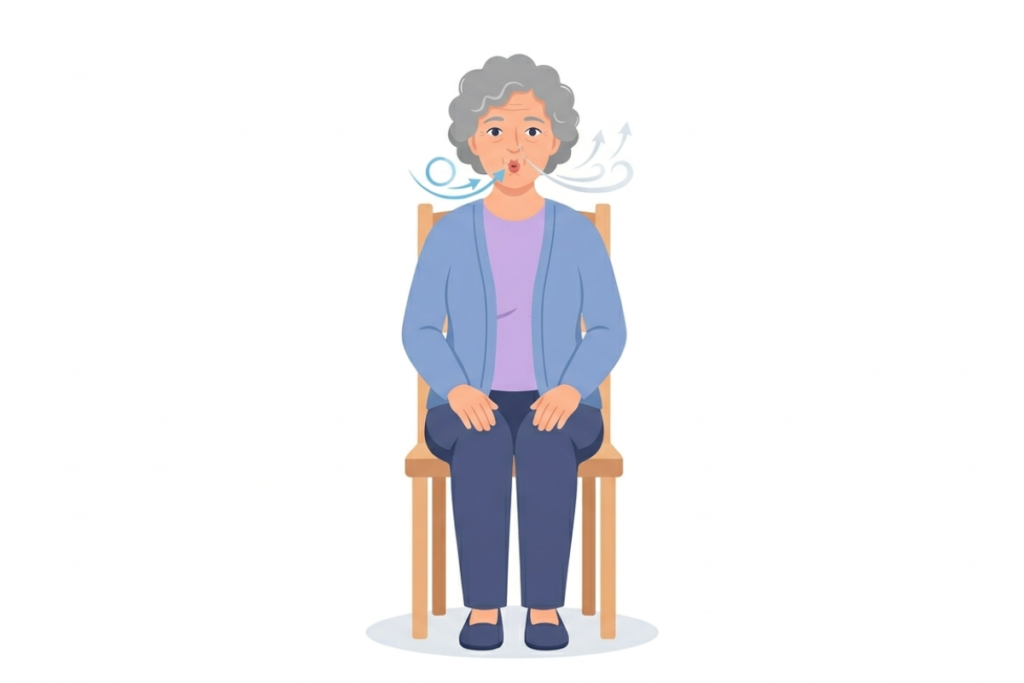
You can try this right now. Stay seated comfortably and follow these simple steps.
- Relax Your Shoulders: Lower your shoulders away from your ears. Many people hold tension in their shoulders, so let them drop and relax.
- Inhale Through Your Nose: Breathe in gently through your nose for about two seconds. You don’t need to take a big breath—just a calm, steady inhale.
- Pucker Your Lips: Shape your lips as if you are about to whistle.
- Exhale Slowly: Breathe out through your pursed lips for about four seconds, or twice as long as you inhaled. Let the air leave slowly and gently.
- Repeat: Do this a few times until you feel a rhythm.
Remember: Breathe in for two seconds, out for four. If you can only manage shorter breaths at first, that’s okay. The goal is to make progress, not to be perfect.
5 Gentle Chair Yoga Poses for Beginners
Now that you’ve practiced the breathing, let’s add gentle movement. Use a sturdy chair without wheels, like a dining chair. Sit near the front edge so your feet are flat on the floor, but lean back if you need extra support.
1. Seated Cat-Cow: The Spine Tamer
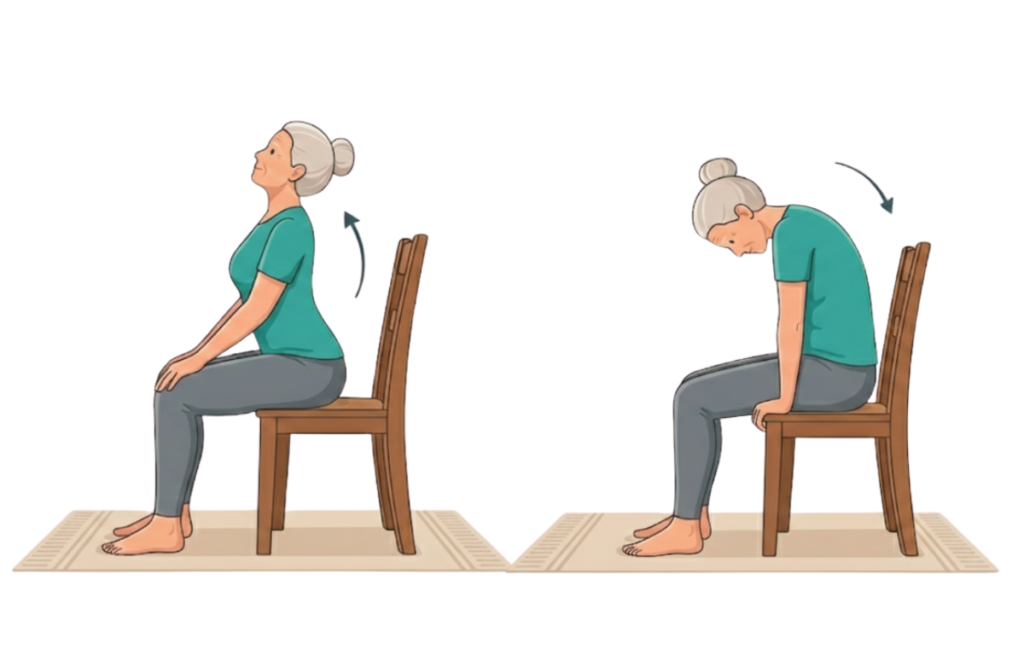
This move helps wake up your ribcage and spine. It loosens the muscles around your lungs, making it easier for them to expand.
- The Move: Place your hands on your knees. As you inhale (through the nose!), gently arch your back and look up slightly, pulling your shoulders back. This is the “Cow.” As you exhale (using your pursed lips!), round your back like a grumpy Halloween cat, tucking your chin toward your chest.
- How it feels: This movement should feel gentle and relaxing for your back.
- Why it helps: It physically opens and closes the chest, coordinating your movement with your new breathing technique.
2. The “I Don’t Know” Shoulder Shrug
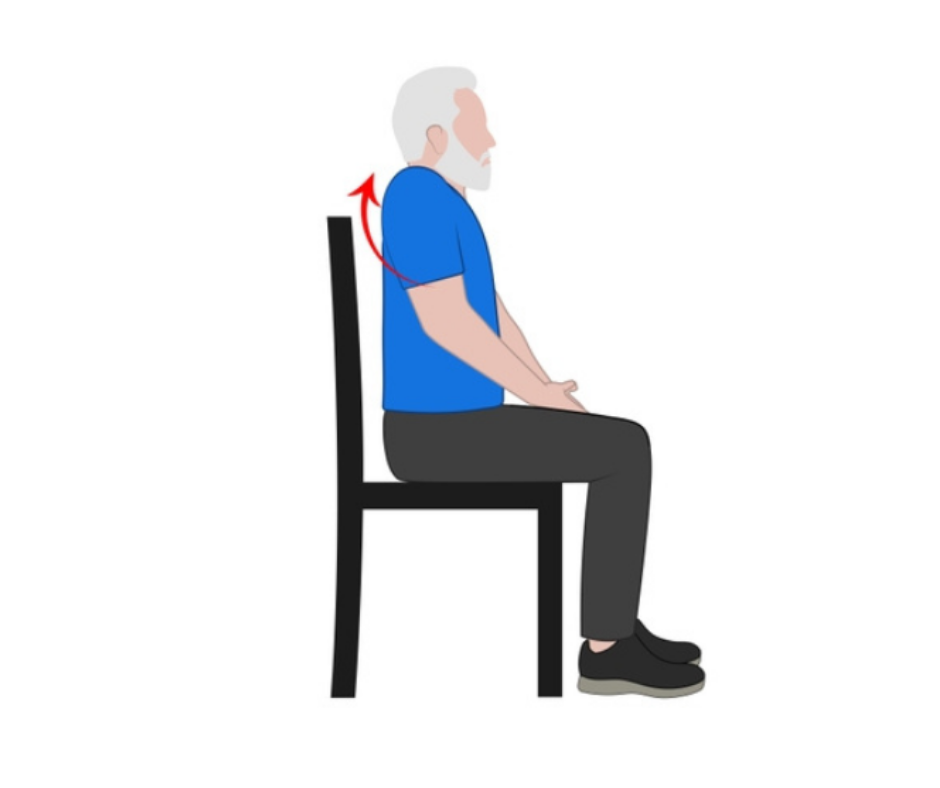
We often tense our neck muscles when we struggle to breathe. This pose helps release that tension.
- The Move: Inhale through your nose and lift your shoulders to your ears. Hold them there for a second. Now, as you exhale through pursed lips, let them drop heavily. You can even make a little “whoosh” sound if it feels good.
- How it feels: It should feel like letting go of something heavy and relaxing your shoulders.
- Why it helps: It relaxes the “accessory muscles” in your neck that often work too hard when your lungs are tired.
3. Seated Side Stretch: Making Room for Air
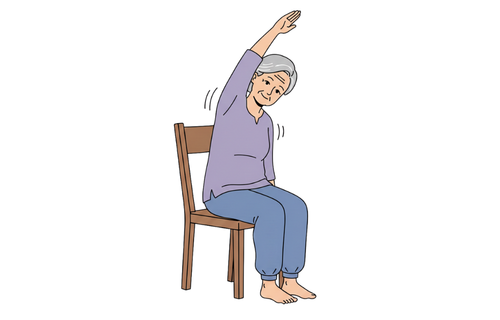
Our lungs aren’t just in the front; they go all the way around to our sides and back. This stretch helps open up the spaces between your ribs.
- The Move: Hold onto the side of your chair with your left hand for stability. Reach your right arm up toward the ceiling. If your shoulder is cranky, just put your right hand on your hip. Lean gently to the left. Take a slow, pursed-lip breath here. Switch sides.
- How it feels: You should feel a gentle stretch along your side.
- Why it helps: It stretches the intercostal muscles (the tiny muscles between your ribs), making it easier for your chest to expand.
4. The Gentle Chest Opener
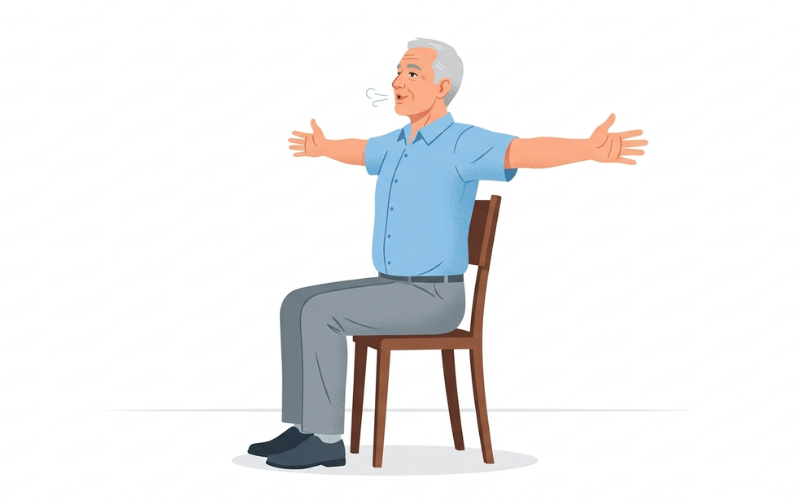
Many of us tend to “hunch” forward, especially if we are feeling a bit tired or protective of our chest. This pose is the antidote.
- The Move: Reach your arms out to the sides like you are going in for a big hug. If you can, reach slightly behind you and grab the back of your chair. Gently lift your chest toward the ceiling and take a deep, pursed-lip breath.
- How it feels: This pose should feel open and uplifting for your chest.
- Why it helps: It counters the “forward slump” and creates maximum room for your diaphragm to move.
5. Seated Forward Fold (The Modified Version)
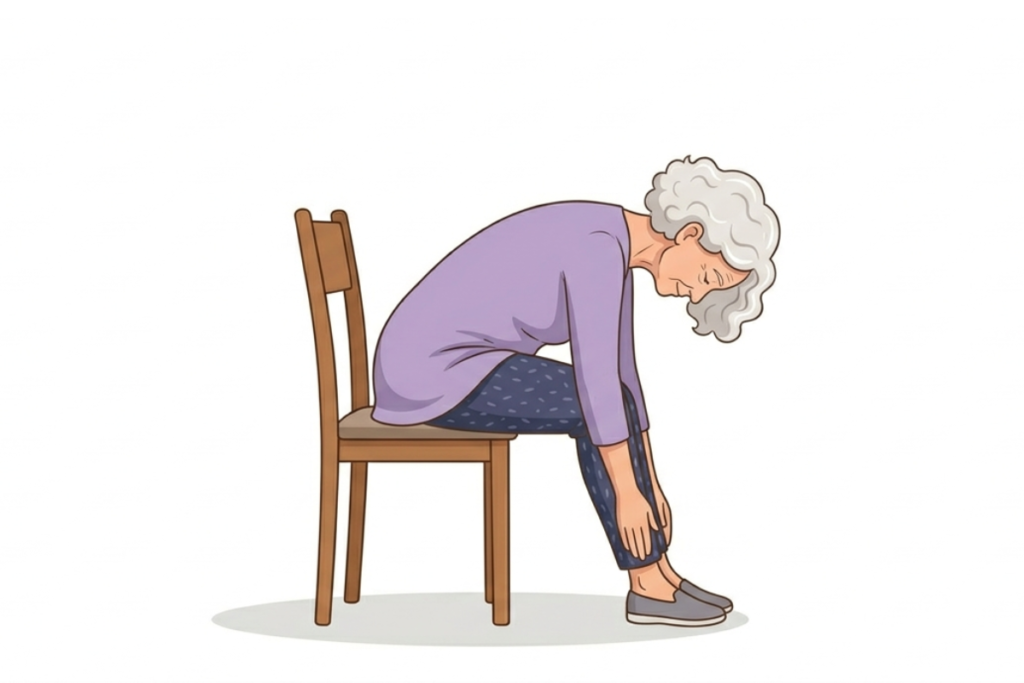
This is great for calming the nervous system and letting gravity do some of the work for you.
- The Move: Sit with your feet a bit wider than hip-width apart. Rest your elbows on your knees. If you feel steady, you can let your hands slide down toward your ankles. Let your head hang heavy. Stay here for three slow, pursed-lip breaths.
- How it feels: This position should feel relaxed and comfortable.
- Why it helps: Folding forward can make it easier for some people to move the diaphragm, and a slow exhale helps keep you calm while you are down there.
Making it a Habit: Consistency Over Perfection
You don’t need to do a long yoga session to see results. In fact, it’s best to start slowly. The goal is to be consistent, not intense. Even two minutes of pursed-lip breathing while watching the news is a great start.
If your joints are stiff or your movement is limited, that’s okay. Some days your body will feel better than others. Chair yoga is flexible and can be adapted to your needs. If you feel short of breath, pause the movement and focus on your breathing until you feel steady again.
Try to set a regular time for your breathing exercises, such as after breakfast or during a TV break. Over time, these small moments of movement and breathing can make a difference. You may notice daily activities feel a bit easier.
Final Thoughts
Living with emphysema can be challenging, but you have more control than you might realize. Practicing pursed-lip breathing exercises for emphysema and adding simple chair yoga stretches provides your body with helpful support. You are helping your lungs work more efficiently. Here’s a simple goal for today: choose one yoga pose from the list, or sit quietly and practice five pursed-lip breaths. That’s all it takes. Take a moment for yourself and focus on your breathing. You can do this.
