
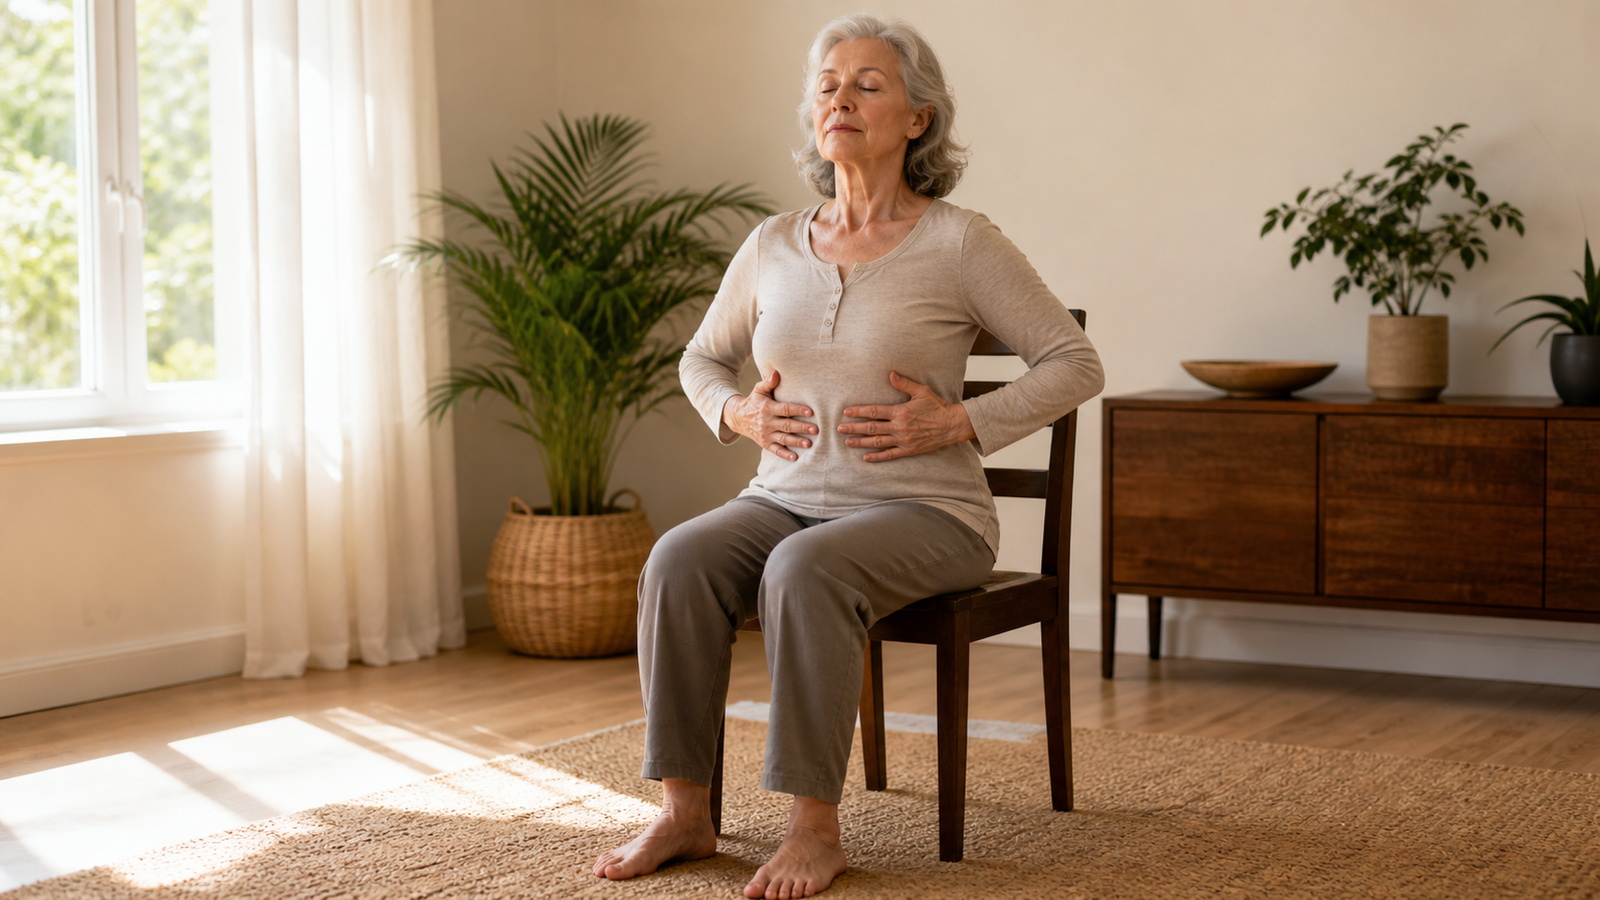
If you’ve ever felt like your energy has disappeared or you get tired just thinking about walking to the mailbox, you’re in the right spot. Today, we’ll discuss something we do approximately 22,000 times a day but rarely notice: breathing. We’ll look at easy, gentle breathing exercises to increase oxygen saturation and boost your oxygen levels, all from the comfort of your favorite sturdy chair. No need for special clothes or tricky poses!
Many people think we just lose energy as we age. While our lungs may not work exactly as they did in our twenties, most of us simply breathe into our chests rather than taking deep, full breaths. This guide invites you to improve your lung capacity, feel more energetic, and maybe even surprise your doctor at your next visit.
Why Oxygen is Your Body’s Best Friend
Imagine your body as a classic car—full of character and stories. Even the best car needs the right mix of fuel and air to run well. Oxygen is that air. Oxygen saturation measures how much oxygen your red blood cells carry. When it’s high, you feel alert, your mind is clear, and your muscles have the energy they need.
Keeping your oxygen levels up can make a big difference for seniors. It helps your circulation, improves sleep, and can lower stress. Paying attention to your breath also helps calm your nervous system and signals to your brain that everything is okay.
Setting Up Your “Yoga Studio” (A.K.A. Your Chair)
Before we start the exercises, let’s talk about what you’ll need. You don’t need a gym membership—just a chair. But it’s important to pick the right kind of chair.
- Avoid very soft recliners that are hard to get out of. If a chair is too plush or you sink into it, it’s not the best choice for yoga.
- Choose a sturdy chair with a straight back, like a dining room chair. Your feet should rest flat on the floor.
- Avoid chairs with wheels, such as office chairs, to stay safe and steady during your breathing exercises.
- If the seat feels hard, you can use a thin cushion or a folded towel for comfort. The goal is to feel relaxed, not uncomfortable.
Once you’re seated, move forward a bit so your back doesn’t rest against the chair. Sit up tall, as if something is gently lifting the top of your head. Relax your shoulders. If they’re raised, let them drop down. Great job—you’re ready to begin.
1. The Foundation: Belly Breathing (Diaphragmatic Breathing)
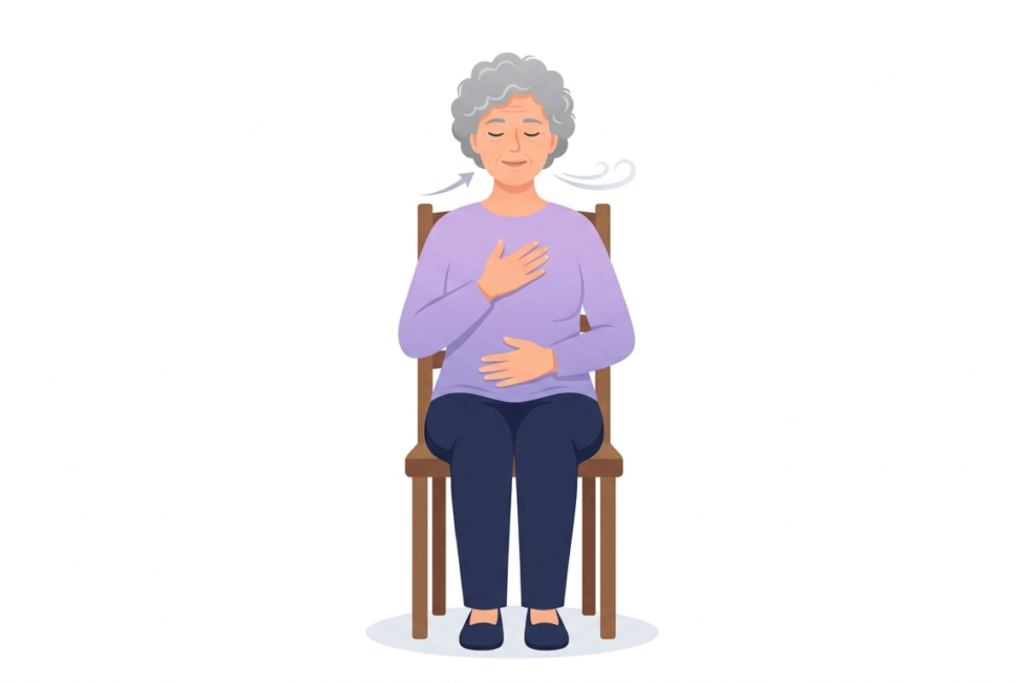
This is the “Holy Grail” of breathing exercises. Most of us breathe into our upper chest, which uses a lot of energy for very little payoff. Belly breathing involves the diaphragm (the big muscle under your lungs).
How to do it:
- Place one hand on your chest and the other hand on your belly, right over your belly button.
- Breathe in slowly through your nose. As you inhale, try to make the hand on your belly move outward while the hand on your chest stays relatively still.
- Imagine you are inflating a balloon inside your stomach.
- Exhale slowly through your mouth or nose, feeling your belly sink back in toward your spine.
- Repeat this for 5 to 10 breaths.
Don’t worry if your belly moves outward—that’s exactly what we want. The more your belly moves, the more oxygen you’re getting.
2. The Secret Weapon: Pursed Lip Breathing
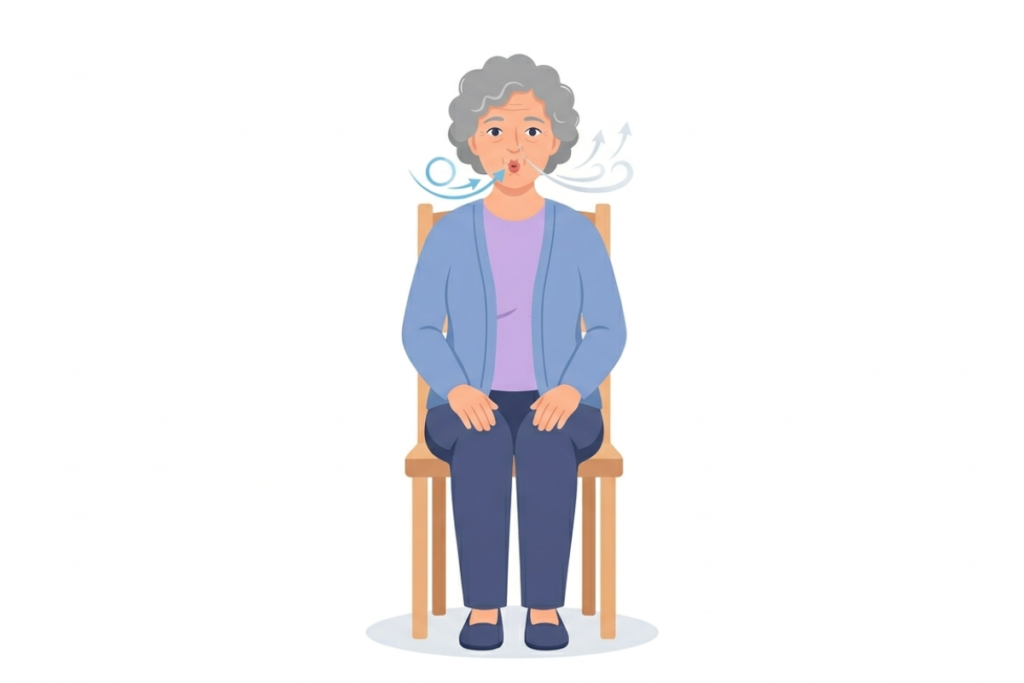
If you ever feel short of breath, try this simple and effective exercise. You can do it while watching TV or waiting for the kettle to boil. It helps keep your airways open longer, so you get more oxygen in and more carbon dioxide out.
How to do it:
- Relax your neck and shoulders.
- Inhale slowly through your nose for a count of two (count in your head: one, two).
- Pucker your lips as if you are about to whistle or blow out a birthday candle.
- Exhale slowly through your puckered lips for a count of four.
- The key is to make the exhale twice as long as the inhale.
This technique works like a slow-release valve for your lungs. It’s a great way to increase oxygen levels and helps prevent the feeling of trapped air.
3. The Relaxer: 4-7-8 Breathing
This technique is well-known for helping calm your nervous system. It helps you relax deeply, which allows your body to use oxygen more efficiently.
How to do it:
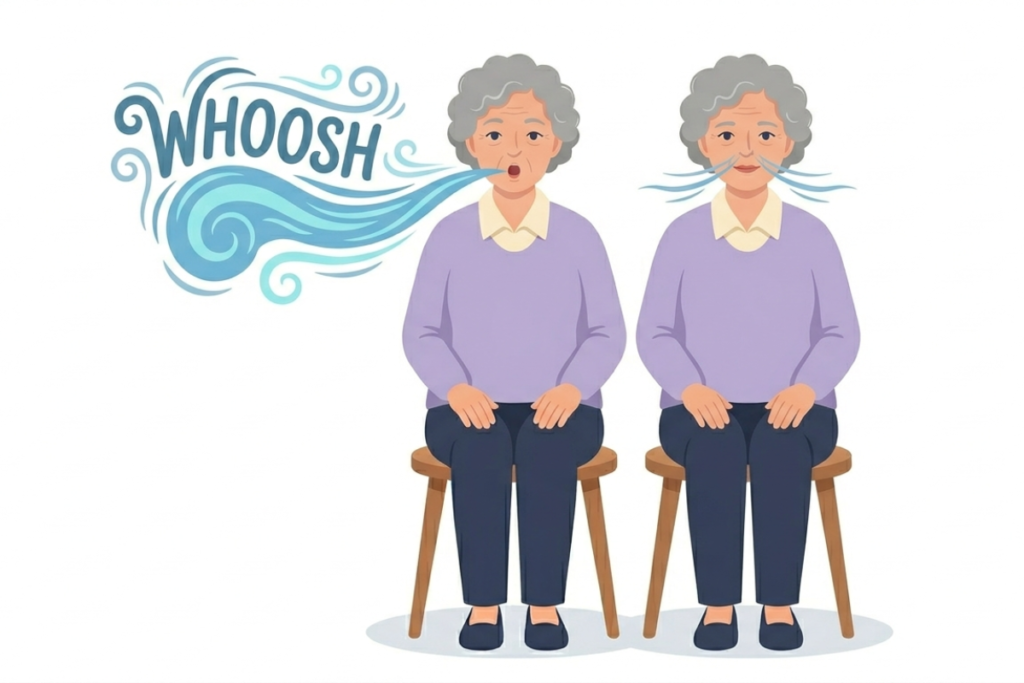
- Exhale completely through your mouth, making a “whoosh” sound.
- Close your mouth and inhale quietly through your nose to a count of four.
- Hold your breath for a count of seven. If that feels too long at first, just hold for as long as you feel comfortable.
- Exhale completely through your mouth, making a whoosh sound to a count of eight.
- This completes one breath. Repeat the cycle four times.
If you feel lightheaded, stop and return to normal breathing. The goal is to feel relaxed, not dizzy.
4. The Focus Builder: Box Breathing
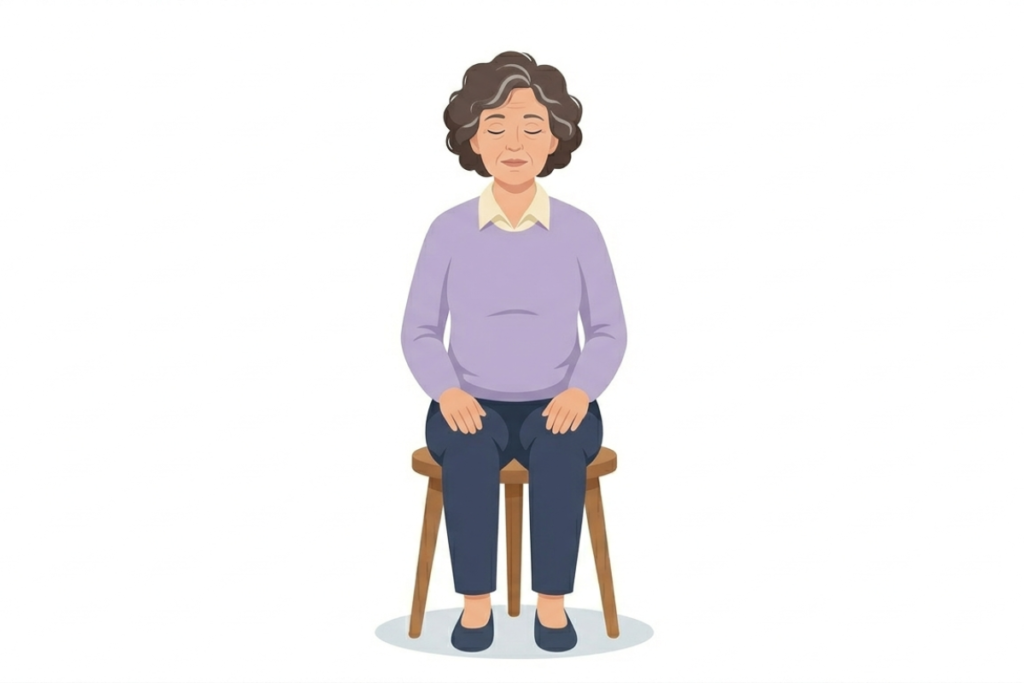
Box breathing is used by athletes and professionals to stay calm and focused. With your life experience, you can handle this exercise too.
How to do it:
- Imagine a square or a box.
- Inhale for 4 seconds (the first side of the box).
- Hold that breath for 4 seconds (the top of the box).
- Exhale for 4 seconds (the other side of the box).
- Hold empty for 4 seconds (the bottom of the box).
- Repeat the “trip around the box” 3 or 4 times.
This exercise helps steady your heart rate and ensures your blood receives a steady supply of oxygen.
5. Adding Movement: The Seated Sun Breath
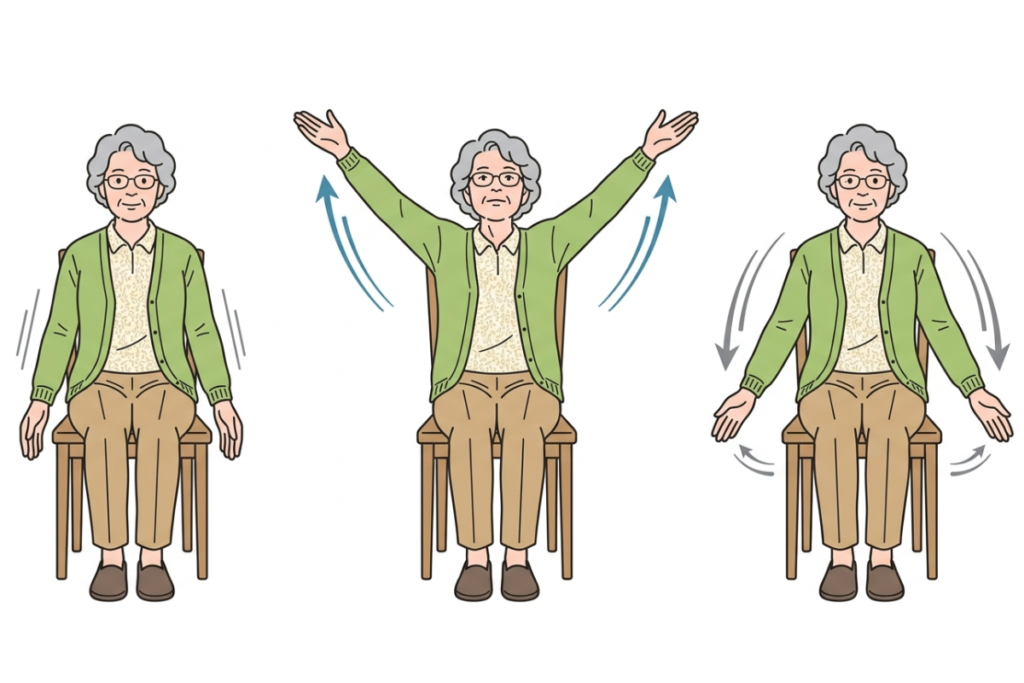
Now that you’ve practiced the breathing, let’s add a little arm movement. This helps open your ribcage and gives your lungs more room to expand.
How to do it:
- Start with your arms hanging at your sides.
- As you inhale slowly through your nose, sweep your arms out to the sides and up toward the ceiling (only go as high as your shoulders allow, no need to strain).
- As you exhale through your mouth, slowly lower your arms back down to your sides.
- Match the movement to your breath. The slower you breathe, the slower your arms move.
- Repeat this five times. Imagine yourself surrounded by fresh oxygen as you move.
A Few Friendly Reminders
As you start your journey with these breathing exercises, keep these three things in mind:
- Focus on being consistent, not perfect. If you forget the counts or your belly doesn’t move much at first, that’s okay. Two minutes of practice is better than none.
- Pay attention to how you feel. If you get dizzy or uncomfortable, stop and take a break. Rest and try again later or another day.
- Try to do these exercises at the same time each day, like after waking up or before lunch. Soon, you’ll notice you’re breathing better without even trying.
Final Thoughts
That’s it! You’ve just learned the basics of chair yoga breathing exercises to improve oxygen levels. You don’t need to run a marathon or use special equipment to increase your oxygen levels—just a little effort and a sturdy chair. By practicing these steps, you show your body you care. You give your brain clarity and your muscles the energy they need. Why not start now? Take a deep breath in, let your belly expand, and slowly exhale.
You’re doing great. Keep breathing, keep smiling, and enjoy your extra energy!
