Do you remember when getting out of bed was easy? Most of us don’t. Now, even standing up from a chair can feel like a challenge, and our joints can be pretty noisy. If your hips are stiff and sore, you’re not alone. Gentle exercises for hip pain can help you feel better and move more easily, without doing anything extreme.
Hip pain can make even simple tasks, like walking to the mailbox or shopping, feel difficult. The good news is you don’t need special equipment or a gym membership to get relief. All you need is a sturdy chair and some patience. This guide will show you how chair yoga can help stretch and strengthen your hips while keeping you safe and comfortable.
Why Your Hips Are Grumpy (And Why the Chair is Your Best Friend)
Before starting the exercises, it helps to know why the hips can get tight. Often, it’s from sitting too much, past injuries, or simply getting older. The hip joint is designed to move, and when it doesn’t, the muscles around it can become short and tight, which makes you feel stiff.
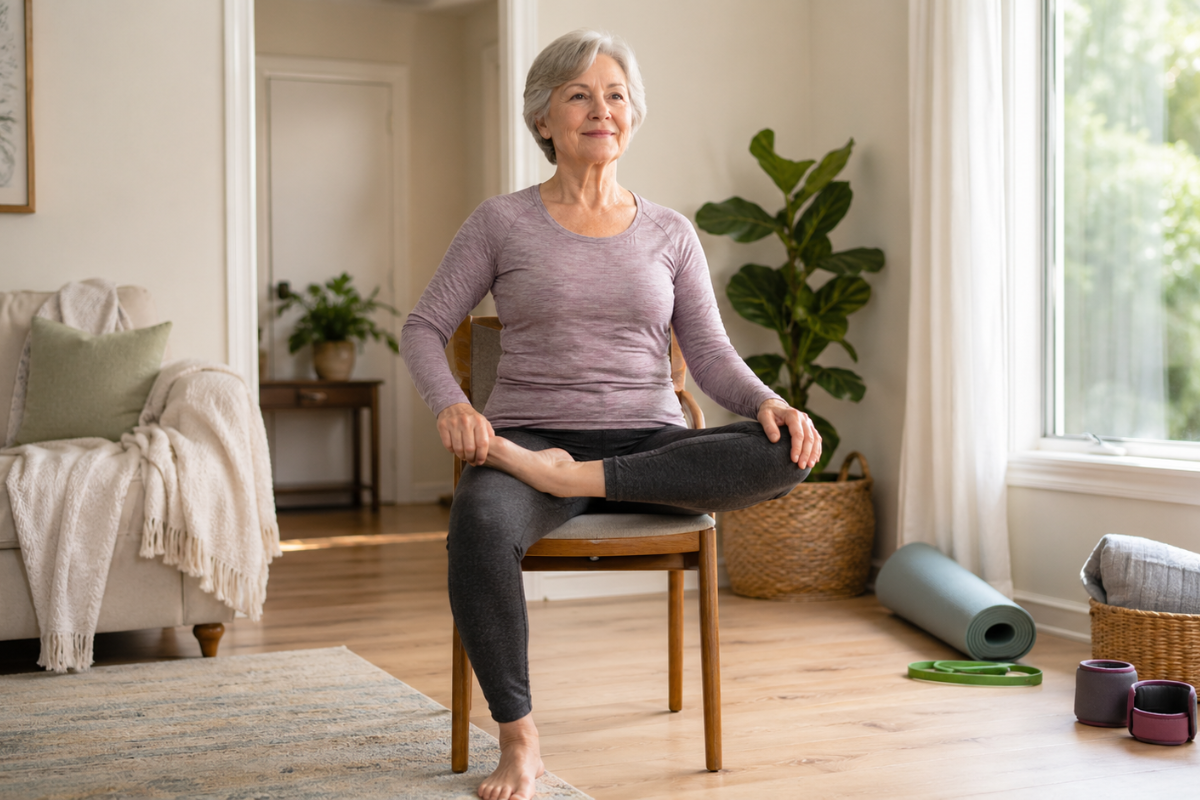
Chair yoga is a great option for seniors because it removes balance concerns. You still get the benefits of traditional yoga, such as better flexibility and less stress, but you can do it safely at home, even while watching TV.
Setting Up Your “Yoga Studio” (AKA Your Living Room)
You don’t need anything fancy to begin. Just a little preparation can make your practice easier.
- Pick the Right Chair: Choose a sturdy chair without wheels, like a kitchen or dining chair. Avoid soft, deep sofas because they don’t provide enough support.
- Wear Comfy Clothes: Wear something stretchy and comfortable, like pajamas. The focus is on your hip health, not on what you’re wearing.
- Clear the Area: Make sure you have enough space to move your arms and legs safely.
- Listen to Your Body: This is the most important rule. If a movement feels like a gentle stretch, continue. If you feel sharp pain, stop right away. The goal is to keep your hips comfortable.
Step-by-Step Gentle Exercises for Hip Pain
Let’s start the routine. Take your time with each exercise. It’s more important to finish comfortably than to rush.
1. The Seated Cat-Cow
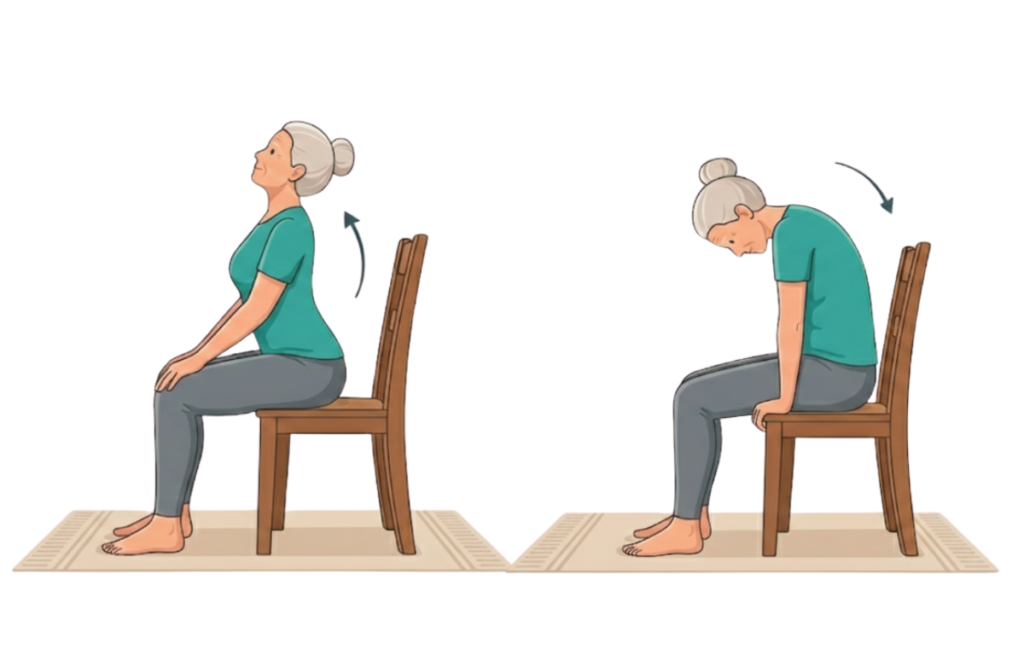
This exercise helps warm up your spine and pelvis. It increases blood flow to your hips and prepares them for movement.
- Step 1: Sit up tall at the front edge of your chair with your feet flat on the floor.
- Step 2: Place your hands on your knees.
- Step 3 (The Cow): Inhale and gently arch your back. Lift your chest toward the ceiling and look up slightly. Feel your belly move forward.
- Step 4 (The Cat): Exhale and round your spine like a grumpy Halloween cat. Tuck your chin toward your chest and pull your belly button in.
- Step 5: Repeat this five to ten times. You should feel a gentle, comfortable movement through your body.
2. Seated Pigeon Pose (A Great Hip Opener)
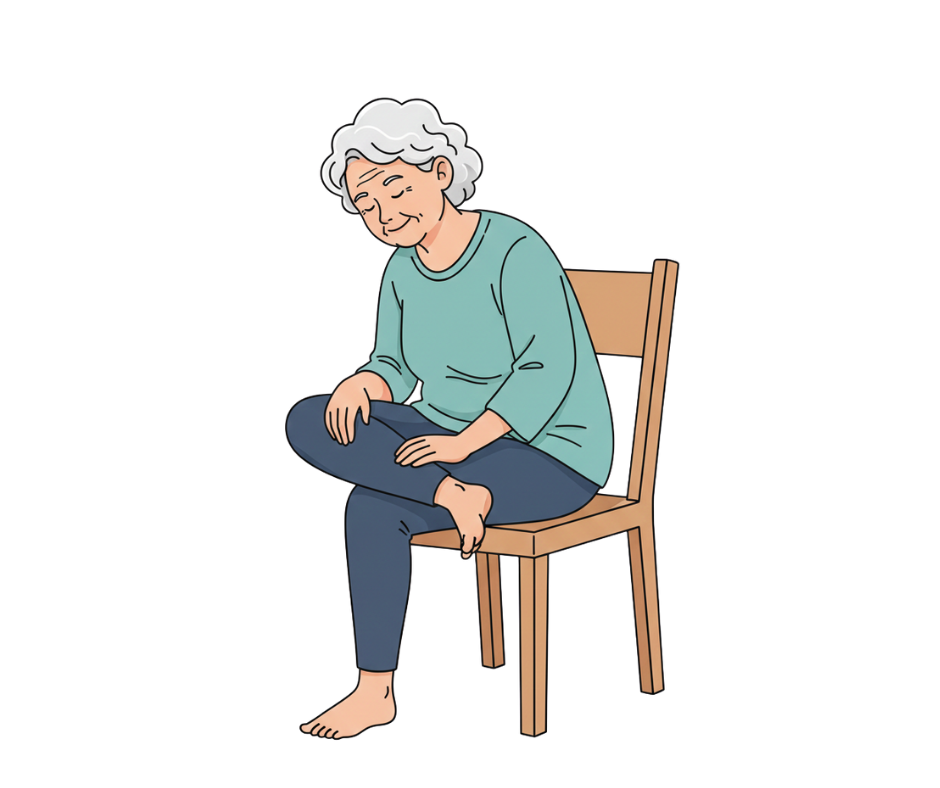
Pigeon Pose is well known in yoga for opening the hips. Doing it in a chair makes it easier but still effective.
- Step 1: Sit tall and keep your left foot flat on the ground.
- Step 2: Lift your right leg and cross your right ankle over your left knee. Your legs should look like the number four.
- Step 3: Flex your right foot (pull your toes toward your shin). This helps protect your knee.
- Step 4: If you feel a stretch in your outer hip, stay in that position. That means you are doing the exercise correctly.
- Step 5: If you want a deeper stretch, slowly lean your chest forward while keeping your back straight. Do not hunch over.
- Step 6: Hold for five deep breaths, then switch sides.
Tip: If your ankle does not reach your knee, simply cross your ankles and let your top knee fall to the side. This modification is still effective.
3. Seated Leg Lifts for Strength
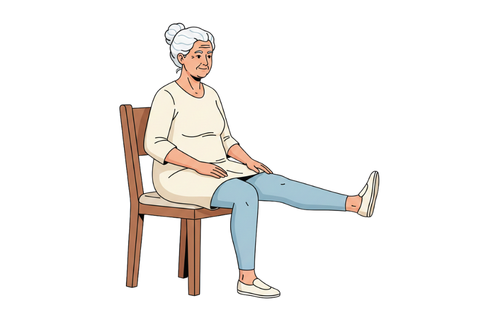
Sometimes hip pain is caused by weakness, not just tightness. These gentle lifts help strengthen your hip flexors and thigh muscles.
- Step 1: Sit at the edge of your chair and hold onto the sides for stability.
- Step 2: Straighten your right leg out in front of you with your heel touching the floor.
- Step 3: Gently lift your leg a few inches off the ground. A small lift is enough.
- Step 4: Lower your leg back down slowly and with control.
- Step 5: Do five lifts on the right side, then five on the left.
4. The Seated Butterfly
This exercise is great for stretching your inner thighs and groin. It is very relaxing for your joints.
- Step 1: Sit toward the front of your chair, with your feet wide apart and your toes pointing slightly outward.
- Step 2: Bring the soles of your feet together as comfortably as possible.
- Step 3: Rest your hands on your thighs and sit up tall.
- Step 4: Use your hands to gently guide your knees outward. Do not force them.
- Step 5: Take three deep breaths while holding the stretch.
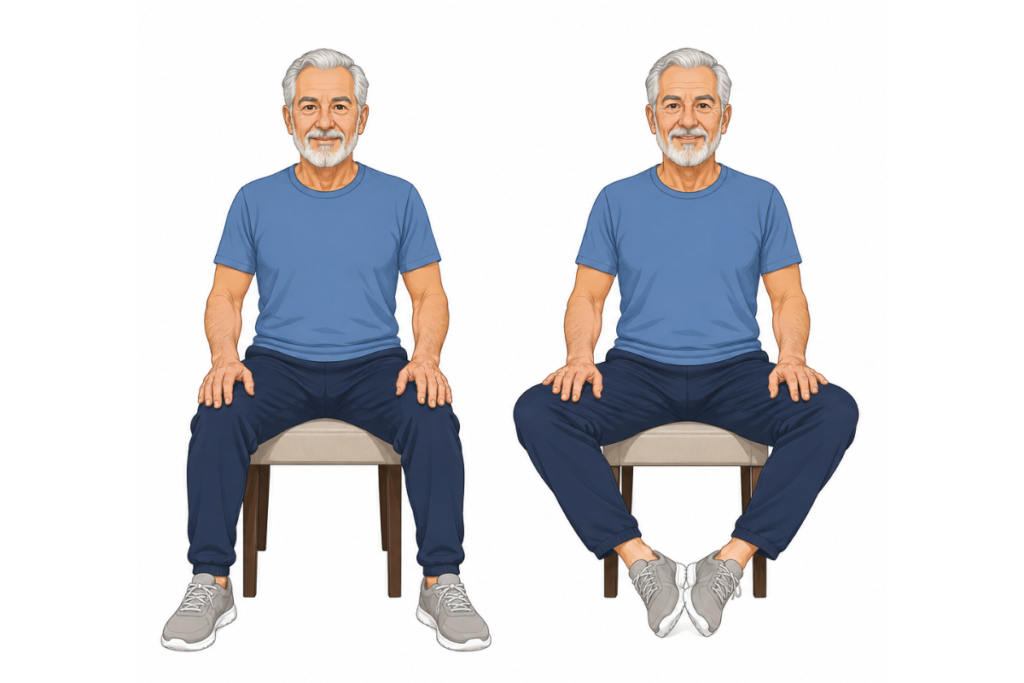
5. Seated Windshield Wipers
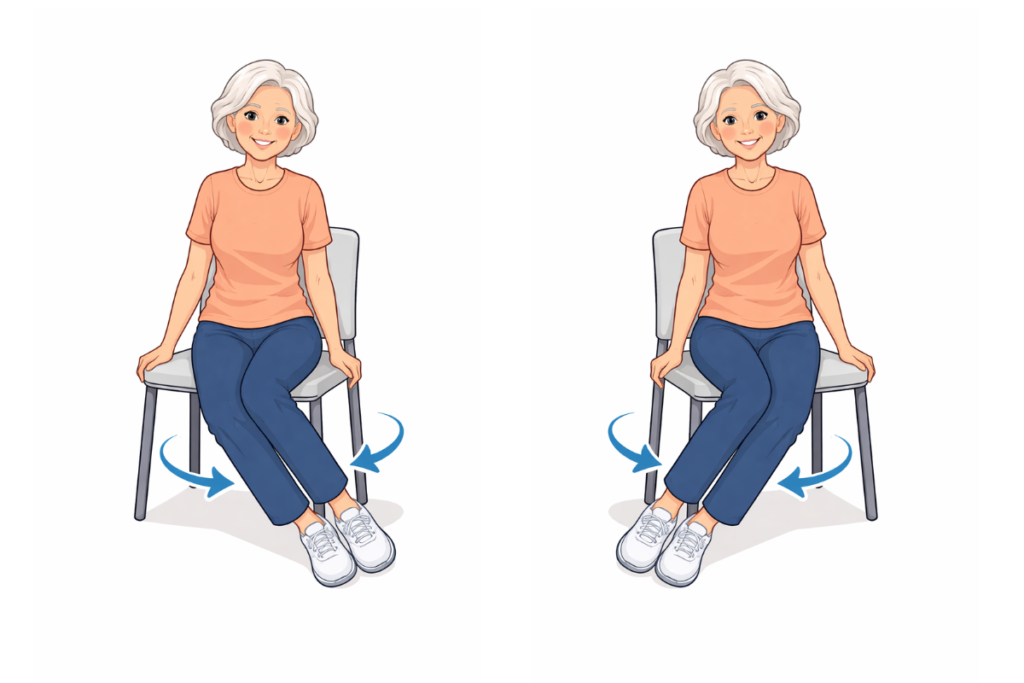
This exercise helps your hips move in different directions and keeps the joints flexible.
- Step 1: Sit with your feet wider than your hips.
- Step 2: Keeping your feet on the floor, gently drop both knees to the right.
- Step 3: Bring them back to the center and then drop them both to the left.
- Step 4: Continue slowly moving your knees side to side. It is fine if your hips lift off the chair a little.
Tips for Staying Consistent (Without Losing Your Mind)
It can be hard to stick with a new routine. Here are some tips to help you keep up with these stretches for hip discomfort.
Don’t Aim for Perfection
If you can only do one stretch today, that is fine. You do not have to finish the whole routine every time. Doing a little bit regularly is more important than doing a long session once in a while.
Breathe Like You Mean It
When you feel a tight spot, try to take slow, deep breaths instead of holding your breath. If you cannot breathe comfortably, ease up on the stretch until you can.
Use “Habit Stacking”
An easy way to remember your hip exercises is to do them along with daily activities. For example, try the seated cat-cow while your coffee brews or the pigeon pose during the evening news. Soon, these exercises will become part of your routine.
Celebrate the Small Wins
If you got up from your chair today with less discomfort, that is progress. If tying your shoes felt easier, that is also progress. Celebrate your improvements, no matter how small.
Final Thoughts
Your hips have supported you for many years. Even if they feel stiff now, they can still improve. By adding these low-impact hip exercises to your daily routine, you are taking good care of your body. You do not need to be an expert to see results. Just showing up for yourself is enough. Find a sturdy chair and start with these exercises. Taking the first step today will help you feel better and move more easily in the future.