
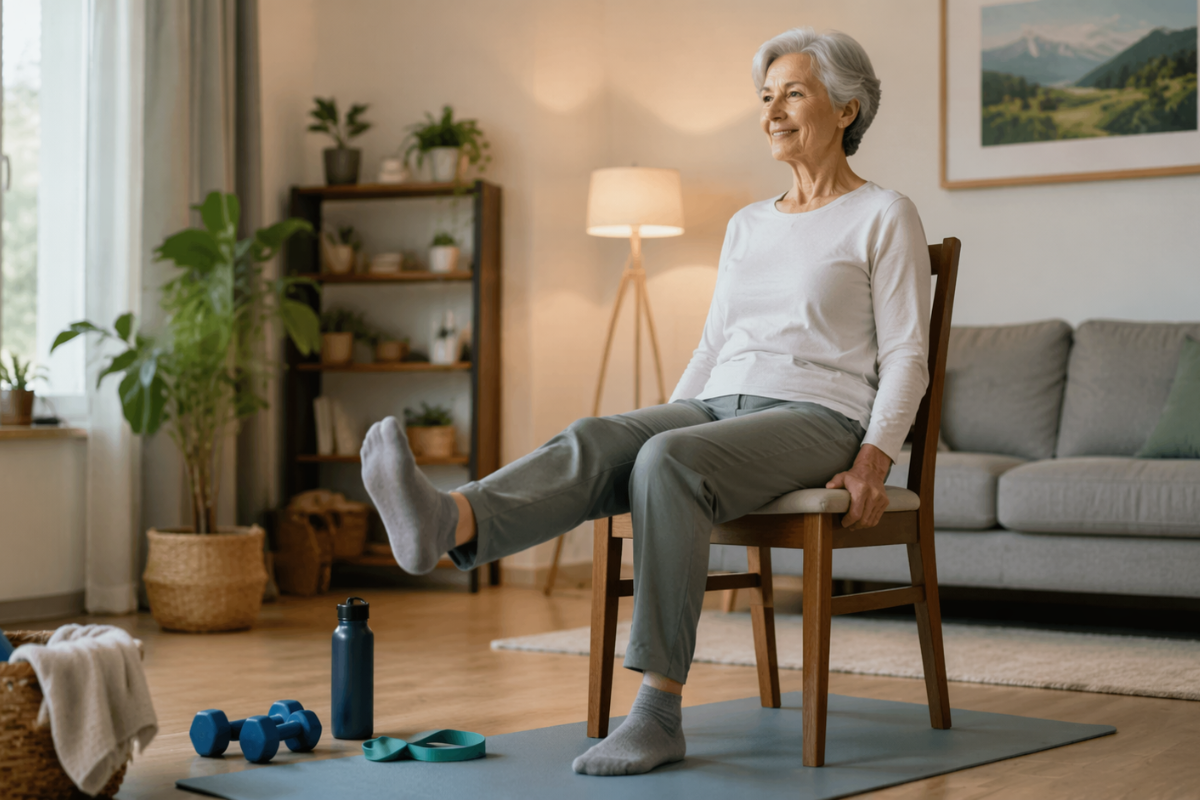
Gravity isn’t always our friend. One day, you’re moving easily, and the next, your knees are making more noise than a bowl of Rice Krispies. If getting out of your favorite chair feels like a challenge, you’re not alone. Adding seated leg exercises for seniors to your daily routine is a great way to regain independence and keep your joints moving well. The best part is you don’t need special clothes or to leave your living room.
Why Leg Strength Matters More Than Ever
When people hear “leg day,” they often picture bodybuilders lifting heavy weights. For most of us, though, leg strength means enjoying the simple victories of daily life. It’s about walking to the mailbox with ease, standing up safely from the dinner table, and having the balance to avoid trips and falls.
As we age, our muscles tend to get weaker if we don’t use them. Seated exercises offer a safe, low-impact way to keep your muscles strong. Using a chair removes the worry of falling, so you can focus on building strength in your thighs, calves, and hips. You can even do these exercises while watching TV or waiting for the kettle to boil.
Getting Started: Your Pre-Flight Checklist
Before starting the seated leg workouts for seniors, make sure you have the right setup. You don’t need a gym, just a sturdy chair. A dining room chair or any chair without wheels works well. Avoid very soft recliners, since you need a firm surface to support your back.
- Sit up straight, as if a string is gently pulling the top of your head toward the ceiling.
- Feet Flat: Start with your feet hip-width apart on the floor.
- Remember to breathe. Inhale through your nose and exhale through your mouth. Don’t hold your breath.
- Pay attention to how your body feels. If something hurts, stop. A mild muscle tingle is okay, but sharp pain means you should take a break.
12 Simple Seated Leg Exercises for Seniors
1. The Seated March
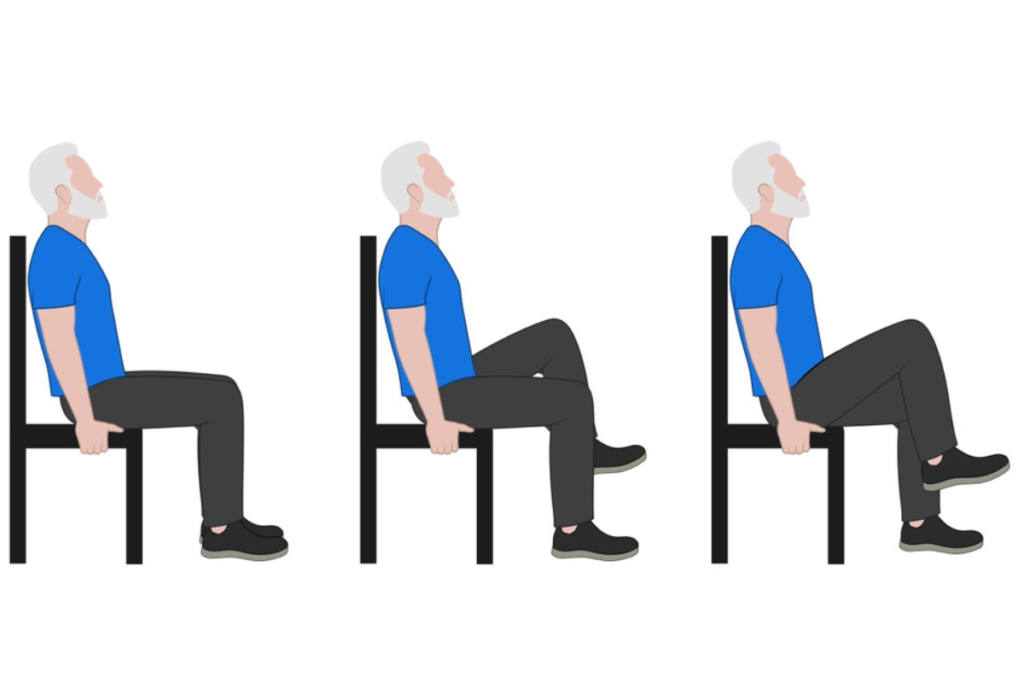
This is a great warm-up. It helps get your blood moving and activates your hip flexors.
- Sit at the front edge of your chair, keeping your back straight.
- Lift your right knee as high as is comfortable, then lower it back down.
- Lift your left knee.
- Continue “marching” in place for 30 to 60 seconds.
- If you want a little more challenge, try swinging your arms as if you’re marching in a parade.
2. Ankle Circles (The Oil Can)
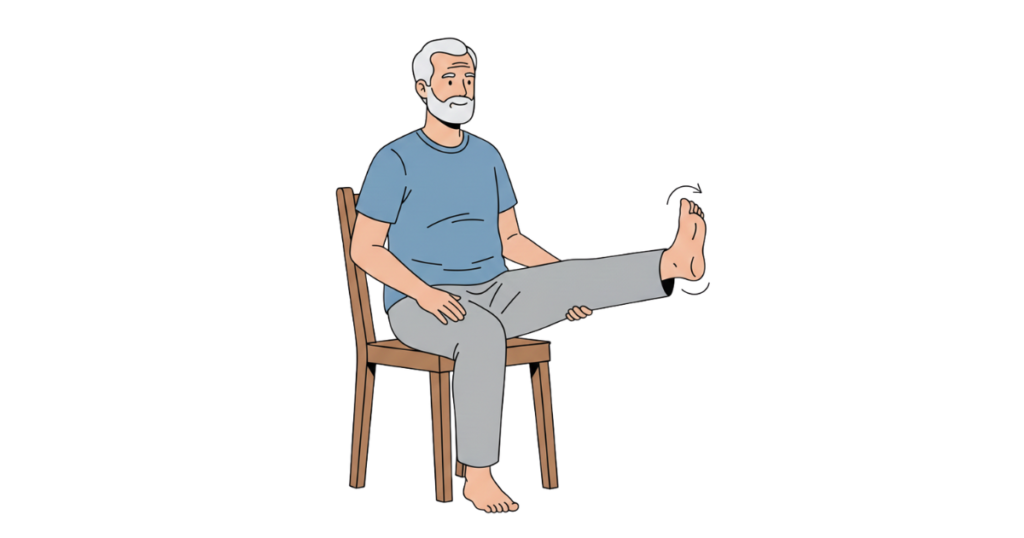
This exercise is like adding oil to a rusty hinge. It’s great for improving foot flexibility.
- Lift one foot off the floor and extend your leg slightly.
- Slowly rotate your foot in a circle, moving only at the ankle.
- Do 10 circles clockwise, then 10 circles counterclockwise.
- Switch legs and repeat.
- If your ankles make popping sounds, you can say you’re practicing your percussion skills.
3. Knee Extensions (The Kick-Out)
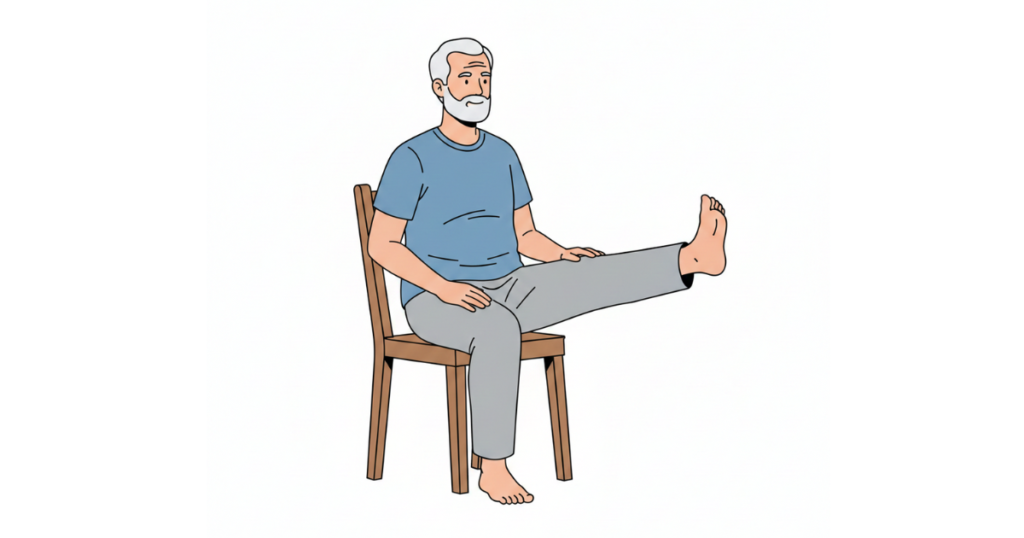
This exercise works your quadriceps, the large muscles on the front of your thighs that help you stand up.
- Sit tall with your feet flat.
- Slowly straighten your right leg out in front of you until your knee is straight (or close to it).
- Flex your toes toward your face.
- Hold for two seconds, then slowly lower your foot back to the floor.
- Aim for 10 repetitions on each leg.
4. Heel-to-Toe Rocks
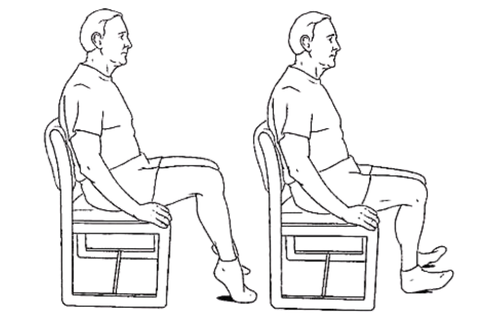
This exercise strengthens your calves and the muscles near your shins, which are important for steady walking.
- Keep your feet flat on the floor.
- Lift your heels as high as you can so you are on your tiptoes.
- Lower your heels, then immediately lift your toes off the floor and rock back onto your heels.
- Continue rocking back and forth 15 times.
5. Seated Hamstring Stretch
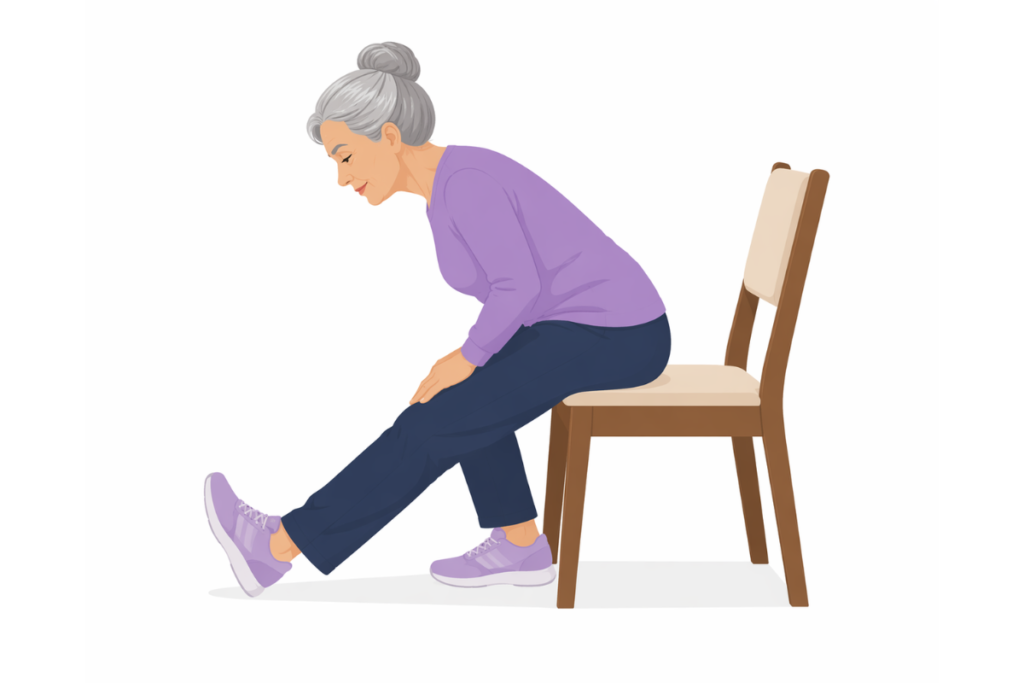
Tight hamstrings can cause back pain, so it’s important to keep them flexible.
- Sit at the very edge of your chair.
- Extend your right leg straight out with your heel on the floor and toes pointing up.
- Keep your back very straight and lean forward slightly from your hips.
- You should feel a gentle pull along the back of your thigh. Hold for 20 seconds.
- Switch legs.
6. Tummy Tucks (The Knee-to-Chest)
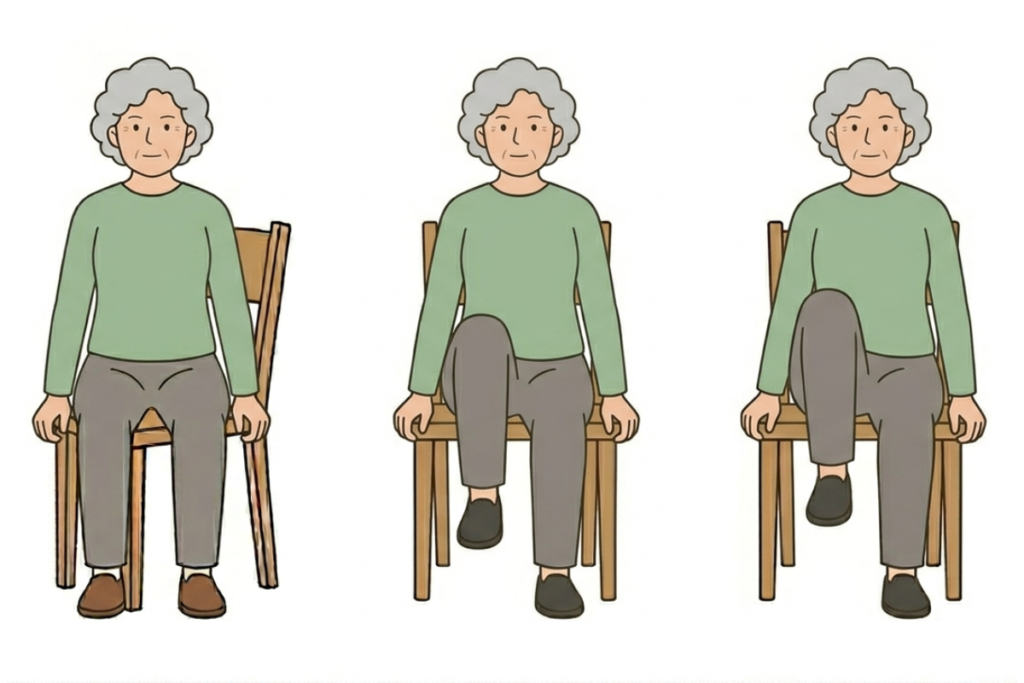
This exercise may feel like it’s just for your legs, but it also works your lower abdominal muscles.
- Sit back in your chair and hold the sides for stability.
- Slowly bring your right knee up toward your chest as far as you comfortably can.
- Lower it back down with control (don’t just let it drop!).
- Repeat 10 times for each leg.
7. Seated Butterfly
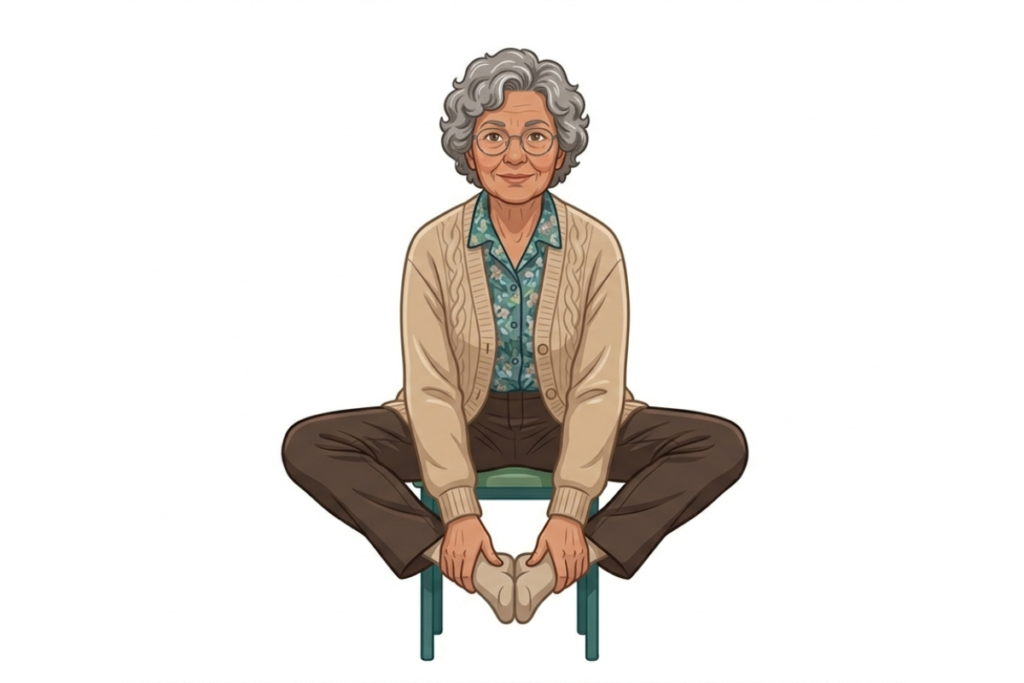
This exercise improves hip mobility and stretches your inner thighs.
- Sit with your feet together and knees touching.
- Slowly move your knees apart while keeping your feet together (like opening a book).
- Squeeze your outer hips at the widest point, then bring your knees back together.
- Repeat 12 times.
8. Single Leg Hovers
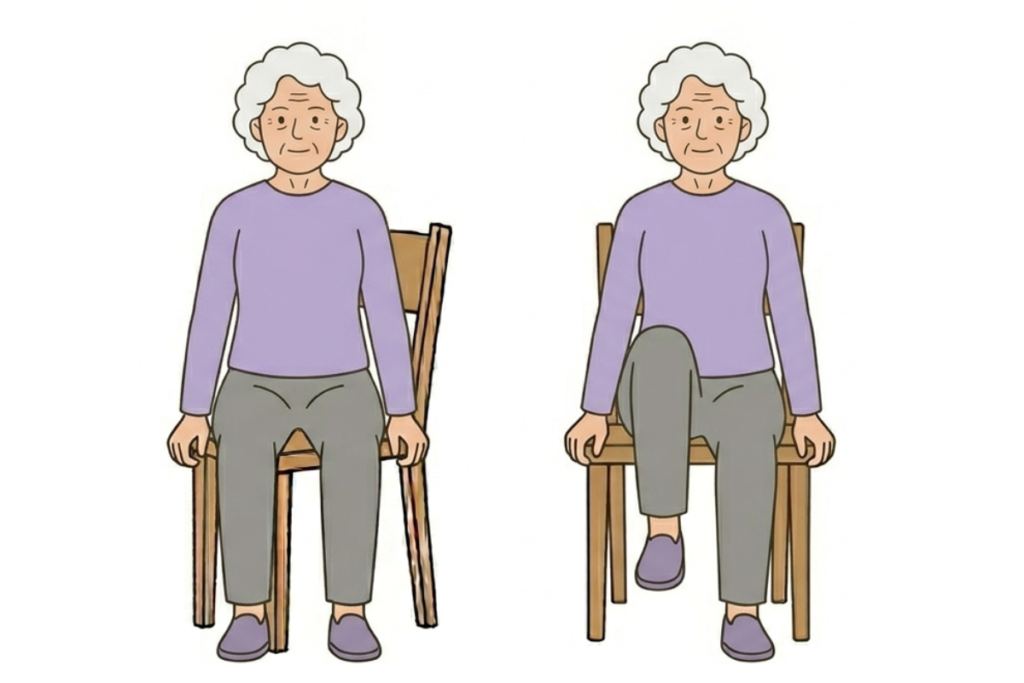
This small movement helps build endurance in your thighs.
- Sit tall with your feet flat on the floor.
- Lift your right foot just two inches off the ground.
- Hold it there for 5 to 10 seconds while keeping your torso perfectly still.
- Lower it and repeat with the left leg.
- Try to do 5 “hovers” per side.
9. Glute Squeezes (The Hidden Workout)
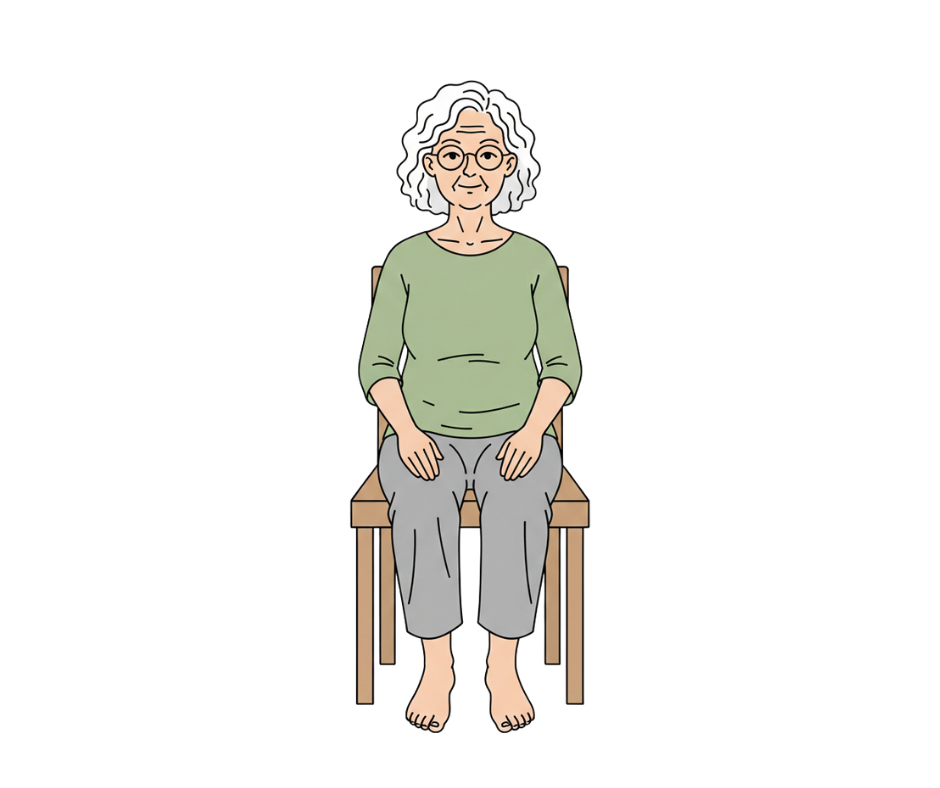
You can do this exercise anywhere, and no one will notice. It strengthens your glutes, the main muscles of your lower body.
- While sitting, simply squeeze your buttock muscles as tight as you can.
- Hold the squeeze for 5 seconds.
- Relax for 3 seconds.
- Repeat 10 to 15 times.
This is a great exercise to try while sitting in a waiting room or during TV commercials.
10. Side Leg Taps
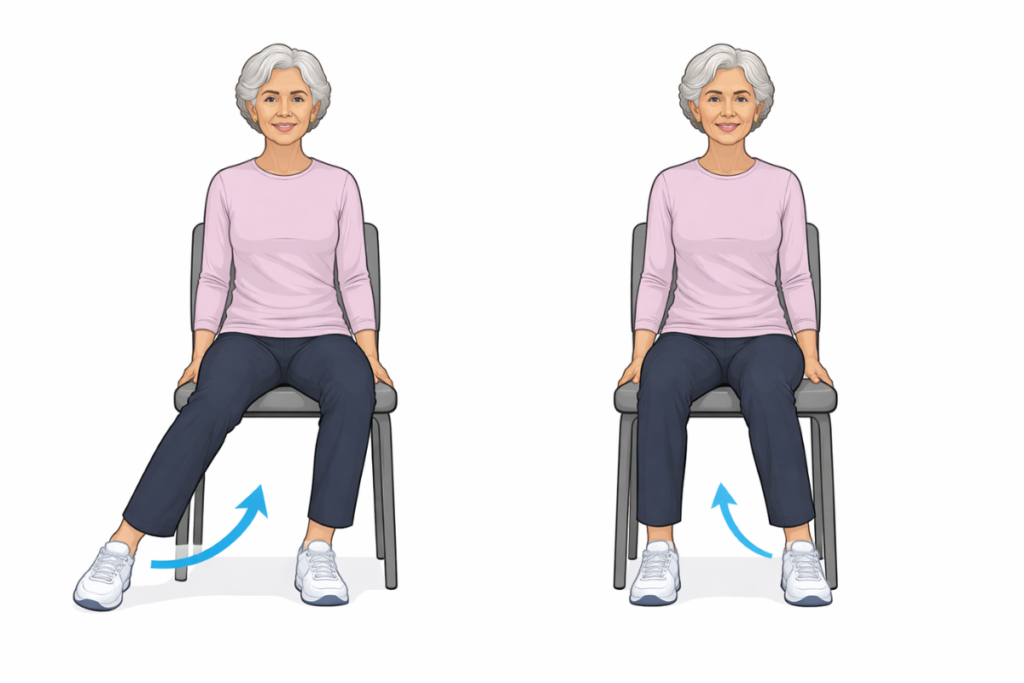
This exercise targets the muscles on the sides of your hips, which are important for side-to-side stability.
- Start with your feet together.
- Lift your right foot and “step” it out to the side, tapping your toes on the floor.
- Bring it back to the center.
- Repeat with the left foot.
- Do 10 taps on each side. It’s similar to a seated dance step.
11. Big Toe Taps (Coordination)
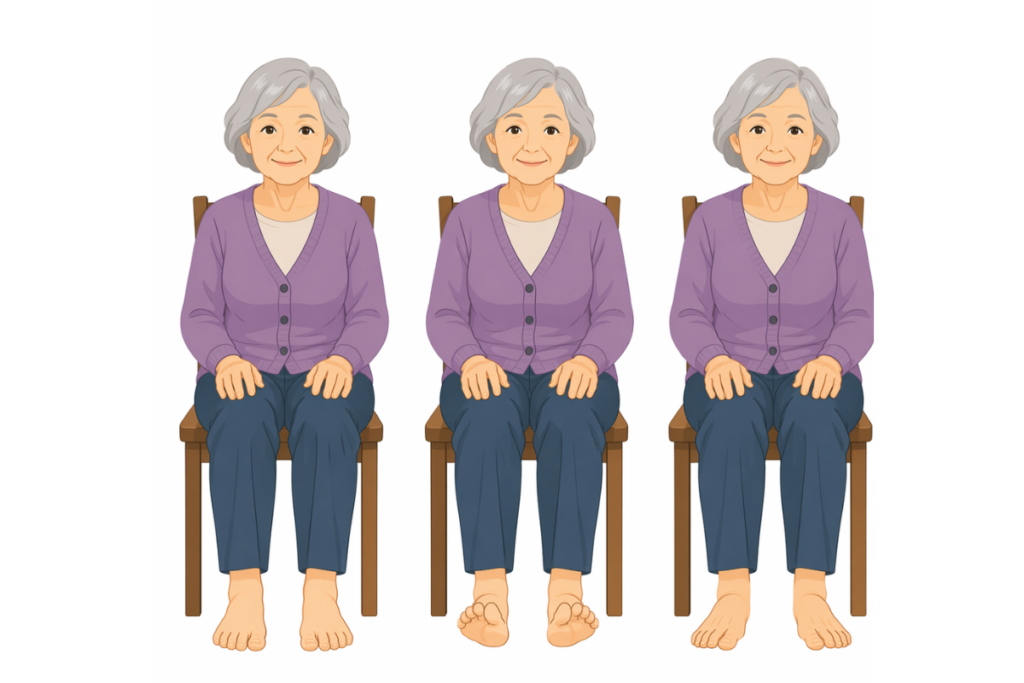
This exercise helps improve coordination between your brain and feet, and also builds foot strength.
- Keep your heels on the ground.
- Lift your toes and tap only your big toes on the floor while keeping the other toes lifted.
- Then, try to tap only your pinky toes.
- It may be harder than it looks, but it’s great for keeping your feet strong and coordinated.
12. The Sit-to-Stand Prep
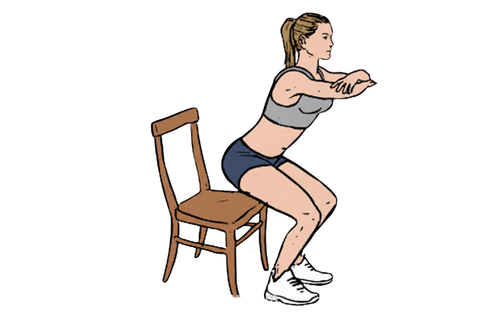
This is the final exercise, and it copies one of the most important daily movements: getting out of a chair.
- Sit toward the front of the chair with your feet firmly planted.
- Lean your torso forward slightly (nose over toes).
- Push down through your heels and lift your bottom just an inch or two off the seat.
- Hover for a second, then sit back down slowly.
- If this feels too difficult, just practice pressing through your heels as if you are about to stand up.
Consistency Over Perfection
Remember, you don’t have to be perfect. If you can only do three repetitions today, that’s still progress. The goal isn’t to become an athlete overnight, but to feel a bit stronger and move more easily over time.
Choose a regular time each day for your chair exercises, like after breakfast or during your favorite show. Connecting the exercises to a daily habit makes it easier to keep going.
A Note on Safety
These exercises are gentle, but always move with control. Avoid quick, jerky movements to prevent injury. Pay attention to how your muscles feel. If you feel dizzy or short of breath, pause and have some water. Take care of your body as you exercise.
Final Thoughts
Building strength doesn’t have to be difficult or unpleasant. By adding these simple exercises to your day, you’re investing in your future. You’re choosing better mobility, balance, and the ability to keep doing what you enjoy.
Why not start now? Lift your feet and try a few ankle circles. It only takes a minute to begin. Your legs work hard for you every day, so give them some care in return. Stay consistent, keep smiling, and remember that every movement helps you become stronger and more mobile.
